Table of Contents
Halloween is creeping closer, and that means one thing: it's pumpkin carving time! But let's be honest, not all of us are master sculptors with the patience of saints. If the thought of intricate designs and tiny tools makes you want to hide under a pile of leaves, you're in the right place. This article is your guide to "creative simple pumpkin carving ideas" that are actually doable, even if your artistic skills are more "stick figure" than "Michelangelo". We're ditching the complicated patterns and embracing easy-to-achieve designs that still pack a spooky punch. Forget about needing a professional kit; we will show you how to make your pumpkin the coolest on the block, without losing your mind (or a finger) in the process. Get ready to transform your humble gourd into a festive masterpiece with these simple, yet creative, techniques. We'll cover beginner-friendly patterns, clever twists on the classics, and ways to make your pumpkin truly unique. So, grab your pumpkin, your carving tools, and let's get started!
Easy Pumpkin Carving Ideas for Beginners
Easy Pumpkin Carving Ideas for Beginners
Simple Shapes
let's start with the basics. Forget about trying to carve a detailed portrait on your first go. We're talking simple shapes here, the kind you probably drew in kindergarten. Think big triangles for eyes and a nose, maybe a jagged line for a mouth. The key is to use large, easy-to-cut shapes. You can even use cookie cutters as templates! It's like playing with playdough, but with a pumpkin and a slightly sharper tool. Don't overthink it, just go for it. Honestly, sometimes the most basic designs look the spookiest.
Another great idea is to use a drill to make polka dots, or even a simple pattern, all over the pumpkin. This is a safe way to get kids involved, and it looks pretty cool when you put a light inside. Get creative with your shapes too, they don't need to be perfect, in fact, the imperfections are what make them unique! This is all about having fun, not creating a masterpiece, so relax and enjoy the process.
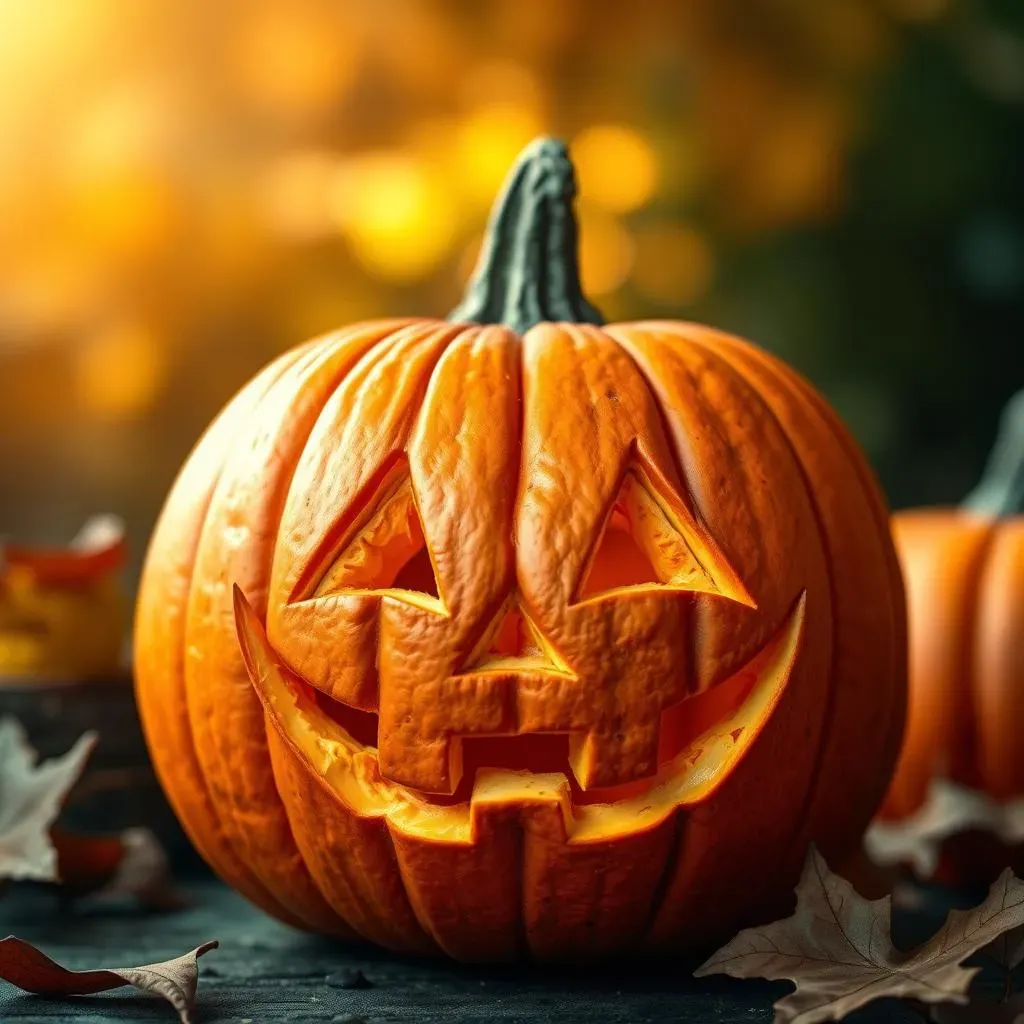
Classic Jack-O'-Lantern
The classic Jack-O'-Lantern is a classic for a reason: it’s simple and it works! It's also the perfect starting point for any beginner. Think of it as your pumpkin carving training wheels. The classic toothy grin, the triangle eyes, it's all straightforward. I still remember my first ever pumpkin, it was this classic design and I was so proud of it. The best part? There's no pressure to make it look like anything else. It's your Jack-O'-Lantern, and it can look as goofy or spooky as you want it to.
To make it even easier, you can draw the shapes on with a marker first before carving. This way, you have a guide, and you can erase if you don't like it. Don't worry if the lines are not straight, that adds to the character of the Jack-O'-Lantern. Remember, the goal is to have fun, not to create the perfect pumpkin. So, embrace the imperfections and enjoy the process.
Shape | Description | Difficulty |
|---|---|---|
Triangles | Easy to cut for eyes and noses | Very Easy |
Circles | Use a drill or cookie cutter for simple patterns | Easy |
Jagged Lines | Create spooky mouths | Easy |
Simple Curves | For subtle expressions | Easy |
Creative Twists on Simple Pumpkin Carving
Creative Twists on Simple Pumpkin Carving
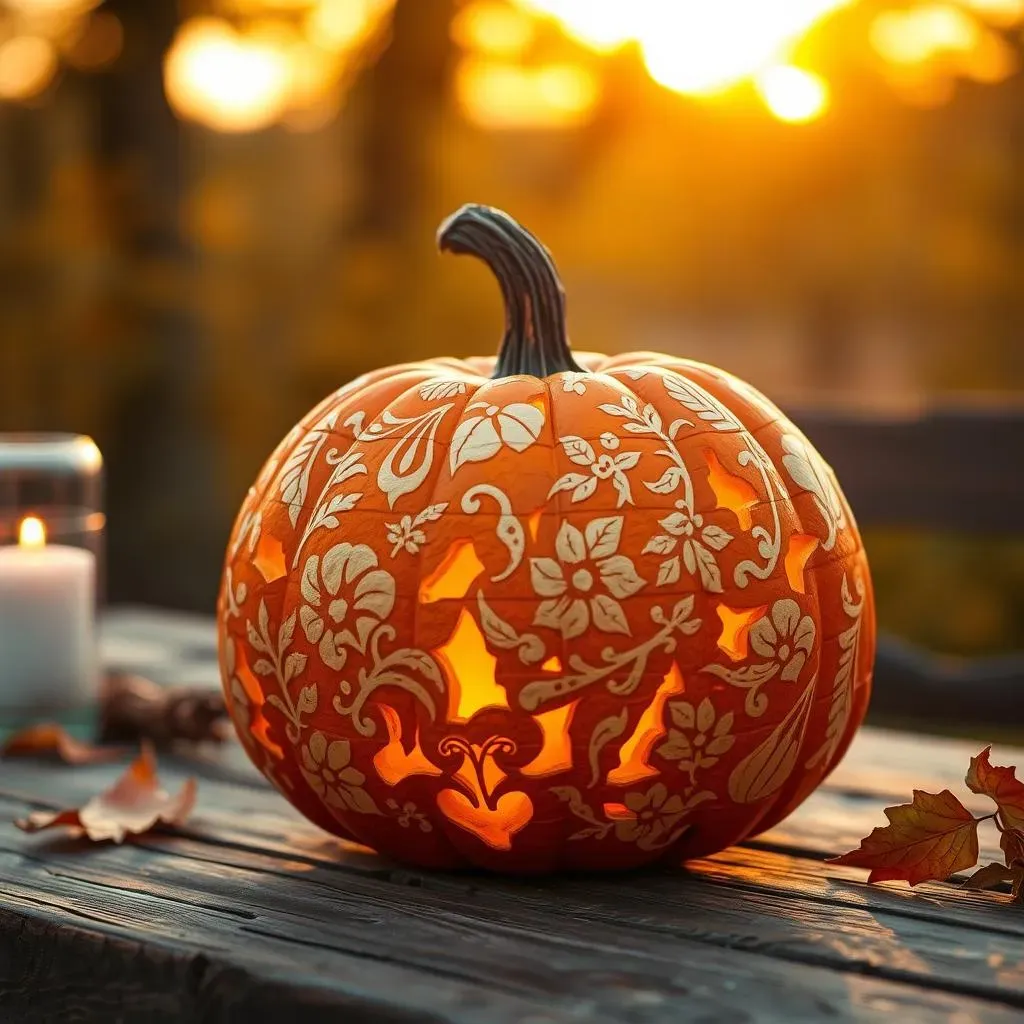
Stencil Magic
so you've mastered the basic shapes, now let's add a little flair. Stencils are your secret weapon for taking simple carvings to the next level. You don't need to be a freehand artist, just grab some stencils, trace them onto your pumpkin, and carve away. Think beyond the typical Halloween themes, use leaves, stars, or even geometric patterns. I once used a snowflake stencil for a winter-themed pumpkin, and it was a total hit. The best part is you can find stencils everywhere, online, in craft stores, or even make your own from cardboard.
Also, consider using different sized stencils to create a layered effect. For instance, a big star with smaller stars around it, or a large leaf with smaller leaves. It's like you're creating your own pumpkin art, and no one will know how easy it was. Remember, the key is to keep it simple, so don't try to use too many stencils at once. Pick one or two and focus on making them look great.
Surface Carving
Forget about cutting all the way through the pumpkin. Surface carving is where it's at if you want to add depth and texture to your pumpkin. Instead of cutting all the way, try just scraping away the outer layer of the pumpkin skin. This creates a cool, shadowy effect, especially when you put a light inside. I tried this last year by making a simple swirl pattern, and it looked like a magical portal was opening on the pumpkin.
You can use different tools for this, a regular carving tool, a spoon, or even a butter knife. Experiment with different levels of depth to create different shades. It's like you're painting with light and shadow. Surface carving also allows you to create more intricate patterns, without the risk of accidentally cutting through the whole pumpkin. It's a great way to add a unique touch to your pumpkin without a lot of effort.
Technique | Description | Difficulty |
|---|---|---|
Stenciling | Use pre-made or DIY stencils for patterns | Easy |
Surface Carving | Scrape off the outer layer for texture | Easy to Medium |
Layering | Combine different stencils or surface carving depths | Medium |
Making Your Simple Pumpkin Carving Stand Out
Making Your Simple Pumpkin Carving Stand Out
Light It Up
so you've got your carved pumpkin, but it's just sitting there looking a little... dull? Let's talk lighting! A simple candle is fine, but let's be real, it's a bit basic. Try using battery-operated fairy lights instead. They add a magical glow and come in all sorts of colors. I once used purple fairy lights inside a ghost pumpkin, and it looked like it was floating in the dark. You can also use colored bulbs or even those little LED tea lights that flicker. It's amazing how much a simple light can transform your pumpkin.
Another great trick is to use a spotlight to highlight certain areas of your design. This makes the shadows pop and adds a dramatic effect. If you're feeling extra creative, you can even use a strobe light for a spooky, flickering effect. Just be careful not to overdo it, you want your pumpkin to look cool, not like a rave. Remember, the lighting is just as important as the carving itself, so don't neglect it.
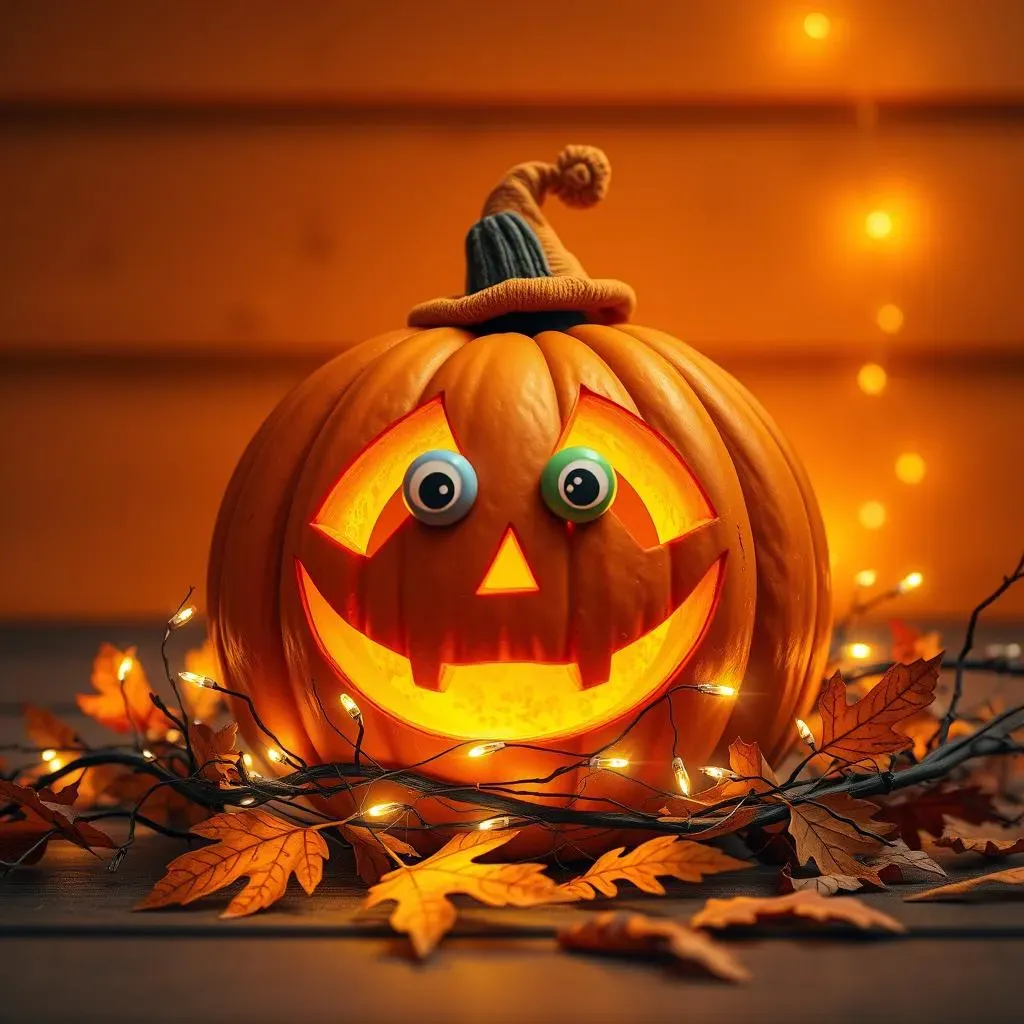
Add Some Props
Alright, your pumpkin is carved, it's lit, but it's still missing something, right? It's time to bring in the props! A few well-placed accessories can take your simple carving from "meh" to "wow". Think about adding a small hat or a pair of googly eyes. I once stuck a pair of fake vampire teeth into a pumpkin's mouth, and it instantly became the most hilarious pumpkin on the block. You could also use some fake cobwebs, plastic spiders, or even some colorful yarn to create a hair effect.
The key here is to be creative and have fun. Don't be afraid to experiment with different materials and textures. You can use things you already have lying around the house. Remember, you're not just carving a pumpkin, you're creating a character. So, give your pumpkin some personality with a few well-chosen props. It's the small details that make all the difference.
Enhancement | Description | Impact |
|---|---|---|
Fairy Lights | Use battery-operated lights for a magical glow | Adds a warm and inviting atmosphere |
Spotlights | Highlight specific areas for dramatic effect | Creates depth and shadows |
Props | Add hats, eyes, or other accessories | Gives the pumpkin character and personality |
Wrapping Up Your Creative Pumpkin Carving Adventure
So, there you have it! Carving a pumpkin doesn't have to be an Olympic sport. With these "creative simple pumpkin carving ideas", you can create a jack-o'-lantern that's both eye-catching and easy to achieve. Remember, the goal is to have fun and get a little spooky. Don't worry about perfection; sometimes the wonkiest smiles and the most uneven cuts are the ones that give your pumpkin character. Whether you went for a classic design with a twist, or tried a completely new approach, the important thing is that you put your personal touch on it. Now, go forth, display your glowing gourds with pride, and enjoy the spooky season. Happy carving, and may your Halloween be filled with more treats than tricks!