Table of Contents
Halloween is creeping closer, and that means it's time to unleash your inner artist and get carving! Forget those same-old, same-old triangle-eyed pumpkins. This year, we're diving deep into the world of creative scary pumpkin carving ideas that will make your jack-o'-lantern the envy of the neighborhood… or maybe just terrify the trick-or-treaters (in a fun way, of course!).
Level Up Your JackO'Lantern Game with Creative Scary Pumpkin Carving Ideas

Level Up Your JackO'Lantern Game with Creative Scary Pumpkin Carving Ideas
From Basic to Boogeyman: Ditching the Old School
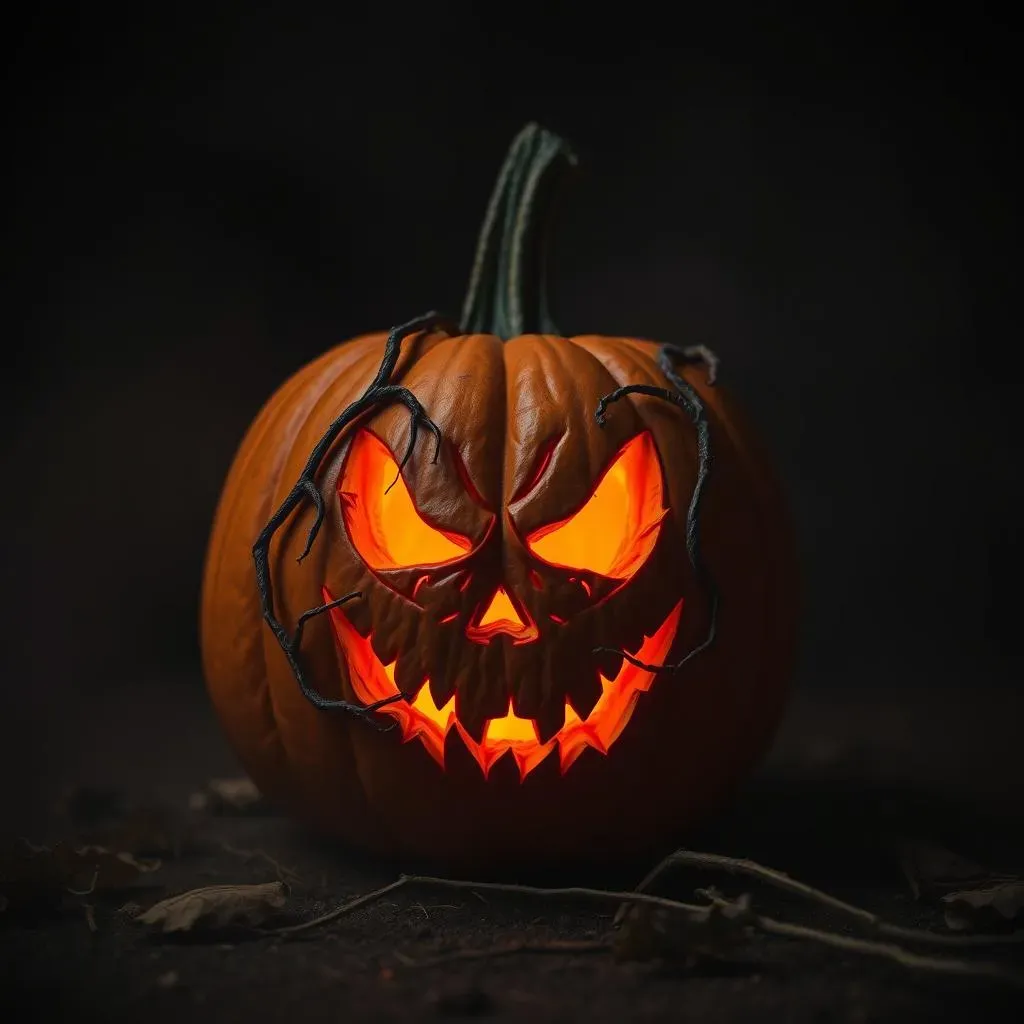
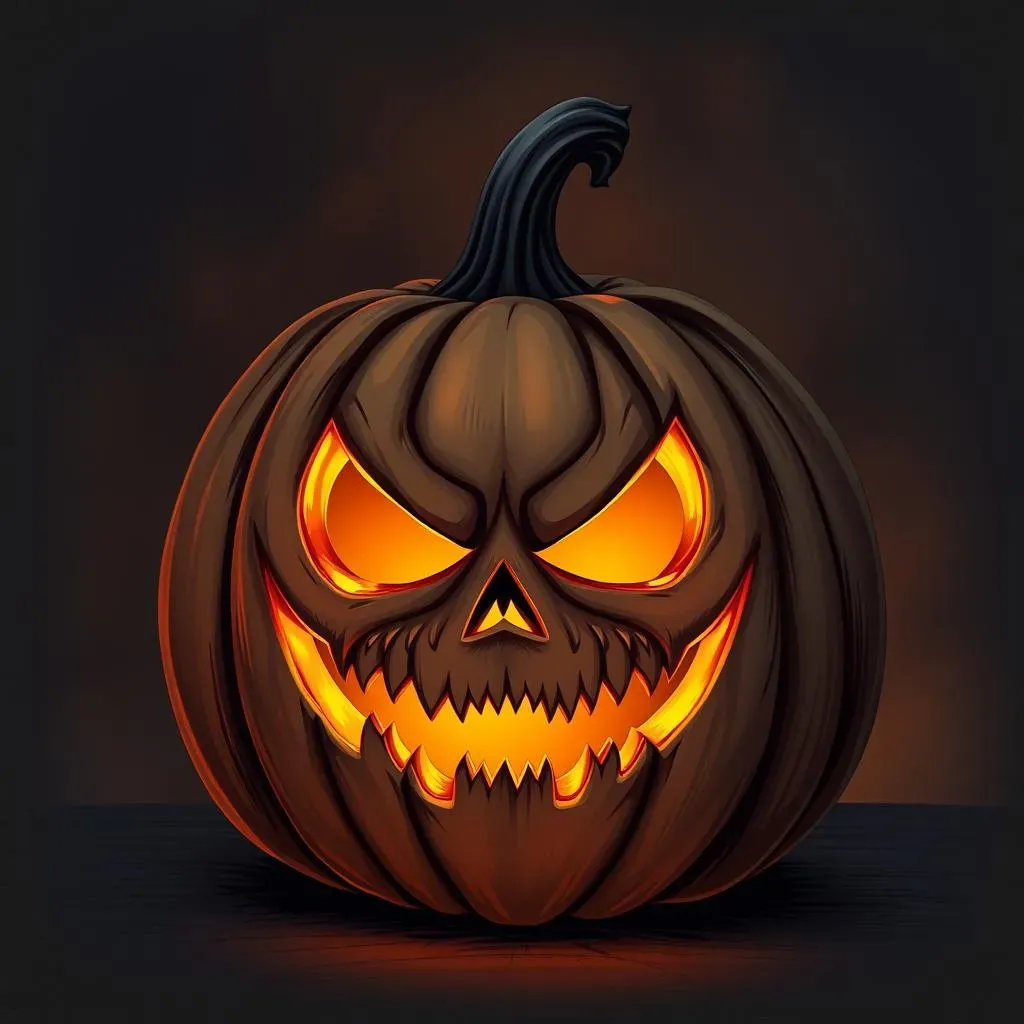
so you've carved a pumpkin before. Two triangle eyes, a jagged mouth – the whole nine yards. But let's be honest, it's been done. A million times. And frankly, it's a little… boring. If you're ready to seriously level up your jack-o'-lantern game with creative scary pumpkin carving ideas, it's time to think outside the orange box (or gourd, I guess). We're talking about moving beyond the basic and embracing the bizarre, the grotesque, and the genuinely unsettling. Think less "friendly ghost" and more "nightmare fuel."
The key to unlocking truly terrifying pumpkin potential is to forget everything you think you know about pumpkin carving. Forget symmetry. Forget neatness. Embrace the chaos! Look to horror movies, spooky folklore, and your own darkest imagination for inspiration. What scares you? Translate that fear into a pumpkin masterpiece. Trust me, the results will be far more impressive (and way more fun) than another smiling jack-o'-lantern.
Finding Your Ghoul-spiration: Where to Look for Creative Scary Pumpkin Carving Ideas
Stuck in a creative rut? Don't worry, inspiration is everywhere! Start by browsing online galleries of pumpkin carvings – but don't just copy what you see. Use them as a springboard for your own creative scary pumpkin carving ideas. Consider incorporating elements from your favorite horror movies, video games, or books. A zombie pumpkin? A demonic clown? The possibilities are endless!
Another great source of inspiration is nature itself. Look at insects, animals, and even decaying plants for grotesque and unsettling details you can incorporate into your design. Think about adding texture, depth, and unexpected elements to really make your pumpkin stand out. And don't be afraid to experiment! The best carvings often come from happy accidents.
Inspiration Source | Example | Scare Factor |
|---|---|---|
Horror Movies | Pennywise from "It" | High |
Folklore | Wendigo | Very High |
Nature | Spider with glowing eyes | Medium |
Essential Tools and Tips for Creative Scary Pumpkin Carving
Essential Tools and Tips for Creative Scary Pumpkin Carving
Gather Your Arsenal: The Essential Carving Kit
Alright, before you even think about sticking a knife into that pumpkin, you need the right tools. Forget that flimsy plastic kit you grabbed at the grocery store. We're going pro (or at least, pro-ish). A good carving kit is essential for bringing your creative scary pumpkin carving ideas to life. Invest in some sturdy tools that will last you for years. Look for a variety of saws, gouges, and scrapers to handle different levels of detail. A small, serrated knife is perfect for fine work, while a larger saw will make quick work of removing large sections of pumpkin.
Beyond the basic carving tools, consider adding some specialized equipment to your arsenal. A detail knife, like those used for wood carving, can be incredibly useful for creating intricate designs. A power carving tool, such as a rotary tool with various bits, can speed up the carving process and allow you to create textures and effects that would be impossible with hand tools. And don't forget a good scoop for removing all those pesky pumpkin guts!
- Pumpkin Carving Saw: For cutting out large sections and creating basic shapes.
- Detail Knife: For intricate details and fine lines.
- Gouges and Scrapers: For creating texture and removing thin layers of pumpkin.
- Scoop: For removing seeds and pulp.
- Pencils or Markers: For transferring your design onto the pumpkin.
Prep Like a Pro: Pumpkin Selection and Preparation
The best carving starts with the best pumpkin. Look for a pumpkin that is firm, heavy for its size, and has a smooth, even surface. Avoid pumpkins with soft spots, bruises, or blemishes. The stem should be green and firmly attached. A flat bottom will make it easier to work on, and a tall, slightly oblong shape is ideal for carving vertical designs. Once you've found the perfect pumpkin, wash it thoroughly with soap and water to remove any dirt or debris.
Before you start carving, take some time to prepare your pumpkin. Cut a large hole in the back of the pumpkin, rather than the top. This will make it easier to remove the guts and insert a light. Scrape out all the seeds and pulp, making sure to remove any stringy bits that might interfere with your carving. Thin the wall of the pumpkin where you plan to carve, leaving about an inch of flesh. This will make it easier to cut through and create cleaner lines. Now you're ready to transfer your design!
Pro Tip: Save the seeds! Roasted pumpkin seeds are a delicious and healthy snack.
Light It Up: Choosing the Right Illumination
The right lighting can make or break your jack-o'-lantern. Forget those old-fashioned candles. They're messy, dangerous, and don't provide consistent light. Battery-operated LED lights are the way to go. They're safe, long-lasting, and come in a variety of colors. You can even find flickering LED candles that mimic the look of a real flame.
For a truly terrifying effect, consider using colored lights. Green, red, or purple lights can add an eerie glow to your pumpkin. You can also use multiple lights to create shadows and highlights. Experiment with different lighting techniques to see what works best for your design. And don't be afraid to get creative! You can even use a strobe light to create a flickering, disorienting effect.
Remember to consider the placement of your light source. If you're carving a 3D design, you'll want to position the light so that it illuminates all the details. You can also use internal reflectors, such as aluminum foil, to bounce light around inside the pumpkin.
Light Source | Pros | Cons | Scare Factor |
|---|---|---|---|
LED Lights | Safe, long-lasting, various colors | Can be too bright | Medium |
Flickering LED Candles | Realistic flame effect | Can be less bright than LEDs | Medium |
Colored Lights | Adds eerie glow | Can be overwhelming | High |
Stencils and Templates for Seriously Spooky Creative Pumpkin Carving
Stencils and Templates for Seriously Spooky Creative Pumpkin Carving
Freehand Fear vs. Stencil Support
Alright, so you've got your pumpkin, your tools, and your lighting. Now comes the design. You might be thinking, "I'm an artist! I'll just freehand it!" And hey, if you're confident in your skills, go for it! But for the rest of us mere mortals, stencils and templates are a lifesaver. They allow you to create intricate and detailed designs without having to be a master artist. Plus, they're a great way to experiment with different creative scary pumpkin carving ideas before committing to the real thing.
Think of stencils as training wheels for your pumpkin carving. They provide a framework to guide your cuts and ensure that your design is accurate and proportionate. You can find tons of free stencils online, or you can even create your own using a photo editing program. Just print out your stencil, tape it to your pumpkin, and use a tracing tool to transfer the design onto the surface. Then, grab your carving tools and start cutting! It's that easy.
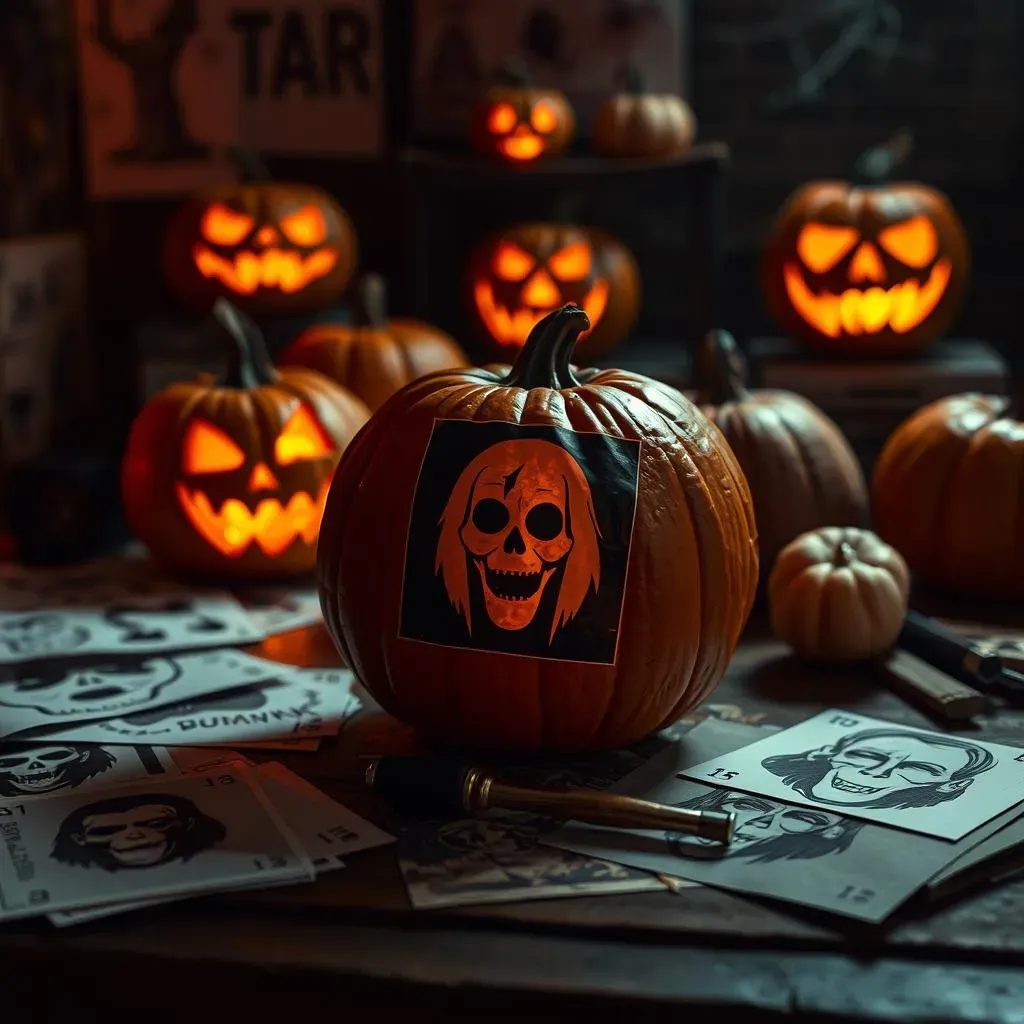
Unleashing the Stencil Horde: Where to Find Seriously Spooky Templates
The internet is overflowing with free pumpkin carving stencils. A quick search for "Halloween pumpkin stencils" will yield a mountain of results. But with so many options, it can be hard to know where to start. Look for websites that offer high-quality, printable stencils in a variety of designs. Some sites even allow you to customize your stencils by adding text or changing the size and shape of the design. Don't limit yourself to traditional Halloween themes. Think outside the box and look for stencils featuring your favorite horror movie characters, video game villains, or spooky animals. The more unique and unexpected your stencil, the more impressive your pumpkin will be.
If you're feeling extra creative, you can even create your own stencils using a photo editing program like Photoshop or GIMP. Simply find a high-resolution image of your desired design, convert it to black and white, and then use the threshold tool to create a stencil effect. Print out your stencil, tape it to your pumpkin, and start carving! Just remember to take your time and be careful when cutting out the small details.
Stencil Type | Difficulty | Scare Factor | Where to Find |
|---|---|---|---|
Simple Shapes (bats, ghosts) | Easy | Low | Everywhere |
Cartoon Characters (scary versions) | Medium | Medium | Dedicated Halloween sites |
Horror Movie Icons | Hard | High | Specialized stencil sites |
Beyond the Basic Triangle Eyes: Advanced Creative Scary Pumpkin Carving Techniques
Beyond the Basic Triangle Eyes: Advanced Creative Scary Pumpkin Carving Techniques
Embrace the Third Dimension: 3D Pumpkin Carving
so you've mastered the art of stencils and flat carvings. Now it's time to take your creative scary pumpkin carving ideas to the next level: 3D carving! This technique involves removing layers of pumpkin flesh to create depth and dimension. Think of it like sculpting, but with a pumpkin. Instead of just cutting through the pumpkin, you're shaping it, creating shadows and highlights that bring your design to life. It might sound intimidating, but with a little practice and the right tools, anyone can create stunning 3D pumpkin carvings.
The key to successful 3D carving is patience and precision. Start by sketching out your design on the pumpkin, paying close attention to the areas where you want to create depth. Then, use a variety of carving tools, such as gouges, loop tools, and detail knives, to carefully remove layers of pumpkin flesh. Remember to work slowly and gradually, checking your progress frequently. It's always better to remove too little than too much. And don't be afraid to experiment! The best 3D carvings often come from unexpected discoveries.
Power Up Your Carving: Rotary Tools and Beyond
Want to seriously speed up your carving process and add a whole new level of detail to your creative scary pumpkin carving ideas? It's time to embrace the power of rotary tools! These versatile tools, often used for wood carving and engraving, can make quick work of removing large sections of pumpkin, creating intricate textures, and adding fine details that would be impossible with hand tools. A rotary tool with a variety of bits is a game-changer for any serious pumpkin carver.
When using a rotary tool, it's important to wear safety glasses and a dust mask to protect yourself from flying debris. Start by practicing on a scrap piece of pumpkin to get a feel for the tool and the different bits. Use a light touch and let the tool do the work. Don't force it or you could damage the pumpkin or injure yourself. Experiment with different bits to create different effects. A conical grinding stone is great for removing large areas of pumpkin, while a small engraving bit is perfect for adding fine details. With a little practice, you'll be amazed at what you can achieve with a rotary tool.
The Art of Subtraction: Shaving and Etching Techniques
Not all creative scary pumpkin carving ideas require cutting all the way through the pumpkin. Sometimes, the most effective designs are created by simply shaving away the surface to reveal the lighter flesh underneath. This technique, known as shaving or etching, allows you to create subtle shadows and highlights that add depth and dimension to your carving. It's perfect for creating portraits, intricate patterns, and ghostly apparitions.
To shave a pumpkin, use a sharp knife or a specialized shaving tool to carefully remove the outer layer of skin. Work slowly and gradually, checking your progress frequently. You can use stencils or templates to guide your cuts, or you can freehand your design. Once you've shaved away the desired areas, you can add further details by etching lines and patterns into the surface using a detail knife or a wood-burning tool. The key to successful shaving is to create a smooth, even surface without cutting too deep. With a little practice, you can create stunningly realistic and ethereal carvings using this simple but effective technique.
Technique | Tools | Effect | Difficulty |
|---|---|---|---|
3D Carving | Gouges, loop tools, detail knives | Depth and dimension | Hard |
Rotary Tool Carving | Rotary tool with various bits | Speed and detail | Medium |
Shaving/Etching | Sharp knife, shaving tool, wood-burning tool | Subtle shadows and highlights | Medium |
Showcase: The Most Creative and Scary Pumpkin Carving Ideas to Inspire You
Showcase: The Most Creative and Scary Pumpkin Carving Ideas to Inspire You
Horror Movie Mayhem: Pumpkins Inspired by the Silver Screen
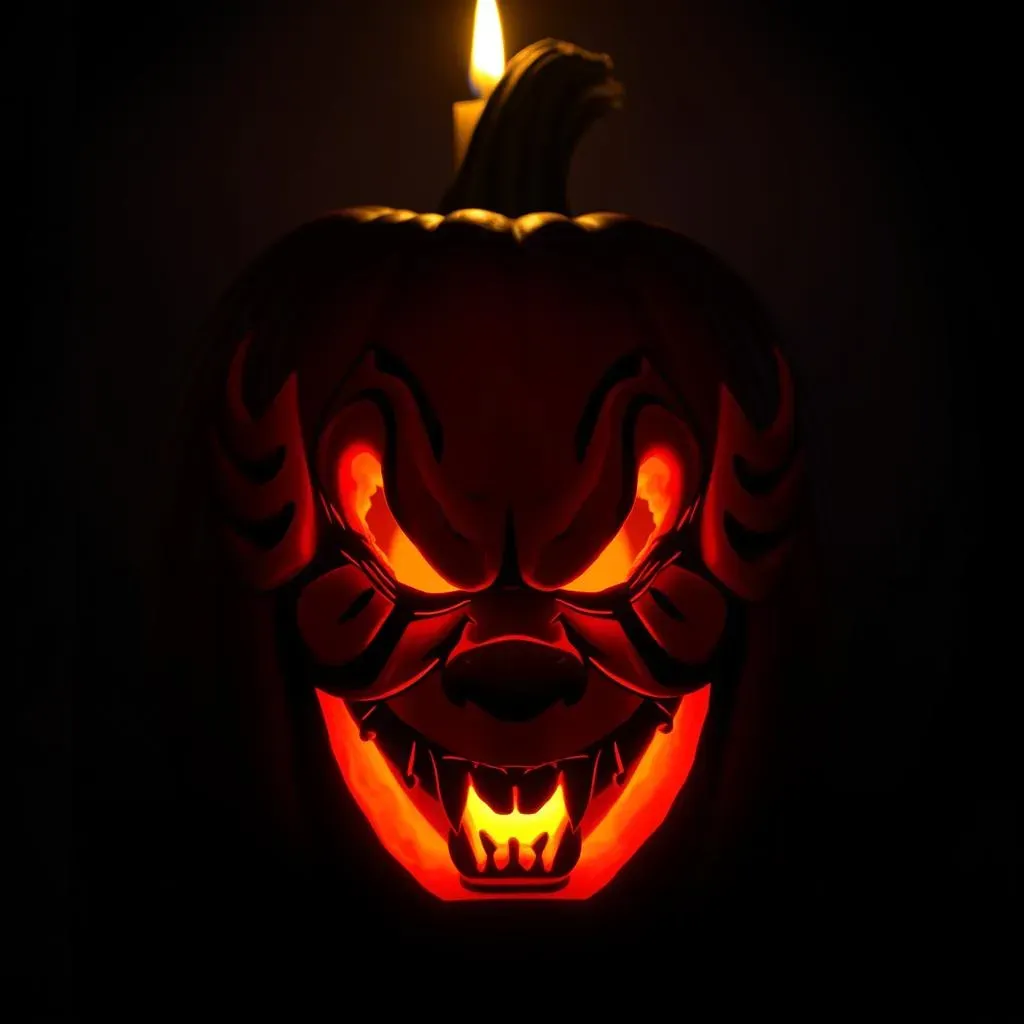
Let's kick things off with some cinematic scares! Horror movies are a goldmine for creative scary pumpkin carving ideas. Think about your favorite fright flicks and the iconic villains that haunt your nightmares. Pennywise's menacing grin from "It," Michael Myers's blank stare from "Halloween," or the Xenomorph's terrifying visage from "Alien" – all ripe for pumpkin-fication. The key is to capture the essence of the character, whether it's a specific expression, a signature weapon, or a defining feature. Don't be afraid to get gory! A little fake blood (or even some strategically placed pumpkin guts) can really amp up the scare factor.
Consider a multi-pumpkin display to recreate a famous scene or character. For example, you could carve a series of pumpkins to depict the stages of transformation from "The Exorcist," or create a graveyard scene with tombstones and zombie pumpkins rising from the earth. The more ambitious you are, the more impressive the results will be. And remember, lighting is key! Use colored lights and shadows to create a spooky atmosphere and highlight the details of your carving.
Movie | Character | Carving Idea | Scare Factor |
|---|---|---|---|
"The Exorcist" | Regan | Spinning head with glowing eyes | High |
"Halloween" | Michael Myers | Mask with blank, menacing stare | Medium |
"It" | Pennywise | Grinning face with sharp teeth | High |
Gothic Grandeur: Elegant and Eerie Pumpkin Designs
If blood and guts aren't your thing, you can still create a terrifying pumpkin with a touch of elegance. Gothic-inspired designs are a great way to achieve a sophisticated yet spooky look. Think intricate patterns, ornate details, and a touch of the macabre. Consider carving a haunted house with intricate architectural details, a gothic cathedral with towering spires, or a portrait of a ghostly Victorian lady. The key is to focus on precision and detail, creating a carving that is both beautiful and unsettling.
To add a touch of gothic grandeur to your pumpkin, consider using metallic paints or glitter to highlight the details of your carving. Black and silver are classic choices, but you can also experiment with other colors, such as gold, bronze, or even a deep purple. Use stencils or templates to create intricate patterns, or freehand your own designs if you're feeling ambitious. And don't forget the lighting! A single flickering candle or a string of fairy lights can add a touch of romance and mystery to your gothic pumpkin.
Unleash Your Inner Pumpkin Picasso: Final Thoughts on Creative Scary Pumpkin Carving
So, there you have it – a cauldron full of creative scary pumpkin carving ideas to elevate your Halloween game. From mastering the basics to tackling advanced techniques, remember that the most important ingredient is your own imagination. Don't be afraid to experiment, get messy, and most importantly, have fun! Whether you choose to recreate one of the designs we've showcased or conjure up something entirely unique, your spooky pumpkin masterpiece is sure to be a scream. Now go forth and carve fearlessly!