Table of Contents
Halloween is just around the corner, and what better way to celebrate than by carving a pumpkin? But who says you need a giant gourd to get creative? This year, we're diving into the world of cool small pumpkin carving ideas that are big on impact but easy on space. Whether you're a seasoned pro or a first-time carver, there's a design here to spark your imagination.
Setting the Stage: Prep for Your Cool Small Pumpkin Carving
Setting the Stage: Prep for Your Cool Small Pumpkin Carving
Choosing Your Mini Canvas
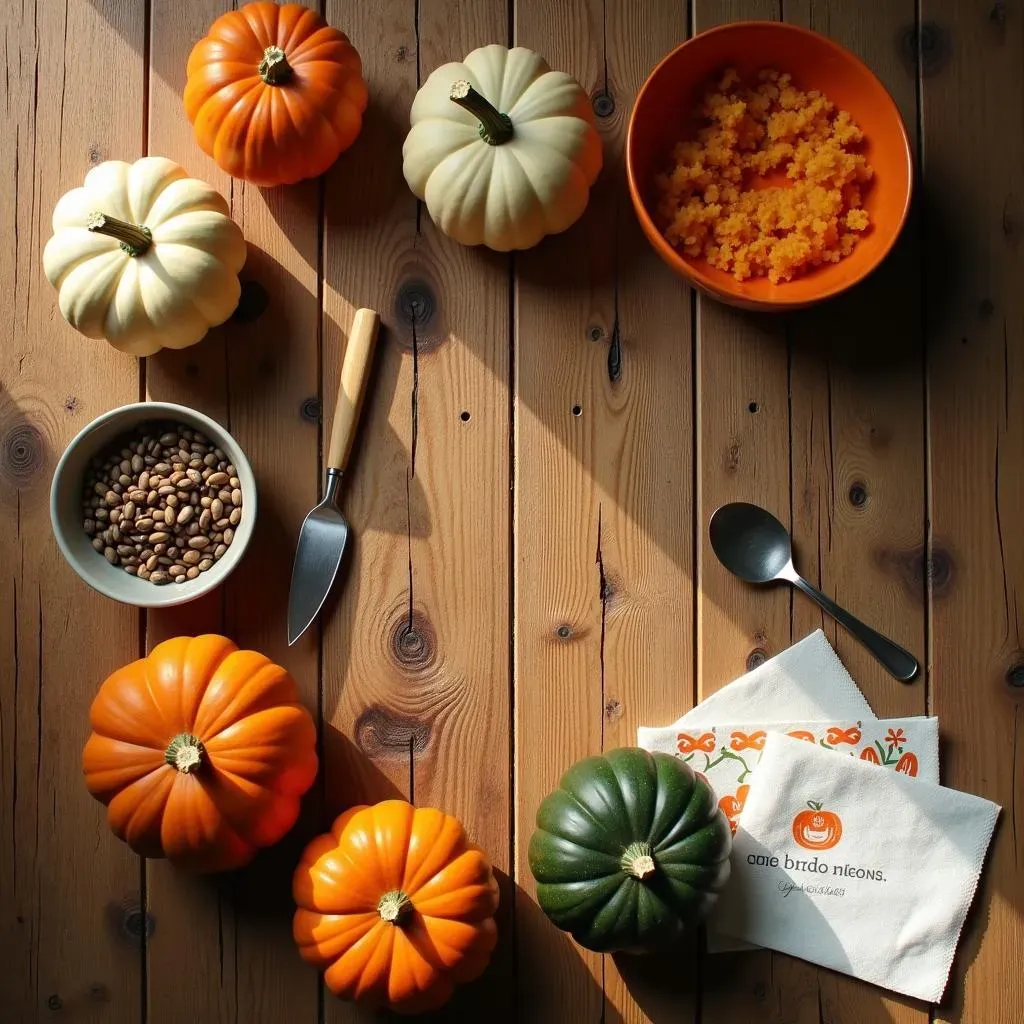
First things first, you gotta pick your pumpkins! Not all pumpkins are created equal, especially when we're talking about the small ones. Look for pumpkins that are relatively smooth, without too many blemishes or soft spots. The stem should be sturdy – that's a good sign of freshness. And hey, don't be afraid to get creative with shapes! A slightly wonky or oblong pumpkin can add character to your carving.
I usually hit up my local farmers market for the best selection. You can often find unique varieties there that you won't see in the big chain stores. Plus, supporting local is always a win! Think about color too, you can find mini pumpkins in green, white, orange, and other colors.
Gather Your Gear
Alright, pumpkin secured! Now it's time to assemble your carving toolkit. You don't need anything fancy, but a few key items will make the process much smoother. Here's what I recommend:
- A small, serrated knife: Perfect for cutting the lid and carving details.
- A sturdy spoon or scoop: For gutting the pumpkin (the less glamorous but essential part).
- A poking tool: To poke the pattern.
- A bowl: For all the pumpkin guts.
- Paper towels: Because things are gonna get messy.
- A printout of your design (optional): For tracing onto the pumpkin.
Safety Tip: Always carve on a stable surface and be mindful of your fingers! Pumpkin carving can be slippery business.
Gutting with Gusto
this is where things get a little… visceral. But trust me, it's a necessary step. Carefully cut a circle around the stem of your pumpkin, creating a lid. Angle the knife inward slightly so the lid doesn't fall through. Now, grab your spoon or scoop and get to work removing all the seeds and stringy bits.
I like to save the seeds, rinse them off, and roast them with a little salt and pepper. They make a delicious and healthy snack! Once you've removed all the gunk, scrape the inside walls of the pumpkin smooth. This will make carving easier and give you a cleaner finish.
Pro Tip: If your pumpkin is particularly thick-walled, you can thin it out a bit with your spoon. This will make carving intricate designs much easier.
Cute and Creepy: Cool Small Pumpkin Carving Ideas for Beginners
Cute and Creepy: Cool Small Pumpkin Carving Ideas for Beginners
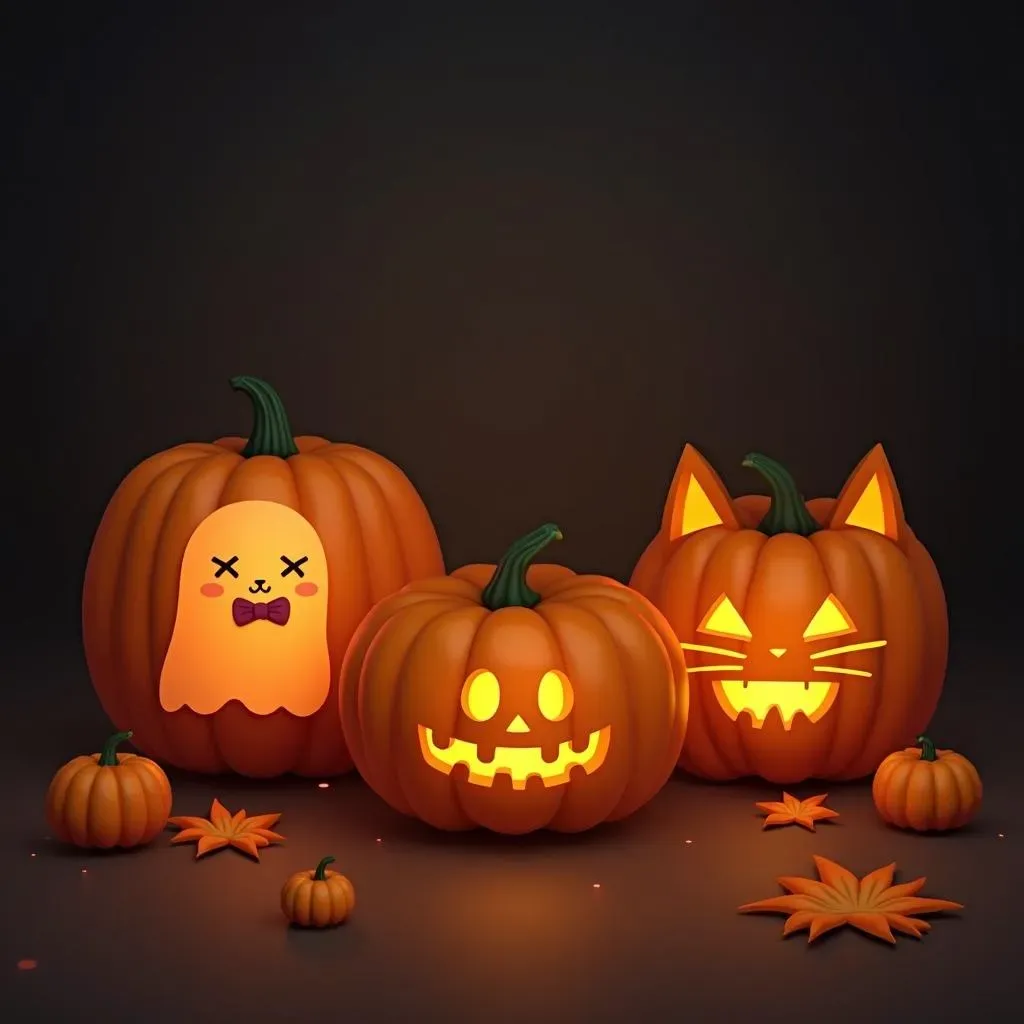
Alright, you've got your pumpkin prepped and ready to go. Now for the fun part: carving! If you're just starting out, don't feel like you need to create a masterpiece right away. There are tons of easy and adorable designs that are perfect for beginners. Think simple shapes, like ghosts, bats, or cats. The key is to keep it clean and don't overcomplicate things.
One of my favorite beginner-friendly ideas is a simple ghost. Just draw a basic ghost shape on your pumpkin, cut it out, and add some cute little eyes. You can even add a tiny bow tie for extra flair! Another great option is a bat. Use a template or freehand it, and give your bat some pointy ears and little fangs. Remember, it doesn't have to be perfect – the imperfections are what make it charming!
Design Idea | Difficulty | Description |
|---|---|---|
Simple Ghost | Easy | Classic ghost shape with basic eyes. |
Cute Bat | Easy | Bat silhouette with pointy ears and small fangs. |
Silly Cat | Easy | Cat face with triangle ears and whisker dots. |
Level Up: Intermediate Cool Small Pumpkin Carving Projects
Level Up: Intermediate Cool Small Pumpkin Carving Projects
Stepping Up Your Stencil Game
Ready to move beyond the basics? Intermediate carving is all about adding complexity and detail to your designs. This is where stencils become your best friend. You can find tons of free printable stencils online, or even create your own using image editing software. Look for designs that incorporate shading, texture, and more intricate lines.
When transferring your stencil to the pumpkin, use a poking tool to create small holes along the stencil lines. This will give you a clear guide to follow when you start carving. Don't be afraid to experiment with different stencil techniques, like using multiple stencils to create layered designs. I remember one year, I combined a spiderweb stencil with a spider stencil for a super spooky effect!
Playing with Depth and Dimension
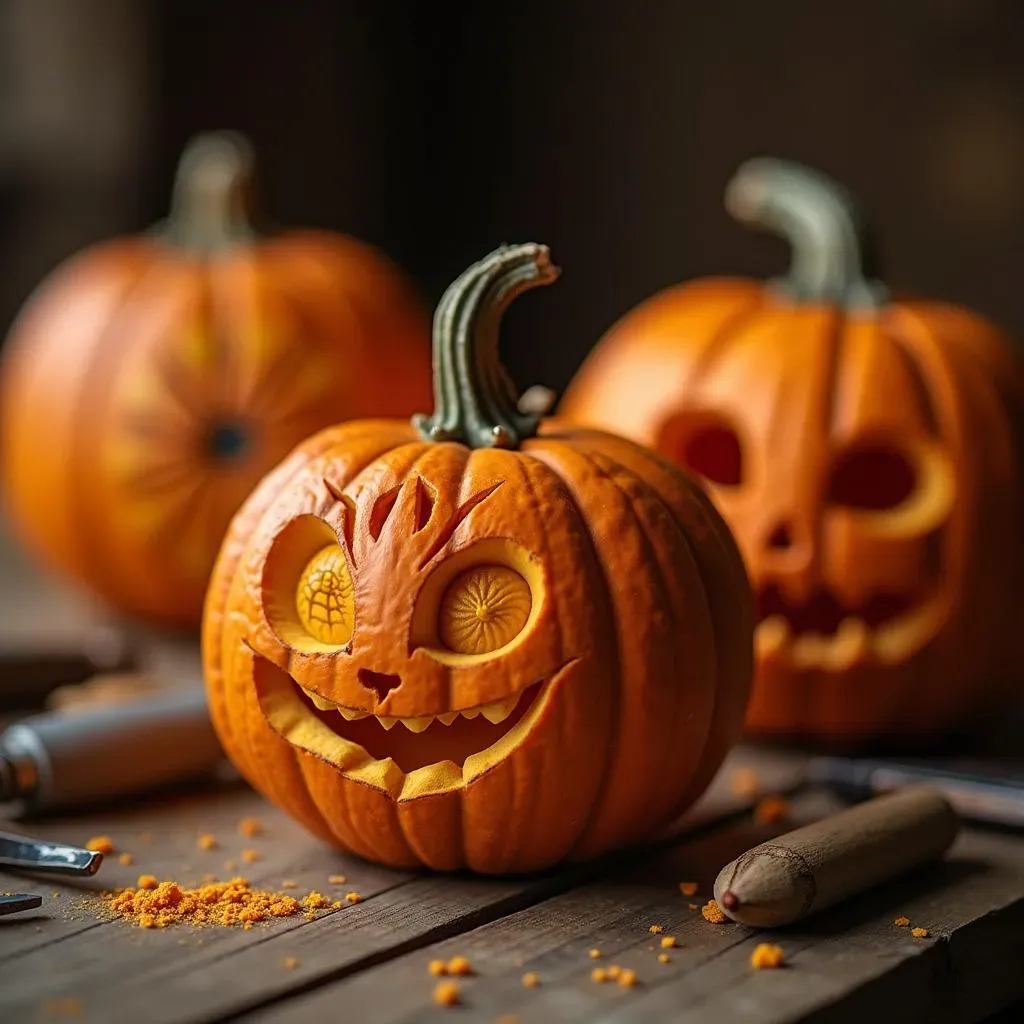
One of the key differences between beginner and intermediate carving is the use of depth. Instead of just cutting all the way through the pumpkin, try carving at different depths to create a more three-dimensional effect. You can use a variety of tools for this, such as wood carving gouges or even just a sharp paring knife.
For example, if you're carving a face, you can carve the areas around the eyes and mouth deeper to make them stand out. You can also use depth to create shading and texture. Try carving small lines or dots to simulate fur or scales. It's all about experimenting and seeing what works best for you!
Technique | Description | Tools |
|---|---|---|
Variable Depth Carving | Carving at different depths to create a 3D effect. | Wood carving gouges, paring knife |
Shading | Using shallow cuts to create shaded areas. | Paring knife, detail carving tools |
Texture | Adding small lines or dots to simulate texture. | Detail carving tools, poking tool |
Masterful Miniatures: Advanced Cool Small Pumpkin Carving Designs
Masterful Miniatures: Advanced Cool Small Pumpkin Carving Designs
Micro-Carving Mastery: Tools of the Trade
So, you're ready to tackle some seriously intricate designs? Awesome! But before you dive in, let's talk tools. At this level, your basic carving kit just won't cut it. You're going to need some specialized equipment to achieve those fine details. Think precision – like, surgeon-level precision.
I'm talking about detail carving knives with super-fine blades, miniature gouges, and even dental tools! Yes, you read that right. Dental tools are fantastic for scraping away small amounts of pumpkin flesh and creating subtle textures. You'll also want a good magnifying glass or even a jeweler's loupe to really see what you're doing. Trust me, your eyes will thank you.
From Pixels to Pumpkin: Complex Design Transfers
Forget basic stencils – we're going digital! For advanced carvings, you'll likely be working with complex images or designs that need to be transferred to your pumpkin with pinpoint accuracy. This is where technology comes in handy.
I recommend using a projector to beam your design directly onto the pumpkin. This allows you to easily adjust the size and position of the image. Then, use a fine-tipped marker to trace the design onto the pumpkin's surface. Alternatively, you can print out your design and use carbon paper to transfer it, but the projector method is much more precise. Remember to take your time and double-check your lines before you start carving!
Illumination Innovation: Lighting Your Masterpiece
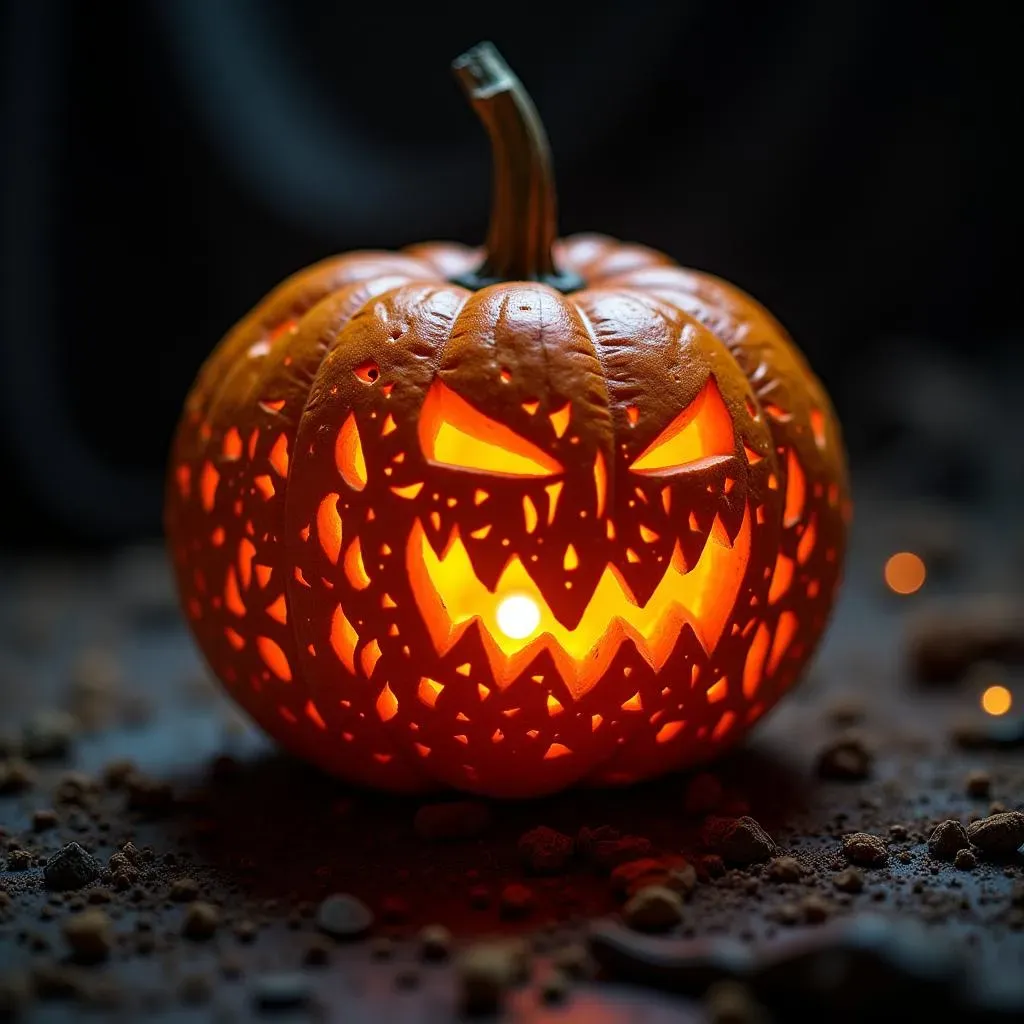
You've spent hours meticulously carving your miniature masterpiece, now it's time to show it off! But forget those cheesy battery-operated tea lights. At this level, you need to think about illumination as part of the design.
Experiment with different lighting techniques to create dramatic effects. Consider using LED spotlights to highlight specific areas of your carving. You can also use colored gels to add a pop of color. Another cool trick is to drill small holes in the back of the pumpkin and insert fiber optic cables. This will create a dazzling display of light that will really make your carving stand out.
Lighting Technique | Description | Effect |
|---|---|---|
LED Spotlights | Focus light on specific areas. | Highlights details, creates shadows |
Colored Gels | Add color to the light source. | Creates a vibrant, eye-catching effect |
Fiber Optic Cables | Insert cables into small holes. | Dazzling display of pinpoint lights |
Unleash Your Inner Artist: Final Thoughts on Cool Small Pumpkin Carving
So, there you have it – 110 cool small pumpkin carving ideas to make this Halloween your most creative yet. Don't be afraid to experiment, mix and match designs, and put your personal spin on these concepts. Remember, the most important thing is to have fun and enjoy the process. Grab your carving tools, gather your mini pumpkins, and let your imagination run wild. Happy carving, and Happy Halloween!