Table of Contents
Halloween's knocking, and it's time to ditch the same old smiley-face pumpkins. Are you ready to unleash some serious spooky vibes this year? Forget friendly, we're diving headfirst into the world of cool scary pumpkin carving ideas that will make your neighbors do a double-take. We're not just talking about jagged teeth and triangle eyes; we're talking next-level ghoulishness that'll set your porch apart from the pumpkin patch posers.
Level Up Your JackO'Lantern Game with Cool Scary Pumpkin Carving Ideas

Level Up Your JackO'Lantern Game with Cool Scary Pumpkin Carving Ideas
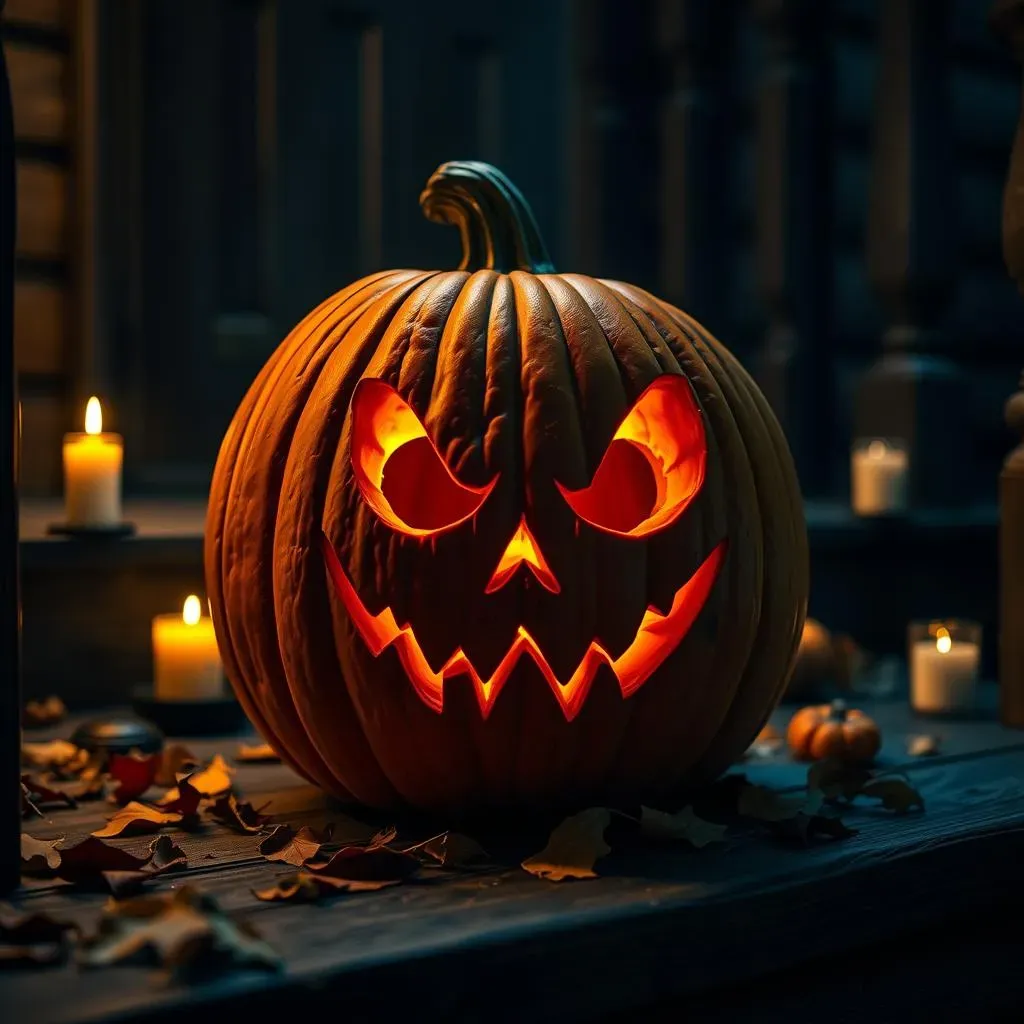
Ditch the Basic Triangle Eyes: Embrace the Scary
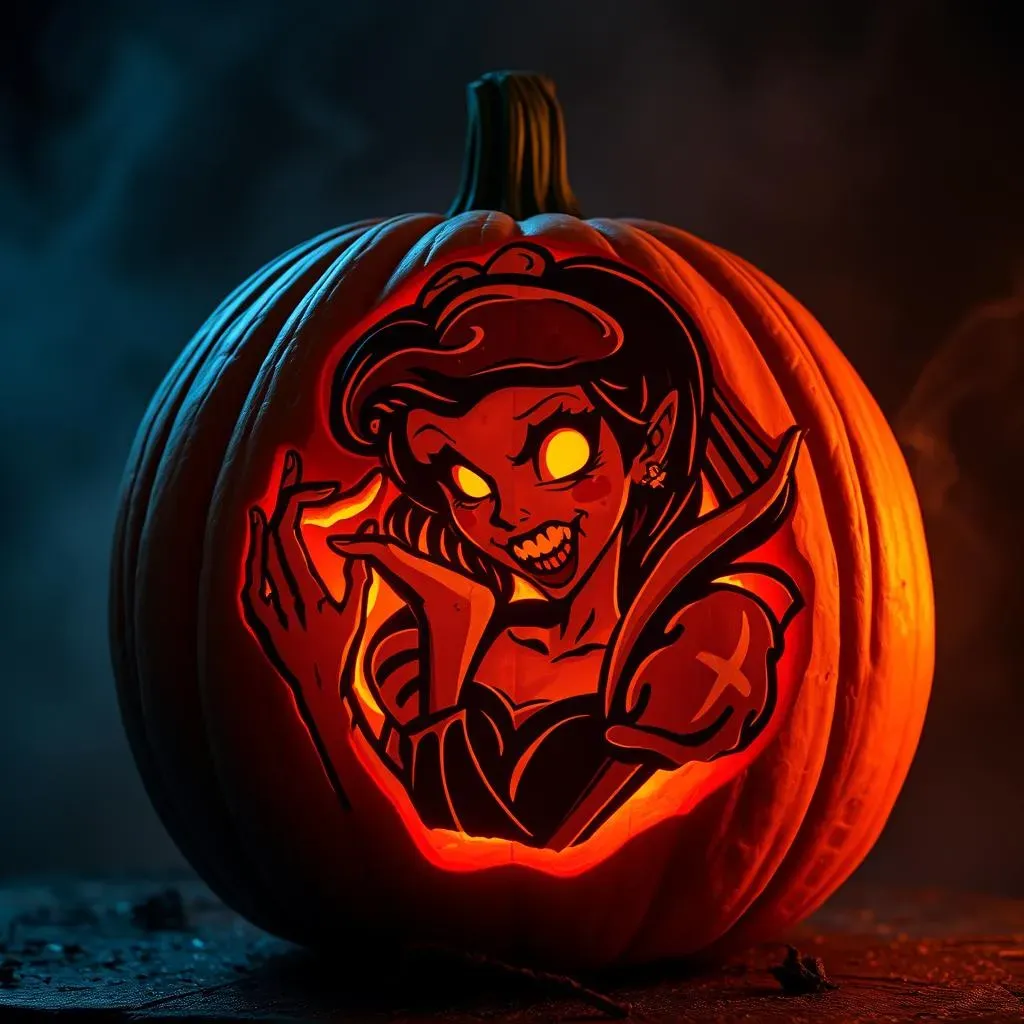
Let's be real, those simple triangle eyes and goofy grins are cute for toddlers, but this Halloween, it's time to unleash your inner artist and scare the pants off your neighbors. We're talking about moving beyond the basics and diving into the realm of genuinely cool scary pumpkin carving ideas. Think intricate details, menacing expressions, and designs that tell a story. Forget generic ghosts; we're aiming for terrifying tributes to classic horror icons and original monsters that lurk in the shadows of your imagination. It's about transforming a simple pumpkin into a statement piece that screams (pun intended) Halloween spirit.
But where do you even begin? Don't worry, leveling up your Jack-O'-Lantern game doesn't require you to be a master sculptor. It's all about finding the right inspiration and techniques. Consider this your creative playground, a space to experiment with different patterns, tools, and lighting to achieve the ultimate scare factor. The goal is to create something unique, something that reflects your personality and pushes the boundaries of traditional pumpkin carving. So, grab your pumpkin, your tools, and let's get ready to elevate your Halloween décor to a whole new level of fright!
Finding Inspiration: From Pop Culture to Personal Nightmares
Stuck in a creative rut? No sweat! Inspiration for cool scary pumpkin carving ideas is all around you. Dive into your favorite horror movies for inspiration. A menacing Pennywise grin, a chilling Xenomorph head, or even a subtle nod to a classic slasher villain can all translate into incredible pumpkin designs. Don't limit yourself to the silver screen, though. Explore the realm of mythology and folklore for creatures like werewolves, vampires, and demons. Or, tap into your own personal fears and create a pumpkin that embodies your worst nightmare. Think spiders, snakes, or even clowns (if you're brave enough!).
Another great source of inspiration is nature itself. Look to the animal kingdom for terrifying creatures with sharp teeth, piercing eyes, and menacing claws. A snarling wolf, a screeching owl, or even a venomous spider can make for a truly terrifying pumpkin design. The key is to find a subject that genuinely scares you and then translate that fear into a visual masterpiece. Remember, the more personal and unique your inspiration, the more impactful your final creation will be. So, embrace your inner darkness and let your imagination run wild!
Inspiration Source | Example Design | Scare Factor |
|---|---|---|
Horror Movies | Pennywise Grin | High |
Mythology | Medusa Head | Medium |
Personal Fears | Giant Spider | Variable (Depends on the person!) |
From Ghoulish Grins to SpineChilling Scenes: Scary Pumpkin Designs to Inspire
From Ghoulish Grins to SpineChilling Scenes: Scary Pumpkin Designs to Inspire
Classic Horror Icons Reimagined
Let's start with the heavy hitters, the legends of horror that have haunted our nightmares for generations. Think Dracula's menacing glare, Frankenstein's stitched-up scowl, or the ghostly visage of a classic zombie. The beauty of these designs lies in their recognizability. A well-executed carving of a horror icon instantly sets a spooky tone and pays homage to the genre we all love. The key is to capture the essence of the character – the sharp fangs, the sunken eyes, the grotesque details that make them so iconic.
But don't just copy and paste! Put your own spin on these classic designs. Maybe give Dracula a more modern, brooding look, or add some extra stitches and bolts to Frankenstein's monster. The more creative you get, the more unique and terrifying your pumpkin will become. Consider adding LED lights behind the carving to create an eerie glow that highlights the details and brings your horror icon to life. Remember, it's all about creating a chilling atmosphere that will leave a lasting impression on trick-or-treaters.
Creepy Creatures from the Deep
Venture beyond the familiar and delve into the depths of the ocean for some truly terrifying inspiration. Sea monsters, mutated fish, and other aquatic horrors can make for some incredibly unique and unsettling pumpkin designs. Imagine a pumpkin carved with the gaping maw of a great white shark, the tentacled face of Cthulhu, or the bioluminescent glow of an anglerfish. These designs are not only scary but also visually stunning, showcasing the bizarre and often terrifying creatures that lurk beneath the waves.
The key to pulling off these designs is to focus on the details – the sharp teeth, the slimy scales, the otherworldly eyes. Use different carving techniques to create texture and depth, and consider adding glow-in-the-dark paint to enhance the bioluminescent effect. These designs are sure to stand out from the crowd and leave a lasting impression on anyone who dares to gaze upon them. Just be prepared to answer questions about what exactly that creature is supposed to be!
Twisted Fairytales: When Childhood Dreams Turn Nightmares
Take those innocent stories from your youth and give them a dark, sinister twist. Imagine a pumpkin carved with a zombified Cinderella, a bloodthirsty Little Red Riding Hood, or a sinister Snow White surrounded by poisoned apples. These designs play on our childhood nostalgia, turning familiar characters into terrifying figures that will make you question everything you thought you knew. The contrast between the innocent fairytale and the gruesome reality creates a truly unsettling effect.
Think about ways to incorporate classic fairytale elements into your scary pumpkin carving. Maybe add a broken glass slipper to Cinderella's design, a bloody axe to Little Red Riding Hood's pumpkin, or a skull-shaped apple to Snow White's creation. The more subtle and clever the details, the more impactful the overall effect will be. These designs are perfect for those who want to create something truly unique and thought-provoking, something that will stay with people long after Halloween is over.
Twisted Fairytale | Scary Pumpkin Design | Creepy Element |
|---|---|---|
Cinderella | Zombified Cinderella | Broken glass slipper covered in blood |
Little Red Riding Hood | Bloodthirsty Red Riding Hood | Bloody axe |
Snow White | Sinister Snow White | Skull-shaped apple |
Easy Scary Pumpkin Carving Ideas: Stencils and Tutorials for Beginners
Easy Scary Pumpkin Carving Ideas: Stencils and Tutorials for Beginners
Stencils: Your Shortcut to Spooky Success
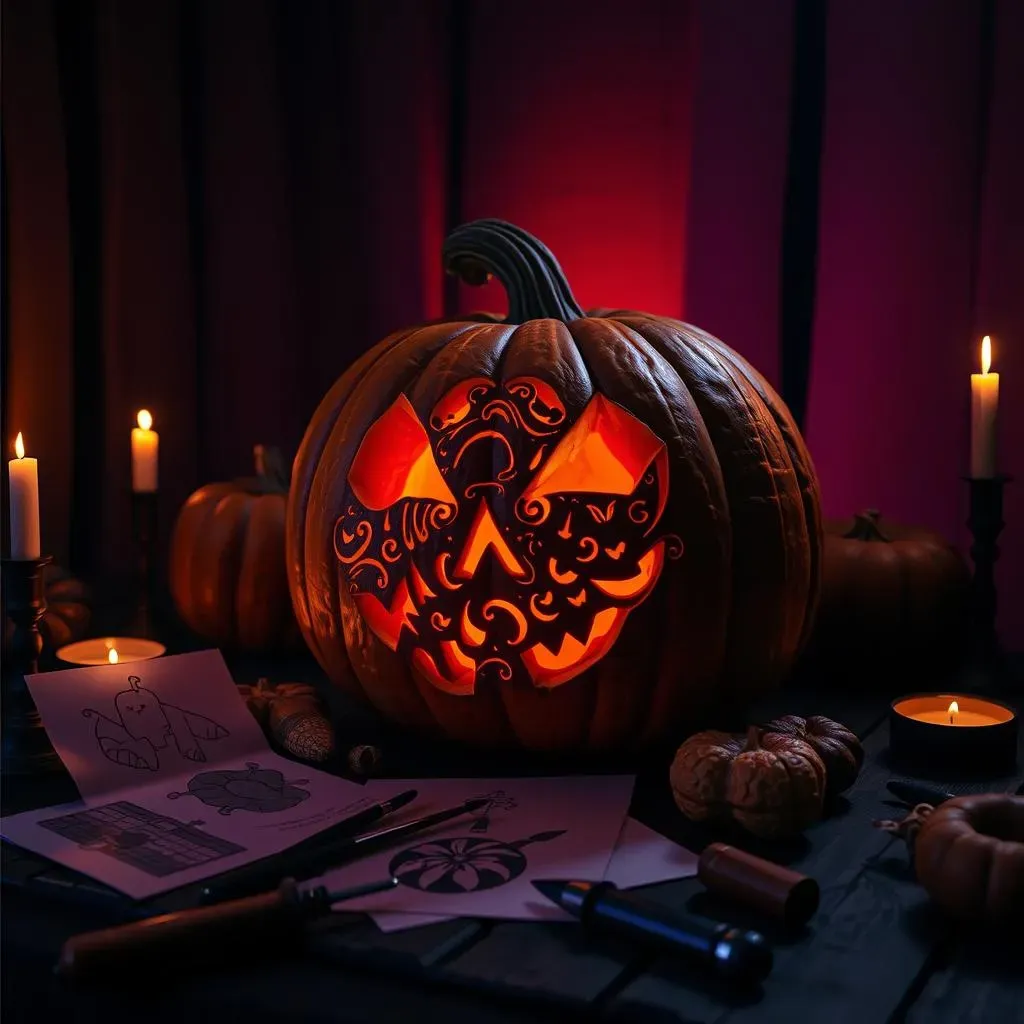
Alright, so maybe you're not ready to freehand a portrait of Freddy Krueger on a pumpkin. No worries! That's where stencils come in. These handy guides are a lifesaver for beginners, providing a clear outline to follow and ensuring a recognizable (and terrifying) result. You can find tons of free stencils online – just search for "scary pumpkin carving stencils" and prepare to be overwhelmed with options. From simple ghosts and bats to more complex skulls and haunted houses, there's a stencil out there for every skill level.
The key to using stencils effectively is proper preparation. First, print out your chosen stencil and carefully tape it to your pumpkin. Then, use a poking tool (an awl, a thick needle, or even a skewer) to transfer the design onto the pumpkin's surface by poking holes along the stencil lines. Once you've removed the stencil, you'll have a dotted outline to guide your carving. It's like connect-the-dots, but with a spooky twist! Remember, take your time and be precise with your poking – the clearer your outline, the easier it will be to carve a clean and scary design.
Tools of the Trade: Essential Gear for Beginner Carvers
You don't need a fancy set of professional carving tools to create a cool scary pumpkin. A basic carving kit from your local craft store will do just fine. These kits typically include a small serrated saw, a scoop for removing the pumpkin guts, and a poking tool for transferring stencils. However, if you're serious about taking your carving skills to the next level, consider investing in a few additional tools.
A good quality serrated knife is essential for making clean, precise cuts. A scoop with a scraper is also a game-changer for removing the pumpkin's insides quickly and efficiently. And don't forget about lighting! A battery-operated candle or LED light will illuminate your creation and bring it to life. Remember, safety first! Always carve in a well-lit area and use caution when handling sharp tools. And if you're carving with kids, make sure they're properly supervised.
Tool | Purpose | Beginner-Friendly? |
|---|---|---|
Serrated Saw | Cutting out large sections | Yes |
Detail Knife | Creating intricate details | Intermediate |
Scoop with Scraper | Removing pumpkin guts | Yes |
Poking Tool | Transferring stencils | Yes |
Tutorials: Learn from the Pros (or at Least Someone Who's Done It Before)
The internet is your best friend when it comes to learning new skills, and pumpkin carving is no exception. YouTube is a treasure trove of tutorials for beginners, offering step-by-step instructions on everything from choosing the right pumpkin to mastering basic carving techniques. Search for "easy pumpkin carving tutorial" and you'll find countless videos to guide you through the process.
Look for tutorials that specifically cater to beginners and focus on simple designs. Pay attention to the tools and techniques the instructor uses, and don't be afraid to pause and rewind as needed. Practice makes perfect, so don't get discouraged if your first attempt isn't a masterpiece. The most important thing is to have fun and experiment with different styles and techniques. And who knows, maybe you'll even create a tutorial of your own someday!
Beyond the Basic Boo: Creative Twists on Cool Scary Pumpkin Carving
Beyond the Basic Boo: Creative Twists on Cool Scary Pumpkin Carving
Pumpkinception: Carving Inside a Carving
Ready to blow some minds? Try carving a smaller pumpkin inside a larger one! It's like a Russian nesting doll of horror. Carve out the face of a larger, menacing monster on the outer pumpkin, then carefully hollow out a smaller pumpkin and carve a different, equally terrifying face inside. Place a light inside the smaller pumpkin, and the effect is truly eerie – a monster within a monster, staring out from the depths of the gourd.
This technique requires some patience and precision, but the results are well worth the effort. Choose pumpkins of different sizes and shapes to create a more visually interesting effect. Consider carving a traditional scary face on the outer pumpkin and a more abstract or disturbing design on the inner pumpkin to create a sense of unease and mystery. It's a guaranteed showstopper that will have everyone talking about your pumpkin carving skills.
3D Pumpkin Projections: Light and Shadow Magic
Forget flat, two-dimensional carvings. Take your pumpkin art to the next level by creating 3D projections using light and shadow. This technique involves strategically carving holes and shapes into the pumpkin to create a three-dimensional image when illuminated from within. You can create all sorts of effects, from a ghostly apparition floating above the pumpkin to a swirling vortex of darkness emanating from within.
To achieve this effect, you'll need to plan your design carefully and consider how the light will interact with the carved surfaces. Use different sized drill bits and carving tools to create varying depths and textures. Experiment with different light sources to find the perfect balance of light and shadow. This technique requires some experimentation and a good understanding of light and shadow, but the results are truly stunning. It's a great way to showcase your artistic skills and create a pumpkin that is both scary and visually captivating.
Technique | Description | Difficulty |
|---|---|---|
Pumpkinception | Carving a smaller pumpkin inside a larger one | Intermediate |
3D Pumpkin Projections | Using light and shadow to create 3D images | Advanced |
Tools, Tips, and Tricks for Mastering Cool Scary Pumpkin Carving
Tools, Tips, and Tricks for Mastering Cool Scary Pumpkin Carving
Choosing the Perfect Pumpkin: Size, Shape, and Surface
So, you're ready to carve, huh? First things first: you gotta pick the right pumpkin. Don't just grab the first orange orb you see! Look for a pumpkin that's got a smooth, relatively unblemished surface. Bumps and bruises can make carving a real pain. The shape matters too. A taller, more oval pumpkin is great for vertical designs, while a rounder one is perfect for faces or circular patterns. And don't forget to give it a good thump! You want a pumpkin that sounds hollow, not mushy. That means the walls are thick enough to carve without collapsing.
Think about the design you have in mind before you even head to the pumpkin patch. Are you going for a towering monster or a creepy, crawling creature? Let your design dictate the shape and size of your pumpkin. And here's a pro tip: check the bottom of the pumpkin to make sure it sits flat! There's nothing worse than spending hours carving a masterpiece only to have it wobble and fall over. A little planning goes a long way in the world of cool scary pumpkin carving.
Factor | Considerations | Why it Matters |
|---|---|---|
Surface | Smooth, few blemishes | Easier carving, cleaner lines |
Shape | Tall/oval vs. round | Suits different designs |
Sound | Hollow, not mushy | Indicates wall thickness |
Base | Flat, stable | Prevents wobbling |
Carving Like a Pro: Techniques for Intricate Designs
Alright, you've got your pumpkin, you've got your design, now it's time to get carving! But before you start hacking away, let's talk technique. For intricate designs, you'll want to use a combination of carving tools. A thin, serrated knife is great for making precise cuts, while a small saw can be used for removing larger sections. And don't be afraid to experiment with different depths! Carving all the way through the pumpkin creates a bright, glowing effect, while shallow cuts add texture and dimension.
Here's a trick I learned the hard way: always carve in a well-lit area! It's tough to see the details when you're working in the dark. And take your time! Rushing will only lead to mistakes. If you're working on a particularly complex design, break it down into smaller sections and tackle one at a time. And don't be afraid to use stencils! They're a lifesaver for beginners and can help you create intricate designs with ease. Remember, practice makes perfect. The more you carve, the better you'll get. So, grab your tools, put on some spooky tunes, and get ready to unleash your inner artist!
Unleash Your Inner Pumpkin Picasso: The Final Carve
So, there you have it – a treasure trove of cool scary pumpkin carving ideas to elevate your Halloween game. Whether you opted for a classic ghoul, a pop culture monster, or a freehand masterpiece, remember that the most important ingredient is creativity. Don't be afraid to experiment, embrace imperfections, and most of all, have fun turning those pumpkins into spine-chilling works of art. Now go forth, carve bravely, and let your porch be the scariest on the block!