Table of Contents
Halloween is creeping closer, and what better way to celebrate than with a glowing grin on your porch? Forget those complicated, intimidating designs you've seen online. This year, we're all about cool pumpkin carvings that are easy! Whether you're a first-timer wielding a carving knife or a seasoned pro looking for some fresh inspiration, we've got you covered. We're diving into a world of simple yet stunning designs, the best tools for the job, and techniques that'll make you look like a pumpkin Picasso without the stress. Get ready to ditch the frustration and embrace the fun of creating your own spooky masterpiece. From quirky characters to modern minimalist patterns, we'll explore ideas that are both achievable and seriously impressive. So, grab your pumpkin, gather your tools, and let's get carving – Halloween's calling, and it's time to answer with some seriously cool pumpkin carvings that are easy to create!
Easy Pumpkin Carving Ideas: Simple Designs for Spooky Fun

Easy Pumpkin Carving Ideas: Simple Designs for Spooky Fun
Getting Started with Simple Shapes
So, you want to carve a pumpkin but aren't exactly Michelangelo? No sweat! The beauty of Halloween is that spooky can be simple. Let's start with shapes. Think basic triangles for eyes, a square for a nose, and a toothy grin made of rectangles. These are the building blocks of a classic jack-o'-lantern, and honestly, they're timeless for a reason. Don't overthink it. Imperfection adds character.
Grab a marker and sketch your design lightly onto the pumpkin. This gives you a roadmap. Remember, you can always adjust as you go. If you mess up, who cares? It's a pumpkin! Plus, those little mistakes can sometimes turn into the coolest, most unique features. Think of it as happy accidents, Halloween style.
Beyond the Triangle Eye: Expanding Your Easy Design Repertoire
you've mastered the triangle eye. Now what? Let's spice things up without getting complicated. How about a polka-dot pumpkin? Use a drill or small cookie cutters to create evenly spaced holes. Instant spooky chic! Or try a simple silhouette. Trace a leaf, a bat, or even a cartoon character onto your pumpkin and carve around it.
Another easy win? The "boo" pumpkin. Simply trace the letters "B-O-O" onto your pumpkin and carve them out. For an extra touch, use a battery-operated candle inside to cast spooky shadows. These easy pumpkin carving ideas are all about maximizing impact with minimal effort. Halloween doesn't have to be a stressful art project; it should be fun!
Cool Pumpkin Carvings: Elevate Your Halloween Decor
Cool Pumpkin Carvings: Elevate Your Halloween Decor
Modern Minimalist Carvings
so you want to ditch the traditional jack-o'-lantern face altogether? I get it! Let's talk modern minimalist designs. Think clean lines, geometric patterns, and abstract shapes. A simple series of triangles or squares, strategically placed, can look incredibly chic. You could even try carving out a single, oversized initial of your family name for a personalized touch.
The key here is precision. Use stencils or templates to ensure your lines are crisp and clean. And don't be afraid to experiment with different depths of carving. Varying the thickness of the pumpkin flesh you remove can create cool lighting effects. These cool pumpkin carvings aren't just decorations; they're art pieces!
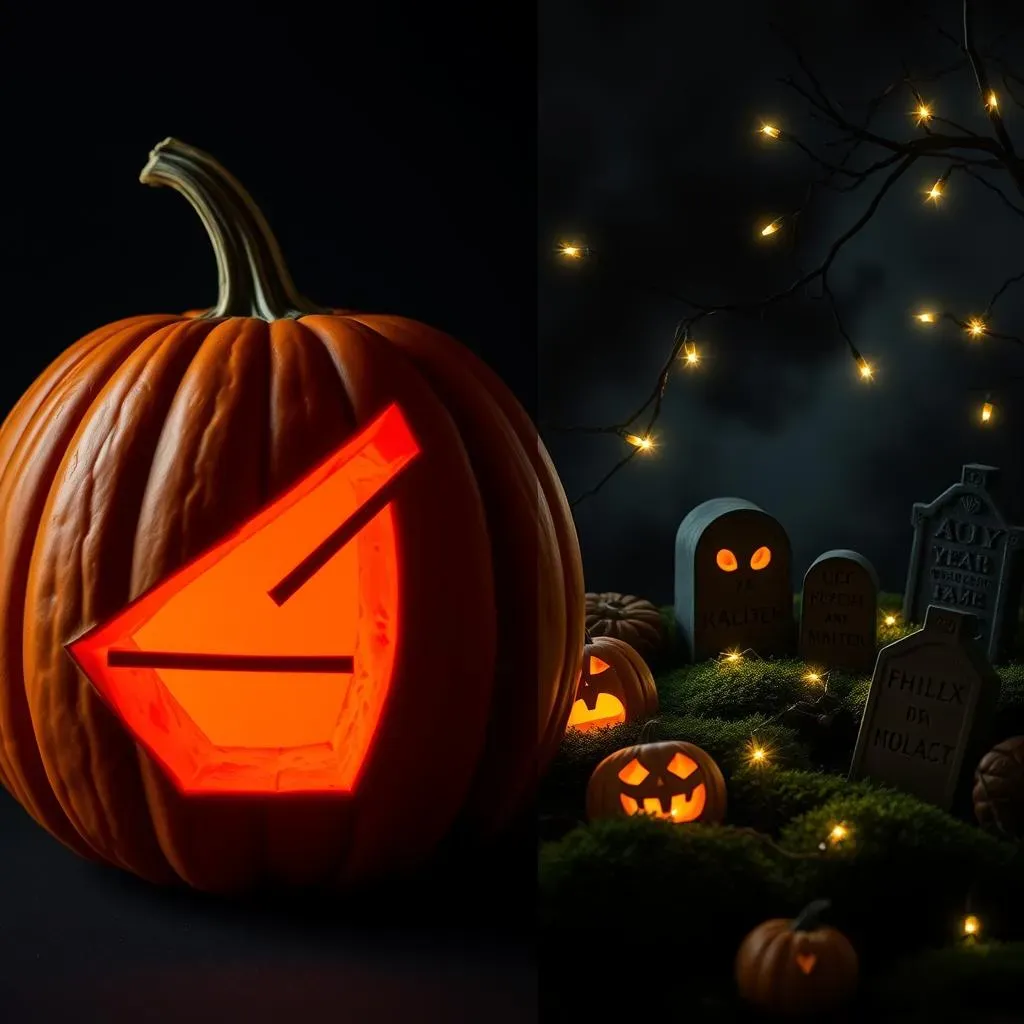
Themed Pumpkinscapes: Creating a Scene
Want to take your cool pumpkin carvings to the next level? Think beyond a single pumpkin and create a whole scene! A spooky graveyard with different sized pumpkins as tombstones.
Or a pumpkin "family" with different expressions. You can even incorporate other elements like branches, moss, and fairy lights to enhance the effect. The possibilities are endless! This is where your creativity can really shine. Don't be afraid to get a little weird and wonderful. After all, Halloween is the perfect excuse to let your imagination run wild.
Theme | Pumpkin Elements | Extra Touches |
|---|---|---|
Graveyard | Tombstone-shaped pumpkins, ghost faces | Moss, branches, fog machine |
Pumpkin Family | Different sized pumpkins, varied expressions | Hats, scarves, miniature props |
Enchanted Forest | Carved tree designs, woodland creatures | Fairy lights, leaves, pinecones |
BeginnerFriendly Pumpkin Carving Tools and Techniques
BeginnerFriendly Pumpkin Carving Tools and Techniques
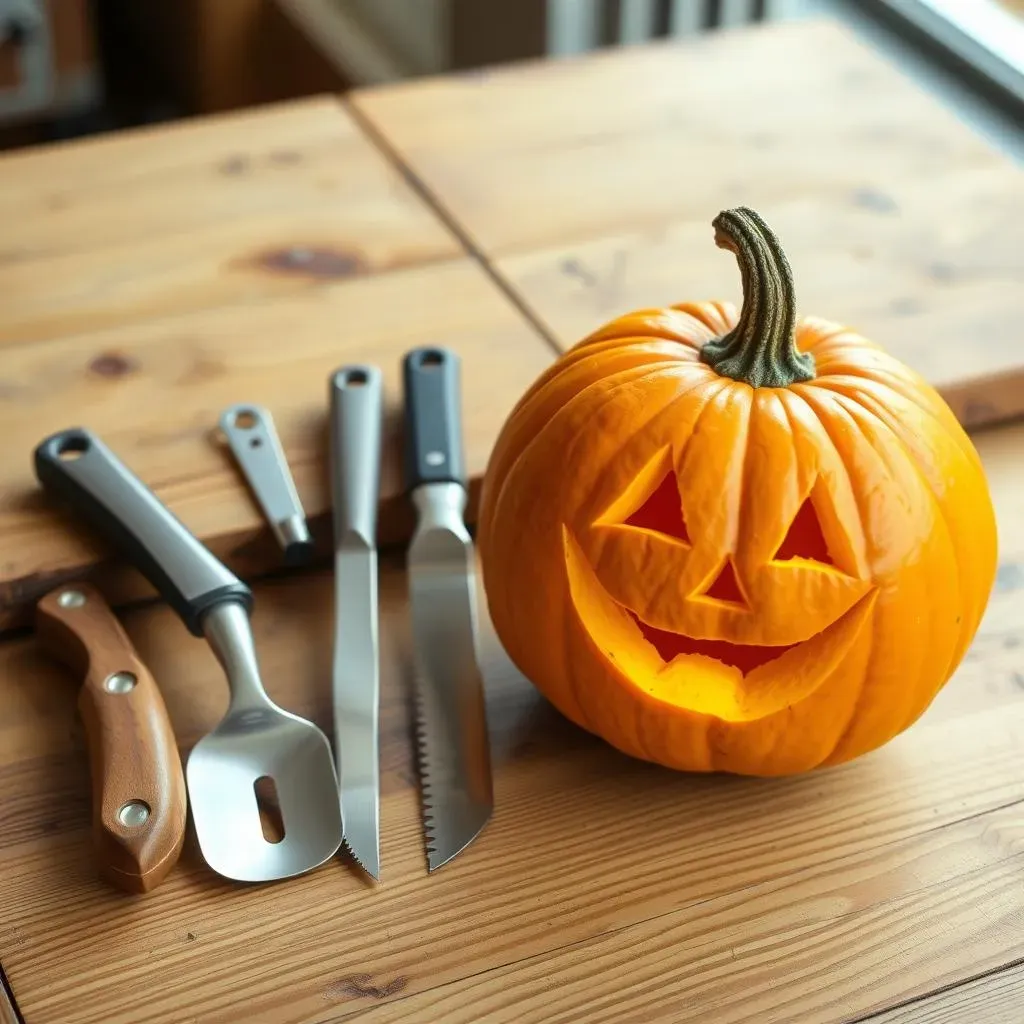
The Essential Toolkit: What You Really Need
Alright, let's talk tools. You don't need a fancy sculpting set to create cool pumpkin carvings. Start with the basics: a serrated knife (a thin, flexible one is ideal), a scoop (for gutting the pumpkin – the ickier, the better!), and a poking tool (an awl or even a thick skewer works).
Some people swear by those little pumpkin carving kits you find at the store, and honestly, they're not bad for beginners. They usually include a few different sized saws and poking tools. But don't feel pressured to buy anything expensive. The most important thing is to have tools that are comfortable to hold and easy to control. Safety first, always!
Techniques for a Smooth Carving Experience
So, you've got your tools. Now, how do you actually use them without turning your pumpkin into a mangled mess? The key is to take your time and use a sawing motion, rather than trying to force the knife through the pumpkin. Think of it like cutting bread, not hacking through a tree trunk.
Also, don't be afraid to start small. Carve a little bit at a time, and gradually widen the opening. This gives you more control and reduces the risk of accidentally slipping and ruining your design. Remember, practice makes perfect! The more pumpkins you carve, the better you'll get.
Beyond the Knife: Exploring Alternative Carving Methods
Who says you have to use a knife at all? There are tons of alternative carving methods that are perfect for beginners. For example, you can use cookie cutters to create fun shapes. Simply press the cookie cutter into the pumpkin skin and then use a small mallet or hammer to gently tap it through.
Another cool technique is to use a drill to create patterns of holes. This is a great way to add texture and dimension to your cool pumpkin carvings. You can even use power tools like a Dremel for more intricate designs, but be sure to wear safety glasses and take it slow.
Tool | Technique | Best For |
|---|---|---|
Cookie Cutters | Press and tap through the pumpkin skin | Simple shapes, kids' projects |
Drill | Create patterns of holes | Adding texture, geometric designs |
Dremel | Detailed carving, etching | Experienced carvers, intricate designs |
Creative Cool Pumpkin Carvings: Beyond the Basic Jacko'Lantern
Creative Cool Pumpkin Carvings: Beyond the Basic Jacko'Lantern
Character Pumpkins: Bringing Stories to Life
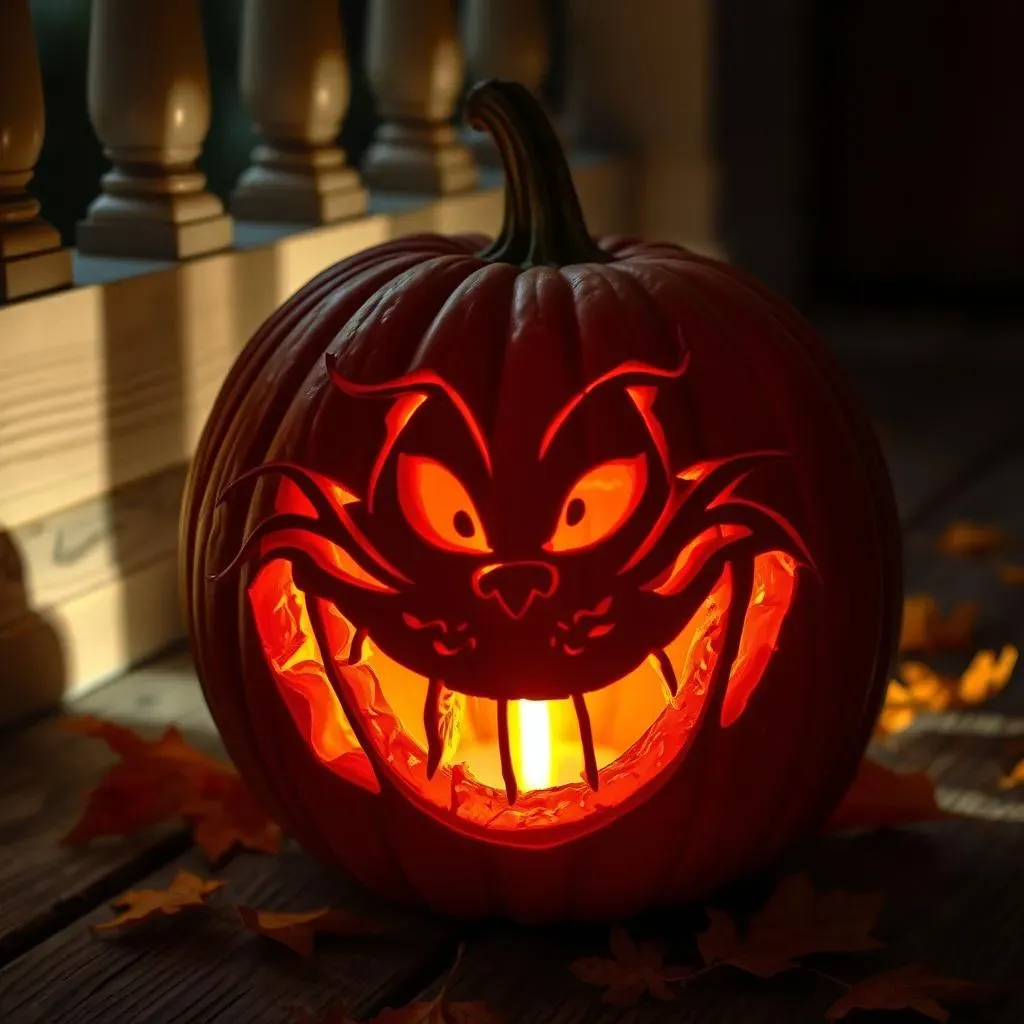
so you're tired of the same old spooky faces? Let's get into character! Think about your favorite movies, books, or even video games. Could you carve a pumpkin that represents a beloved character? A Cheshire Cat grinning mischievously? A spooky ghost? The possibilities are endless.
The key here is to focus on key features. What makes that character recognizable? Is it their smile, their eyes, or a particular accessory? Use those elements to guide your carving. And don't be afraid to get creative with the lighting. A strategically placed candle or LED can really bring your character pumpkin to life. These creative cool pumpkin carvings are all about storytelling!
Pumpkin Stencils: Your Shortcut to Intricate Designs
Feeling intimidated by complex designs? Stencils are your best friend! There are tons of free pumpkin stencils available online, ranging from simple patterns to intricate masterpieces. Simply print out your chosen stencil, tape it to your pumpkin, and use a poking tool to transfer the design onto the surface.
Then, just follow the lines with your carving tools. Stencils are a great way to achieve professional-looking results without having to be a master artist. Plus, they're a fun way to involve kids in the carving process. Remember, creative cool pumpkin carvings don't have to be difficult; they just have to be fun!
Stencil Type | Difficulty | Best For |
|---|---|---|
Simple Shapes | Easy | Beginners, kids |
Cartoon Characters | Medium | Pop culture fans, families |
Intricate Patterns | Difficult | Experienced carvers, showstoppers |
Playing with Light and Shadow: Creating Depth
Let's talk lighting! The way you light your pumpkin can make a huge difference in its overall impact. Instead of just sticking a candle inside, think about using multiple light sources to create depth and shadow. You could use different colored lights to add a spooky or whimsical effect.
Or try carving holes of varying sizes to create a flickering, textured glow. You can even use a small flashlight or spotlight to highlight specific areas of your design. These creative cool pumpkin carvings are all about playing with light to create a truly mesmerizing effect.
StepbyStep Guide to Cool and Easy Pumpkin Carvings
StepbyStep Guide to Cool and Easy Pumpkin Carvings
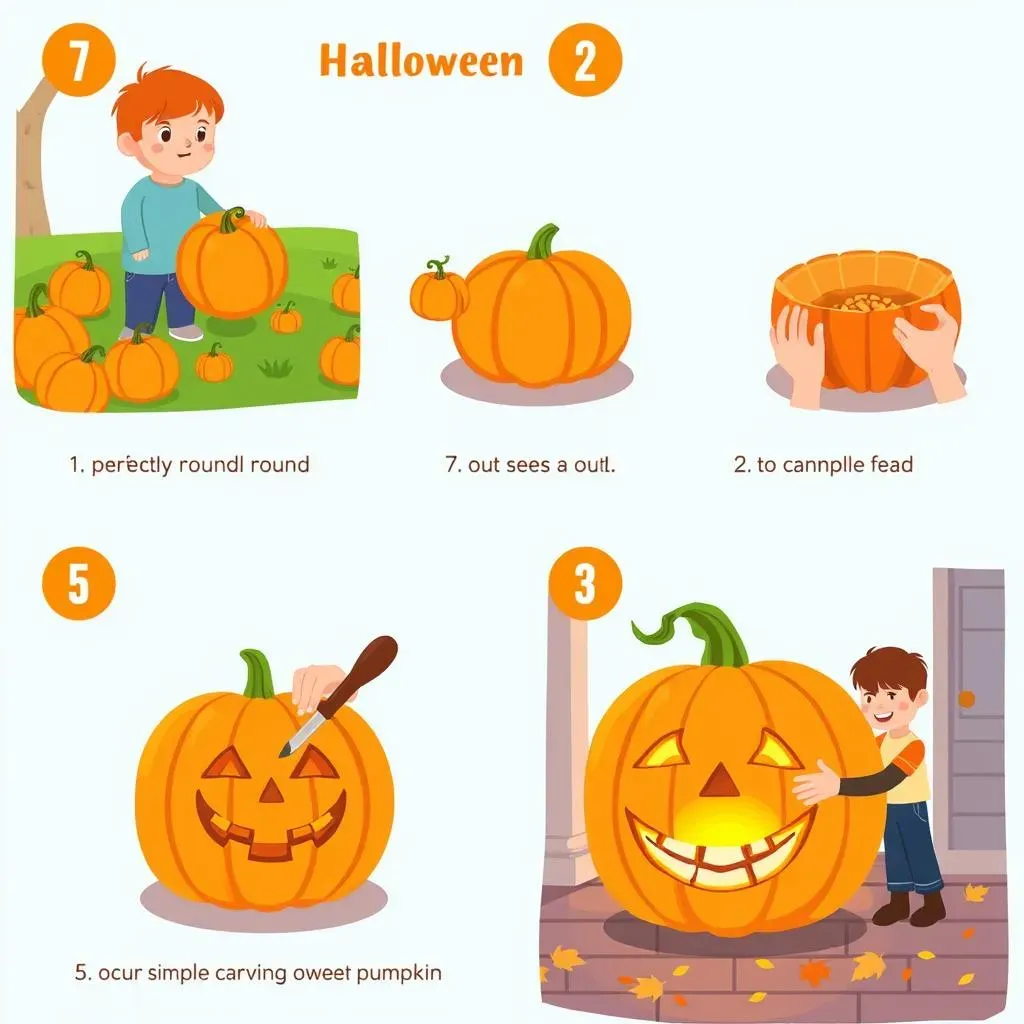
Choosing Your Pumpkin: The Foundation of Your Masterpiece
First things first, you've gotta pick the right pumpkin! Don't just grab the biggest one you see. Look for a pumpkin that's relatively smooth, with a sturdy stem and no soft spots. Give it a little thump – it should sound hollow. The shape is up to you! A round pumpkin is classic, but an oblong one can be cool for more unique designs.
Once you've found your perfect pumpkin, give it a good wash to remove any dirt or grime. This will make it easier to carve and help prevent mold from growing later on. Now you're ready to move on to the fun part: gutting!
Gutting Like a Pro: Preparing Your Canvas
time to get your hands dirty! Use your serrated knife to cut a circle around the stem of the pumpkin. Make sure the circle is big enough to fit your hand through. You can cut straight down or at an angle – it's up to you. Just be careful not to cut yourself!
Once you've removed the top, it's time to scoop out all the seeds and pulp. A metal spoon or ice cream scoop works great for this. Scrape the inside of the pumpkin clean until it's smooth and free of stringy bits. This will give you a nice, even surface to carve on. Pro tip: save the seeds! Roasted pumpkin seeds are a delicious and healthy snack.
Carving Your Design: Bringing Your Vision to Life
Now for the moment you've been waiting for: carving your design! If you're using a stencil, tape it to your pumpkin and use a poking tool to transfer the design onto the surface. If you're freehanding it, lightly sketch your design onto the pumpkin with a marker.
Once you're happy with your design, use your carving tools to carefully cut along the lines. Remember to take your time and use a sawing motion, rather than trying to force the knife through the pumpkin. Start with the small details and work your way up to the larger areas. And don't be afraid to experiment! This is your chance to let your creativity shine and create some cool and easy pumpkin carvings.
Step | Description | Tips |
|---|---|---|
1. Choose Your Pumpkin | Select a smooth, sturdy pumpkin with a good shape. | Look for a hollow sound when you thump it. |
2. Gut the Pumpkin | Cut a circle around the stem and scoop out the seeds and pulp. | Save the seeds for roasting! |
3. Carve Your Design | Use stencils or freehand to carve your chosen design. | Take your time and use a sawing motion. |
Unleash Your Inner Carver: Easy, Cool, and Spooktacular!
So there you have it – a treasure trove of cool pumpkin carvings that are easy to bring to life this Halloween. From simple silhouettes to creatively cool patterns, you're now equipped to transform an ordinary pumpkin into a captivating centerpiece. Remember, the key is to have fun and let your creativity shine. Don't be afraid to experiment, put your own spin on these ideas, and most importantly, enjoy the process. Grab your tools, gather your friends and family, and get ready to carve some unforgettable memories. Happy Halloween, and may your porch be the spookiest and coolest on the block!