Table of Contents
Halloween is creeping closer, and what better way to celebrate than with a glowing jack-o'-lantern on your porch? Forget the same old spooky faces; it's time to unleash your creativity with some cool pumpkin carvings ideas. Whether you're a seasoned pro with a carving kit or a newbie armed with a kitchen knife, there's a design here for you. This isn't just about carving pumpkins; it's about creating art, adding a personal touch to your Halloween decorations, and having a blast in the process. Ready to transform ordinary pumpkins into extraordinary masterpieces? We've gathered a wicked collection of designs, from classic jack-o'-lanterns with a twist to intricate animal portraits and pop culture icons. Plus, we'll share our best tips for choosing the right pumpkin, selecting the perfect tools, and making your carving last. So, grab a pumpkin, gather your tools, and get ready to dive into a world of cool pumpkin carvings ideas that will make your house the envy of the neighborhood!
Classic Cool: Jacko'Lantern Pumpkin Carving Ideas
Classic Cool: Jacko'Lantern Pumpkin Carving Ideas
The Timeless Appeal of the Jack-o'-Lantern
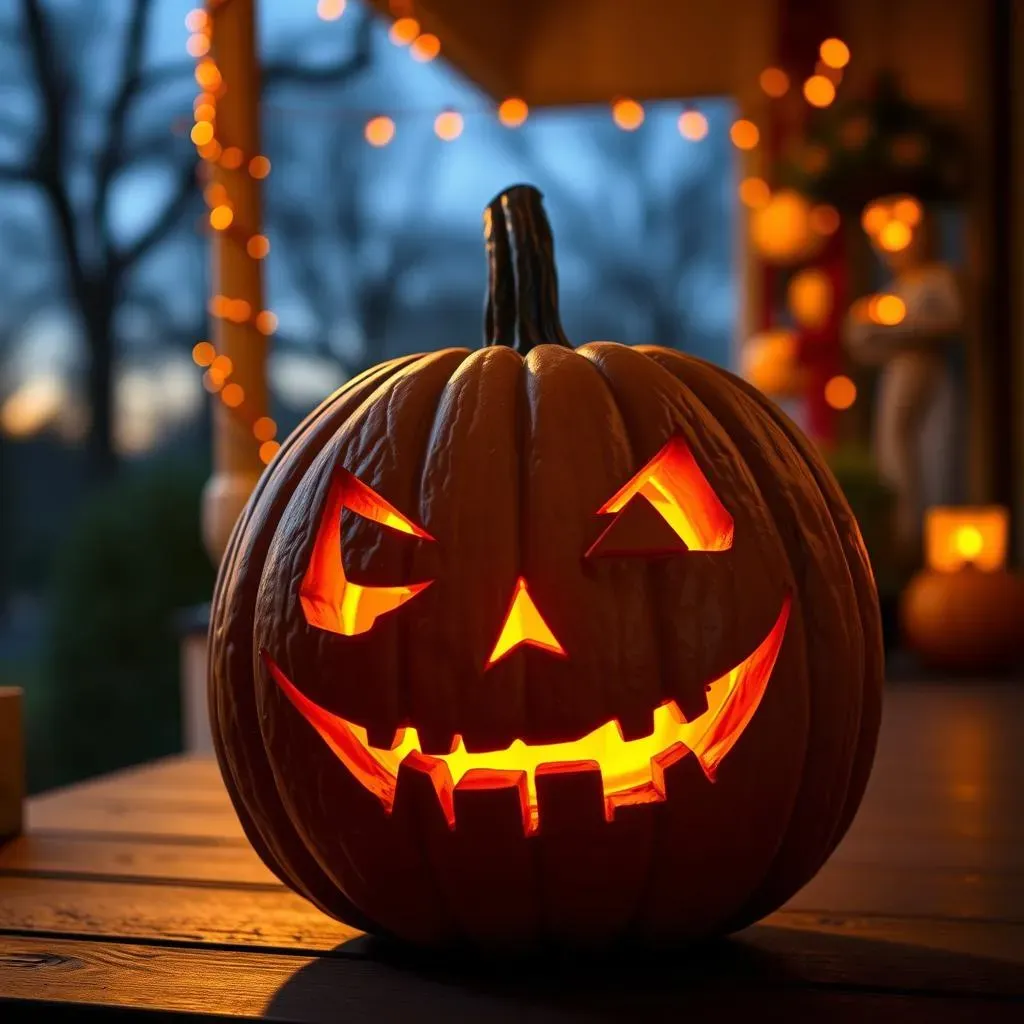
Let's be honest, can you even call it Halloween without a classic jack-o'-lantern grinning from your porch? It's the OG pumpkin carving, the one that started it all. But classic doesn't have to mean boring! There are tons of ways to put a fresh spin on this traditional design. Think beyond the basic triangle eyes and toothy grin.
We can try some different shapes – maybe some funky, asymmetrical eyes or a mischievous, lopsided smile. The beauty of the jack-o'-lantern is its simplicity, which leaves plenty of room for your own personal touch. It's like a blank canvas just begging for a little Halloween creativity.
Level Up Your Lantern: Creative Twists on a Classic
Want to take your jack-o'-lantern to the next level? Consider adding some texture! Use different carving tools to create varying depths and patterns. You could even try etching designs into the pumpkin's surface instead of cutting all the way through. This can create a cool, glowing effect when you light it up.
Another fun idea is to use stencils. You can find tons of free templates online, from spooky silhouettes to intricate geometric designs. Just tape the stencil to your pumpkin and trace the design with a poking tool before you start carving. And don't forget about the lighting! Experiment with different colored lights or flickering candles to create a truly unique and spooky ambiance.
Beyond the Basics: AnimalThemed Pumpkin Carving Ideas

Beyond the Basics: AnimalThemed Pumpkin Carving Ideas
Unleash Your Inner Creature Carver
so you've mastered the classic jack-o'-lantern. Now it's time to get wild! Animal-themed pumpkin carvings are a fantastic way to show off your artistic skills and add a touch of personality to your Halloween display. From cute and cuddly critters to fierce and fearsome beasts, the possibilities are endless. Think about your favorite animals or creatures that fit the Halloween vibe. A spooky spider, a wise owl, or even a playful cat can make for an awesome pumpkin design.
One of the cool things about animal carvings is that you can really play with the pumpkin's natural shape. A round pumpkin could become a chubby hamster, while a taller pumpkin might be perfect for a majestic giraffe. It's all about seeing the potential in your pumpkin and letting your imagination run wild.
From Furry Friends to Feathered Fiends: Inspiration Galore
Need some inspiration? Let's brainstorm some animal carving ideas! For a cute and cuddly option, consider carving a friendly fox, a fluffy bunny, or a sweet little piglet. You can use simple shapes and lines to create a charming and approachable design. On the other hand, if you're going for a spookier vibe, think about carving a menacing wolf, a creepy bat, or a slithering snake. Adding details like sharp teeth, glowing eyes, or intricate scales can really amp up the scare factor.
Don't be afraid to get creative with your tools and techniques. Try using different sized carving tools to create texture and dimension. You can also use stencils or freehand draw your design directly onto the pumpkin. And remember, lighting is key! Experiment with different colors and placements to bring your animal carving to life.
Tips and Tricks for Terrific Animal Transformations
Ready to get started? Here are a few tips to help you create a truly amazing animal-themed pumpkin carving. First, choose a pumpkin that's the right size and shape for your design. Consider the animal you're carving and how its proportions will translate to the pumpkin. Next, gather your tools and plan your design carefully. Sketch out your idea on paper or directly onto the pumpkin before you start carving.
When carving, take your time and work in small sections. Use gentle, controlled movements to avoid making mistakes. And don't be afraid to experiment with different techniques. Try using a spoon or melon baller to scoop out the pumpkin's flesh and create interesting textures. Finally, remember to light your carving from within to create a spooky and captivating display.
Animal | Difficulty | Tips |
|---|---|---|
Cat | Easy | Use simple shapes for the face and body. |
Owl | Medium | Focus on the eyes and feathers for detail. |
Wolf | Hard | Pay attention to the snout and teeth for a menacing look. |
Character Creations: Pop Culture Pumpkin Carving Ideas
Character Creations: Pop Culture Pumpkin Carving Ideas
Bring Your Fandom to Life
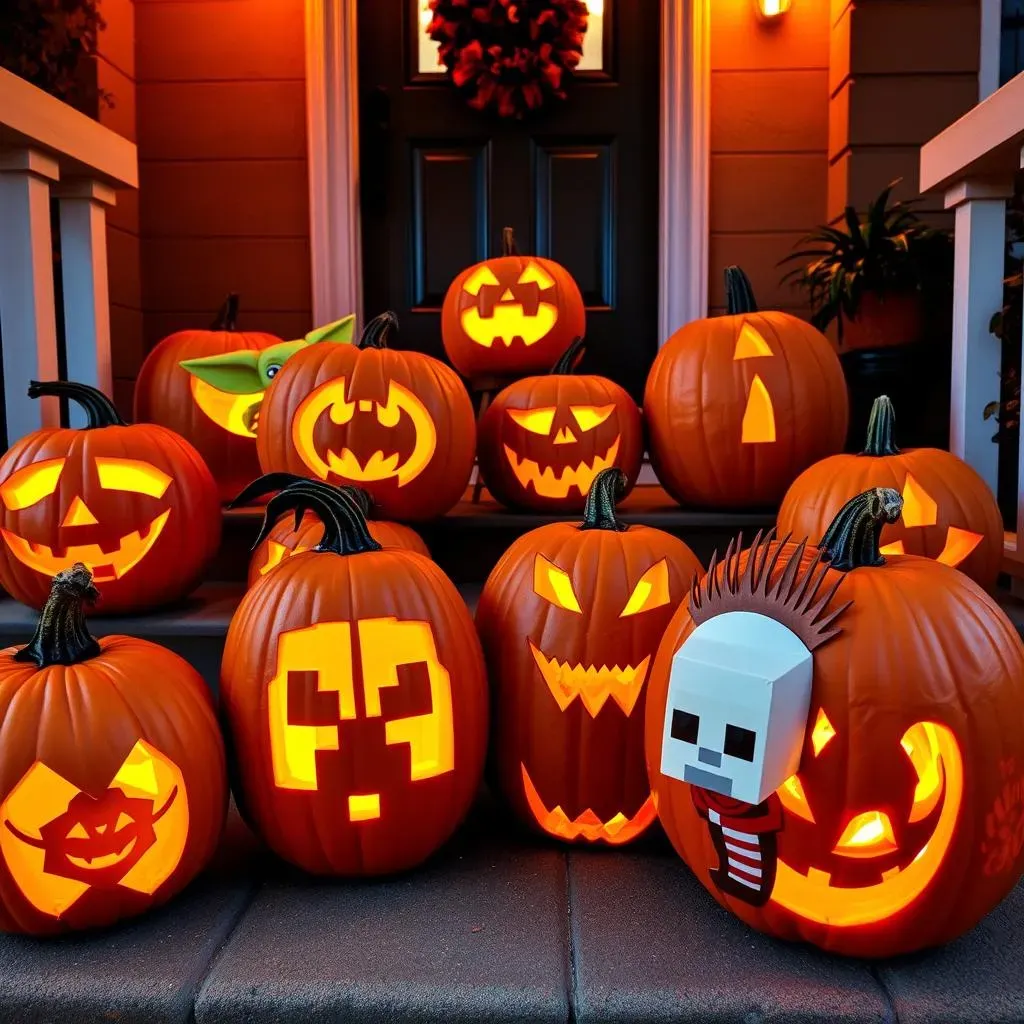
fellow Halloween enthusiasts, let's talk about taking your pumpkin carving game to a whole new dimension – the realm of pop culture! I mean, who needs another generic ghost when you can have Baby Yoda beaming from your front porch? Character-themed pumpkins are seriously where it's at for showing off your personality and interests. Whether you're obsessed with superheroes, addicted to a certain TV show, or can't get enough of a particular video game, there's a character out there just begging to be immortalized in pumpkin form. Think about it: a glowing Batman logo, a spooky Pennywise grin, or even a pixel-perfect Minecraft Creeper. The possibilities are as endless as your imagination (and your streaming queue!).
The best part? You don't have to be a master artist to pull this off. Stencils are your friend! Seriously, the internet is overflowing with free templates for all sorts of characters. Just find one you like, print it out, tape it to your pumpkin, and get to carving. And if you're feeling extra ambitious, you can even try combining different characters or adding your own creative twists. A zombie version of your favorite superhero? A pumpkin-headed pop star? Go wild! It's all about having fun and expressing your unique fandom.
Tips for Carving Your Favorite Characters
Alright, so you're ready to transform your pumpkin into a pop culture icon. Awesome! Here are a few tips to help you make it happen. First, choose a character that you're genuinely excited about. Your enthusiasm will shine through in your carving! Next, consider the complexity of the design. If you're a beginner, start with something relatively simple, like a logo or a character with bold, clear lines. As you get more comfortable, you can move on to more intricate designs with lots of details.
Another important tip is to pay attention to the lighting. Think about how the light will shine through your carving and how it will affect the overall look of the character. You might want to use different colored lights to enhance certain features or create a spooky effect. And don't forget to take your time! Carving a character pumpkin can be a bit challenging, but it's totally worth it when you see the finished product glowing on your porch. Plus, you'll have bragging rights for the rest of the Halloween season!
Character Type | Difficulty | Tips |
|---|---|---|
Superhero Logo | Easy | Use a stencil for clean lines. |
Cartoon Character | Medium | Focus on capturing the character's expression. |
Horror Movie Icon | Hard | Pay attention to shading and detail for a spooky effect. |
Words with a Wow: Phrase and Letter Pumpkin Carving Ideas
Words with a Wow: Phrase and Letter Pumpkin Carving Ideas
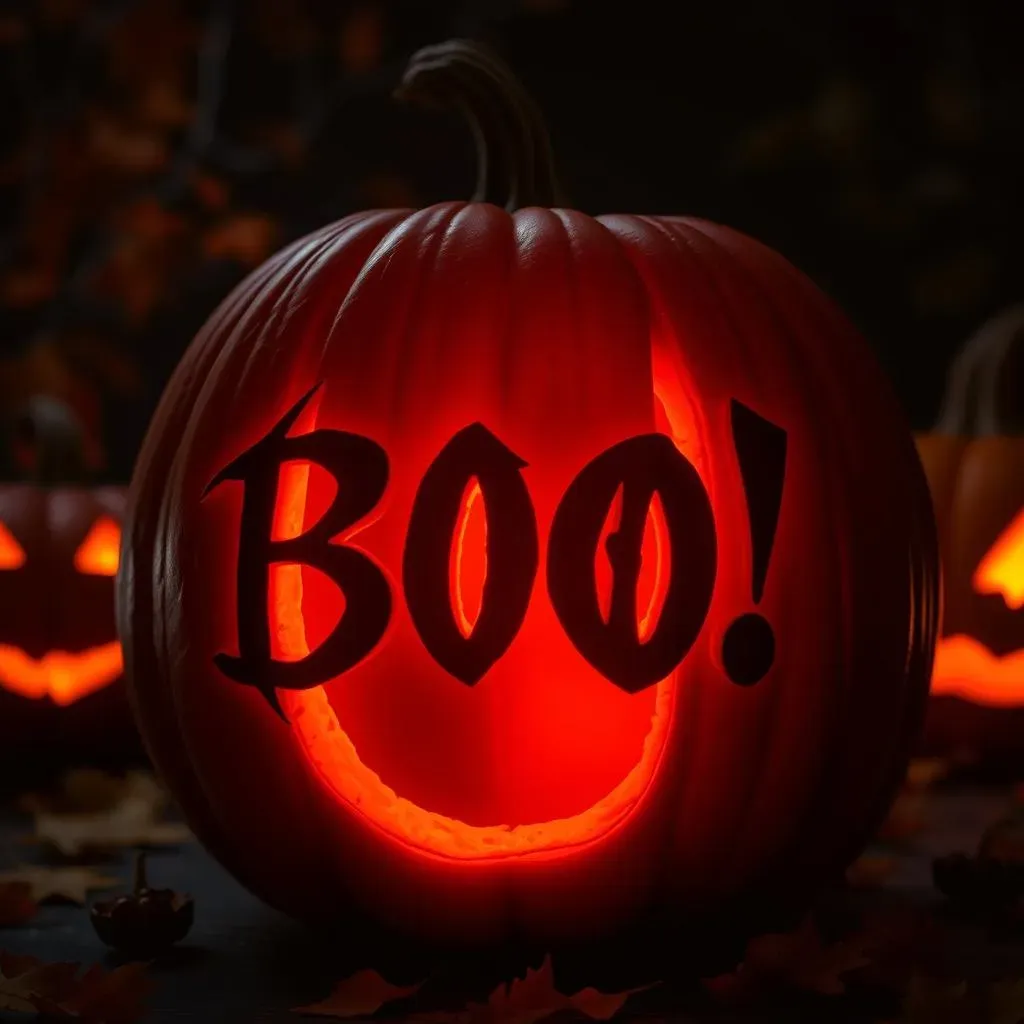
Alright, wordsmiths and Halloween enthusiasts, let's ditch the spooky faces for a minute and get literal! Carving phrases and letters into pumpkins is a seriously cool way to personalize your Halloween display and send a message (pun intended!). Whether you want to shout out a classic Halloween greeting like "Boo!" or "Happy Halloween," or get a bit more creative with a witty saying or your family's initials, the possibilities are endless. Plus, it's a great way to show off your carving skills and add a touch of sophistication to your spooky décor. Think about it: a glowing "Trick or Treat" sign, a spooky "Beware" warning, or even a personalized "Welcome" message for your Halloween party guests. It's all about using words to create a memorable and impactful visual.
Now, I know what you might be thinking: "Carving letters sounds hard!" But trust me, it's totally doable. The key is to plan your design carefully and use the right tools. Stencils are your best friend here. You can find tons of free printable letter stencils online, or even create your own using a word processing program. Just print them out, tape them to your pumpkin, and trace the letters with a poking tool before you start carving. And don't be afraid to get creative with the font! A spooky, gothic font can add a touch of creepiness, while a playful, bubbly font can create a more lighthearted feel. The choice is yours!
Before diving in, you might be wondering, "What phrases work best for pumpkin carving?". Well, shorter phrases are generally easier to execute, especially for beginners. Think "Boo," "EEK!," or "Beware." If you're feeling more ambitious, try a longer phrase like "Happy Halloween" or "Enter If You Dare." You can also use single letters to create monograms or spell out a word across multiple pumpkins. Get creative! Don't overlook the power of negative space. Carving away the pumpkin around the letters can make them stand out even more. Also, consider the lighting. Backlighting your phrase will create a dramatic effect, while using different colored lights can add a spooky or festive touch. And remember, practice makes perfect! Don't be afraid to experiment and have fun with it. After all, it's just a pumpkin!
Phrase Type | Difficulty | Tips |
|---|---|---|
Single Word (Boo!) | Easy | Use a bold, simple font. |
Short Phrase (Trick or Treat) | Medium | Space the letters evenly. |
Initials/Monogram | Hard | Consider a decorative font or border. |
Pro Tips for Cool Pumpkin Carvings: Design, Tools, and Timing
Pro Tips for Cool Pumpkin Carvings: Design, Tools, and Timing
Nailing Your Pumpkin Carving Design
so you've got a killer idea for a cool pumpkin carving. Awesome! But before you start hacking away, let's talk design. This is where the magic happens, folks. First things first, consider your skill level. Are you a seasoned pro with years of carving experience, or are you more of a beginner armed with a butter knife? Be honest with yourself! There's no shame in starting with a simple design and working your way up. Trust me, a well-executed simple design is way better than a butchered complex one. Once you know your skill level, you can start brainstorming ideas that are both creative and achievable.
Think about your overall Halloween theme. Are you going for spooky, funny, or something in between? Choose a design that fits your vibe! And don't be afraid to get inspiration from all over the place – movies, TV shows, nature, even your own imagination. Once you've got a general idea, sketch it out on paper. This will help you visualize the final product and work out any potential problems. You can even use a template or stencil to guide your carving. Remember, planning is key to a successful cool pumpkin carving!
Gear Up: Choosing the Right Carving Tools
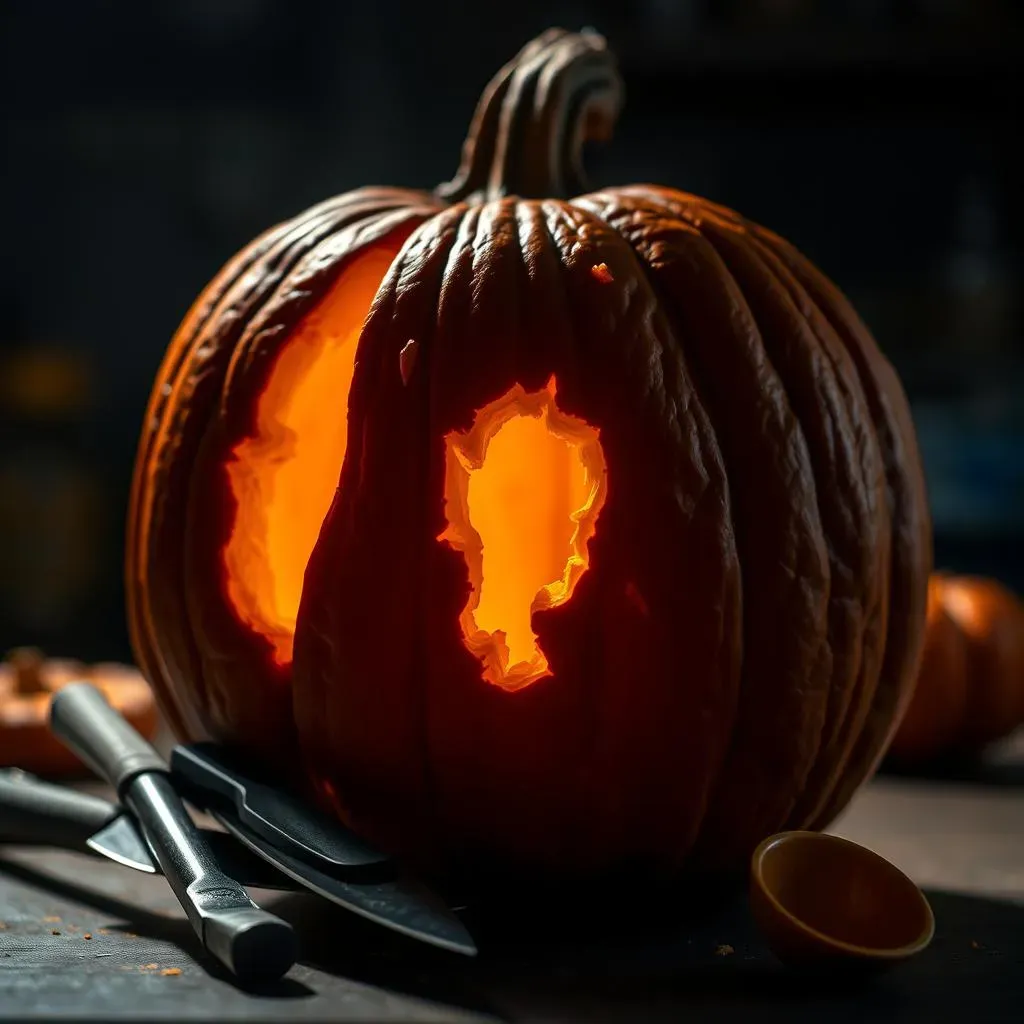
Alright, design is locked, now let's talk tools. You wouldn't try to paint a masterpiece with a crayon, would you? Same goes for pumpkin carving! Having the right tools can make a huge difference in the quality and ease of your carving. Forget the flimsy plastic saws that come in those cheap carving kits. Invest in some sturdy, high-quality tools that will last you for years. A good carving kit should include a variety of saws, gouges, and scrapers. Different tools are designed for different tasks, so having a range of options will allow you to create more intricate and detailed designs.
In addition to a carving kit, you'll also need a few other essential items. A sturdy spoon or scoop for removing the pumpkin guts, a poking tool for transferring your design, and a good source of light. A well-lit workspace is crucial for seeing what you're doing and avoiding accidents. And don't forget about safety! Wear gloves to protect your hands and always carve in a well-ventilated area. With the right tools and a little bit of caution, you'll be well on your way to creating a cool pumpkin carving masterpiece.
- Carving Knife: Essential for cutting out large sections.
- Detail Knife: Ideal for intricate designs and fine lines.
- Gouge: Perfect for creating curved shapes and textures.
- Scoop: For removing seeds and pulp.
- Poking Tool: To transfer stencils onto the pumpkin.
Timing is Everything: When to Carve for Maximum Spookiness
you've got your design, your tools, and your pumpkin. You're ready to carve, right? Not so fast! Timing is crucial when it comes to pumpkin carving. Carve too early, and your masterpiece will be a moldy mess by Halloween. Carve too late, and you'll be rushing to finish before the trick-or-treaters arrive. So, what's the sweet spot? As a general rule, you should carve your pumpkin about 3-5 days before Halloween. This will give you enough time to create your design without risking it rotting before the big day.
However, there are a few factors that can affect how long your pumpkin will last. Temperature, humidity, and sunlight can all play a role. If you live in a warm, humid climate, your pumpkin will likely rot faster than if you live in a cool, dry climate. To extend the life of your carving, keep it out of direct sunlight and consider spraying it with a diluted bleach solution. This will help kill any bacteria that could cause it to rot. You can also try applying petroleum jelly to the cut edges to seal in moisture. With a little bit of planning and care, you can ensure that your cool pumpkin carving stays spooky-fresh all Halloween long.
Happy Carving: Bring Your Cool Pumpkin Carvings Ideas to Life!
So, there you have it – a treasure trove of cool pumpkin carvings ideas to ignite your Halloween spirit! From the grin-inducing classic jack-o'-lanterns to the more ambitious character and animal designs, we hope you've found the perfect inspiration to get carving. Remember, the most important thing is to have fun and let your creativity shine. With a little practice, the right tools, and a dash of imagination, you can transform an ordinary pumpkin into a stunning Halloween centerpiece. Happy carving, and may your porch be the spookiest and coolest on the block!