Table of Contents
Halloween is creeping closer, and if you're like me, you're probably scrambling for some last-minute inspiration. Let's face it, carving pumpkins is a quintessential Halloween activity, but those same old triangle eyes and toothy grins can get a little… predictable, right? Year after year, the same scary faces stare back from our porches. But what if this year, your jack-o'-lantern was the talk of the neighborhood? What if you could create something truly unique, something that blended scary with seriously cool? That's where this guide comes in. We're diving headfirst into a cauldron of cool pumpkin carving ideas scary enough to make your neighbors jump, and creative enough to win you bragging rights. From classic spooky silhouettes to mind-bending 3D designs, from adorable animals to pop culture monsters, we've got 110+ ideas to spark your imagination. So, grab your carving tools, unleash your inner artist, and get ready to transform those gourds into masterpieces! We'll cover everything from setting up your carving station to exploring advanced techniques, ensuring you have a safe and spooktacular carving experience. Plus, we'll even venture beyond the traditional carve with painting and decorating ideas. Let's make this Halloween the most creatively creepy one yet!
Preparation: Setting Up Your Pumpkin Carving Station
Preparation: Setting Up Your Pumpkin Carving Station
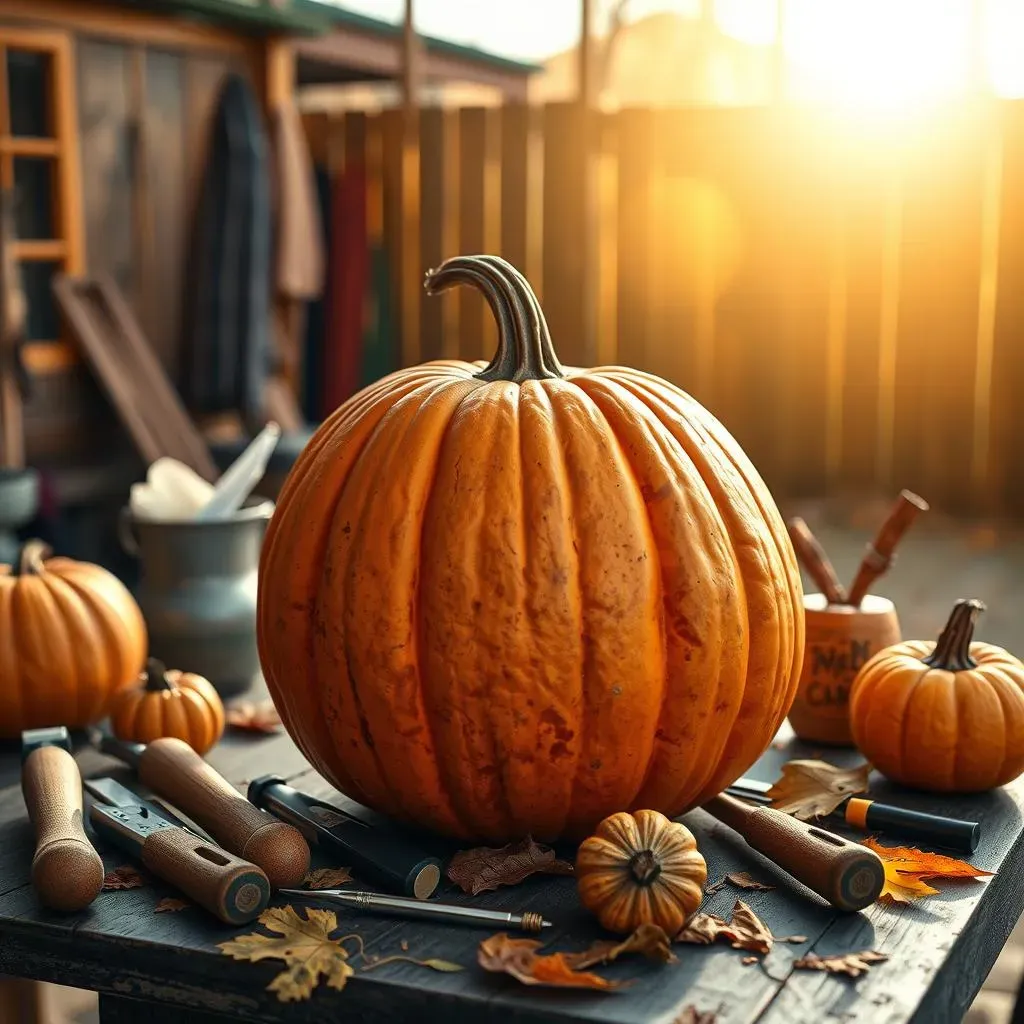
#1: The Right Space for Cool Pumpkin Carving
first things first, let's talk real estate. Carving pumpkins can get messy, like, really messy. You're dealing with stringy guts, sharp tools, and potentially flying pumpkin chunks. So, you need a space that's easy to clean and won't make you cry if it gets a little… chaotic. I personally prefer the great outdoors – a patio, deck, or even the driveway works wonders. But if the weather's not cooperating, a kitchen counter covered in newspaper or a large plastic tablecloth is your next best bet.
Lighting is also key. You want to be able to see what you're doing, especially when you're wielding sharp objects. Good overhead lighting is a must, and a focused task light or headlamp can be a lifesaver for those intricate designs. Trust me, squinting in the dim light is a recipe for disaster (and potentially a sliced finger).
#2: Essential Pumpkin Carving Tools and Safety
Now, let's gear up! You don't need to break the bank on fancy carving kits (though they can be fun). A few essential tools will do the trick. First, a good serrated knife is a must for cutting the lid and thinning the pumpkin walls. Then, you'll want some smaller carving tools for the details – think wood carving tools, linoleum cutters, or even sturdy clay sculpting tools. These will give you more control and precision.
Don't forget a scoop or scraper for removing the pumpkin guts. A large metal spoon works in a pinch, but a dedicated pumpkin scraper will make your life a whole lot easier. And finally, grab a bowl for the seeds (we'll get to those later!) and a trash bag for the… well, you know.
Safety first, folks! Carving pumpkins involves sharp objects, so it's important to take precautions. Always carve on a stable surface, and never force the tools. If a cut is too difficult, try thinning the pumpkin wall a bit more. And if you're carving with kids, make sure they're supervised at all times. Consider letting them draw the design and then you can do the actual carving.
- Serrated Knife: For cutting the lid and thinning walls.
- Small Carving Tools: Wood carving or clay tools for details.
- Pumpkin Scoop: For removing guts efficiently.
- Bowl: For collecting pumpkin seeds.
- Trash Bag: For easy cleanup.
#3: Hollowing and Prepping Your Pumpkin for Cool Designs
Alright, you've got your space, your tools, and your safety goggles (okay, maybe not goggles, but you get the idea). Now it's time to get down and dirty with the pumpkin guts. Start by cutting a circle around the stem – make sure the cut is angled inward, so the lid doesn't fall through. Then, carefully remove the lid and start scooping out the insides. This is where things can get a little… slimy.
The key is to remove all the seeds and stringy bits. A clean pumpkin wall is much easier to carve. Once you've scooped out the majority of the guts, use your scraper to smooth out the inside walls. Aim for a thickness of about 1-2 inches – this will make carving easier and prevent your design from collapsing. And don't throw away those seeds! Roasted pumpkin seeds are a delicious and healthy snack.
Finally, before you start carving, wipe down the outside of the pumpkin with a damp cloth to remove any dirt or grime. This will give you a cleaner surface to work with and make your design pop. Now you're ready to transform that orange orb into a masterpiece of spooky artistry!
Step | Description |
|---|---|
Cut the Lid | Angle inward for a secure fit. |
Scoop Out Guts | Remove seeds and stringy bits. |
Thin the Walls | Aim for 1-2 inches thickness. |
Clean the Exterior | Wipe with a damp cloth for a clean surface. |
Classic Cool Pumpkin Carving Ideas: Spooky Faces & Silhouettes
Classic Cool Pumpkin Carving Ideas: Spooky Faces & Silhouettes
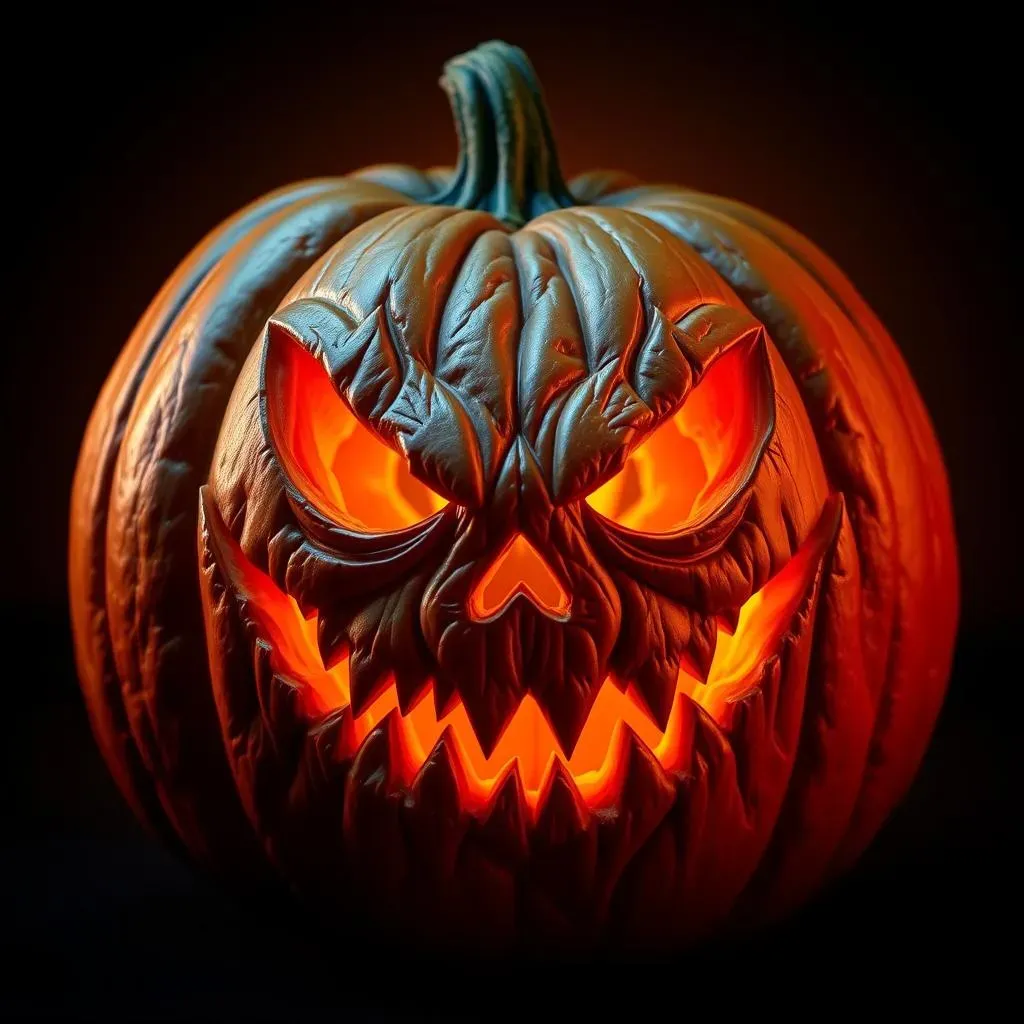
#1: The Timeless Jack-o'-Lantern: A Cool Scary Classic
let's start with the OG of pumpkin carving: the classic jack-o'-lantern. It's a staple for a reason – instantly recognizable and endlessly customizable. But don't think you're stuck with just any old grin. There are tons of ways to put a cool, scary spin on this traditional design. Think beyond simple triangles for the eyes – try crescent moons, jagged stars, or even creepy, elongated slits. And for the mouth? Forget the happy smile. Go for a menacing sneer, a gaping maw filled with pointy teeth, or a scream of eternal torment.
The key here is exaggeration. Emphasize the features to create a truly unsettling effect. Think about the emotion you want to convey – anger, fear, madness – and let that guide your carving. You can also play with the depth of your cuts. Shallow cuts will let more light through, creating a ghostly glow, while deeper cuts will cast harsher shadows, adding to the scary factor.
#2: Silhouette Spectacles: Cool Scary Shapes in the Night
Silhouettes are another fantastic way to create cool, scary pumpkin carvings. Instead of carving out the entire face, you're essentially creating a stencil of a spooky scene or character. This technique is surprisingly easy, even for beginners, and the results can be incredibly striking. Think haunted houses perched on windswept hills, bats silhouetted against a full moon, or creepy cats arching their backs.
To create a silhouette, simply find a template online (or draw your own!), tape it to your pumpkin, and trace the design with a pin or small knife. Then, carefully carve away the areas around the silhouette, leaving the design intact. The contrast between the illuminated silhouette and the dark background will create a dramatic and eerie effect. For an extra touch of spookiness, consider adding a layer of cheesecloth or gauze behind the silhouette to diffuse the light and create a ghostly haze.
#3: Monogrammed Mayhem: Cool Scary Personalization
Want to add a personal touch to your cool scary pumpkin carvings? Try incorporating monograms or initials into your design. This is a great way to make your jack-o'-lantern unique and show off your spooky style. You can carve your own initials, your family's last name, or even a creepy message like "Beware" or "Enter at Your Own Risk."
To make it extra spooky, consider using a gothic or horror-themed font. You can find tons of free fonts online that are perfect for Halloween. Simply print out the letters you want to use, tape them to your pumpkin, and trace the design with a pin or small knife. Then, carefully carve away the areas around the letters, leaving the monogram intact. For an added touch of creepiness, consider adding some spiderwebs or bats around the monogram.
Design Element | Description | Spooky Enhancement |
|---|---|---|
Eyes | Classic triangle or circle | Jagged stars, crescent moons, elongated slits |
Mouth | Happy smile | Menacing sneer, gaping maw, scream of torment |
Silhouette | Simple shape | Haunted house, bats, creepy cat |
Monogram | Initials | Gothic font, spiderwebs, bats |
Advanced Scary Pumpkin Carving Ideas: 3D Designs & Intricate Patterns
Advanced Scary Pumpkin Carving Ideas: 3D Designs & Intricate Patterns
#1: Diving into the Third Dimension: 3D Pumpkin Carving
Alright, buckle up, because we're about to enter a whole new dimension of pumpkin carving! Forget flat faces; we're talking about creating actual depth and dimension in your designs. 3D carving involves sculpting the pumpkin's surface to create raised and recessed areas, bringing your design to life in a truly impressive way. Think of it like turning your pumpkin into a spooky sculpture.
To get started with 3D carving, you'll need a good set of wood carving tools or clay sculpting tools. These will allow you to carefully remove small amounts of pumpkin flesh, creating subtle contours and details. Start by sketching out your design on the pumpkin's surface. Then, use your tools to gradually carve away the areas around your design, creating a raised effect. You can also carve into the pumpkin to create recessed areas, adding even more depth and dimension. It takes patience, but the results are worth it!
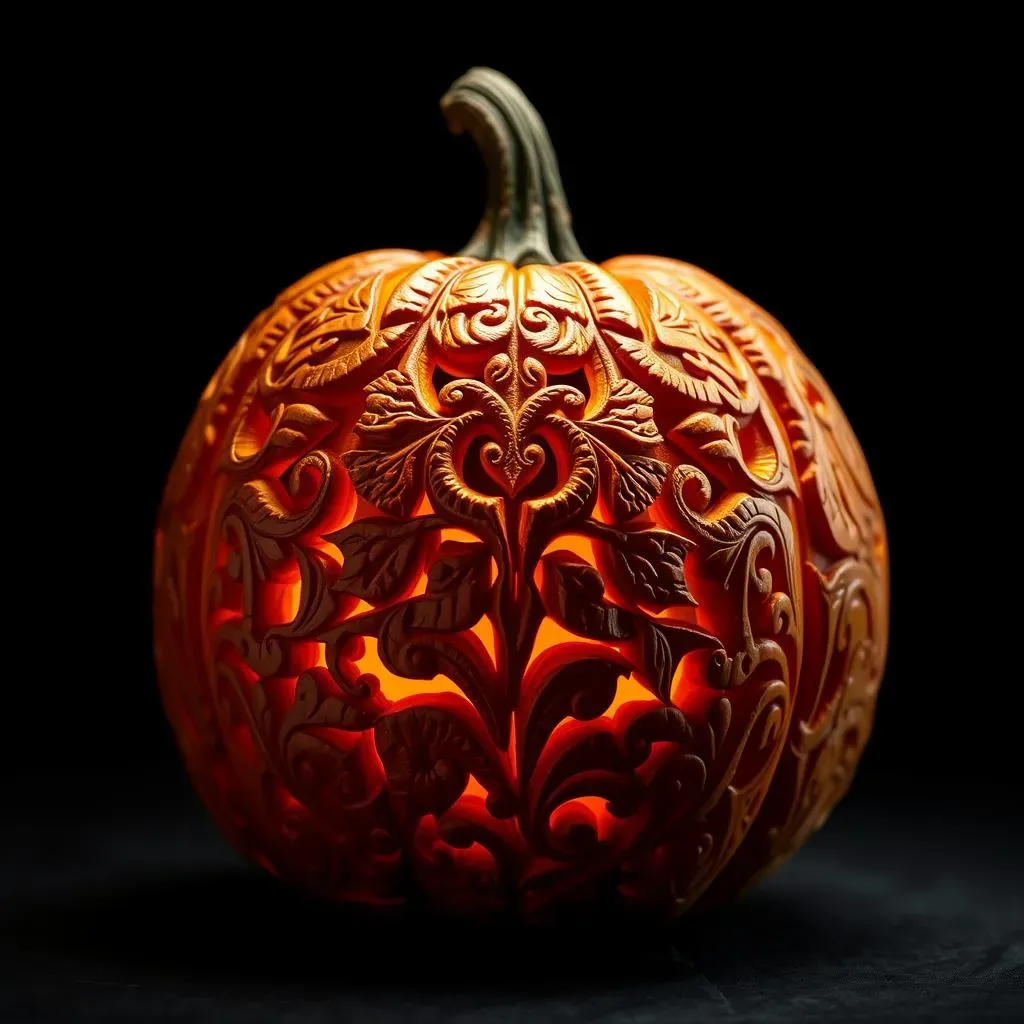
#2: Intricate Patterns: Cool Scary Details That Dazzle
If you're a fan of detail, then intricate patterns are your jam. We're talking about detailed designs that showcase your carving skills and create a mesmerizing effect. Think Celtic knots, geometric patterns, or even intricate floral designs. These patterns can be incredibly time-consuming, but the result is a pumpkin that's truly a work of art.
To create intricate patterns, start by finding a template online or creating your own. Then, tape the template to your pumpkin and trace the design with a pin or small knife. Carefully carve away the areas around the pattern, using small, precise cuts. The key is to be patient and take your time. Don't try to rush the process, or you'll risk making mistakes. For an extra touch of spookiness, consider incorporating some horror-themed elements into your pattern, such as skulls, spiders, or bats.
#3: Combining Techniques: The Ultimate Cool Scary Pumpkin
Why limit yourself to just one technique? The truly advanced carvers combine 3D carving and intricate patterns to create pumpkins that are both visually stunning and incredibly spooky. Imagine a pumpkin with a 3D sculpted face surrounded by an intricate Celtic knot pattern or a haunted house with bats flying out of the windows, all created with 3D carving techniques.
The possibilities are endless! The key to success is to plan your design carefully and take your time. Start with the 3D carving, creating the basic shapes and contours. Then, add the intricate patterns, using small, precise cuts to create the details. Don't be afraid to experiment and try new things. The more you practice, the better you'll become. And remember, even mistakes can be turned into creative opportunities. So, grab your tools, unleash your imagination, and get ready to create a pumpkin that's truly one-of-a-kind.
Technique | Description | Tools Needed |
|---|---|---|
3D Carving | Sculpting the pumpkin's surface | Wood carving tools, clay sculpting tools |
Intricate Patterns | Detailed designs with small cuts | Pin, small knife, template |
Combination | Blending 3D and patterns | All tools listed above |
Unique & Cool Pumpkin Carving Ideas: Animals, Monsters, & Pop Culture
Unique & Cool Pumpkin Carving Ideas: Animals, Monsters, & Pop Culture
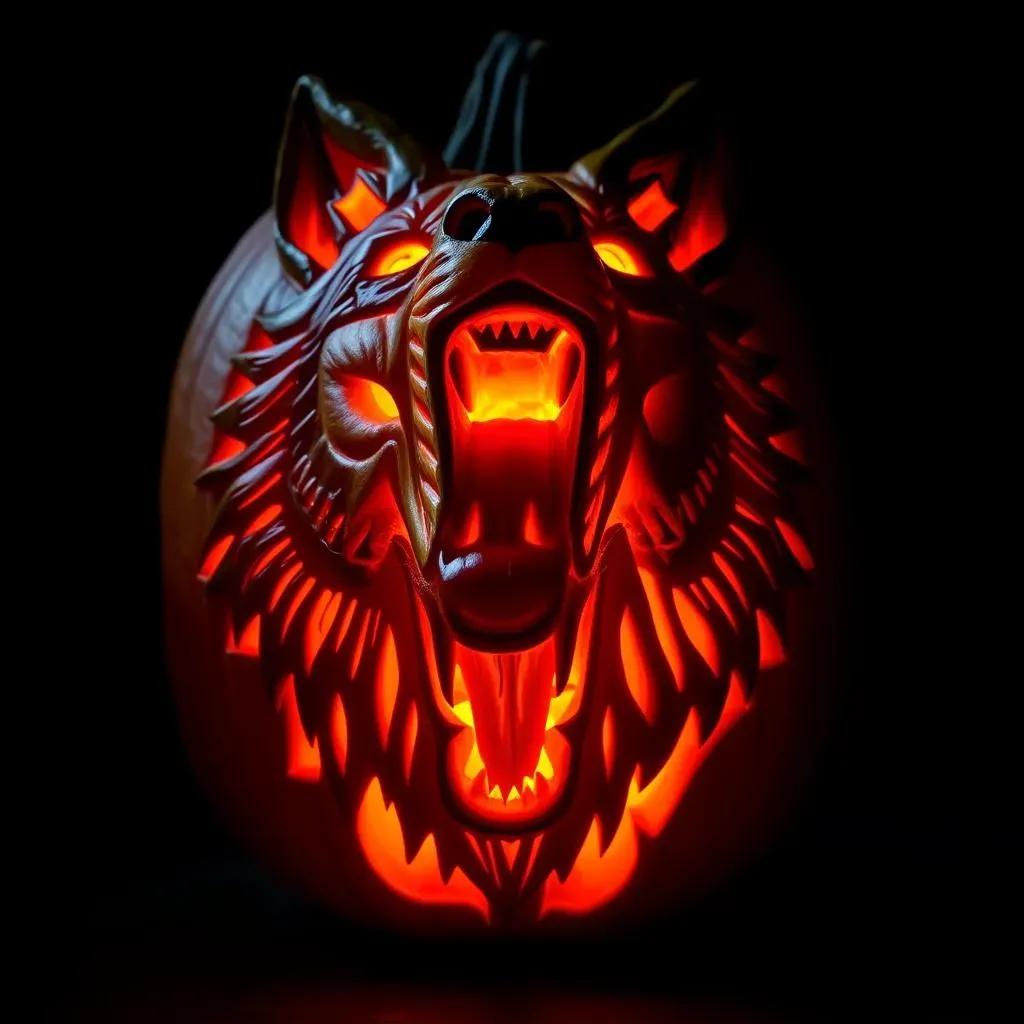
#1: Unleashing Your Inner Creature: Animalistic Carvings
Alright, let's get wild! Forget the same old scary faces, and let's bring some animalistic energy to your pumpkin patch. Carving animals onto pumpkins can be surprisingly cool and, depending on the animal, seriously spooky. Think about it: a menacing wolf howling at the moon, a creepy spider crawling across the surface, or even a sly fox with glowing eyes. The possibilities are endless!
The key to a successful animal carving is to capture the essence of the creature. Pay attention to the details – the shape of the eyes, the curve of the mouth, the texture of the fur or scales. Use different carving depths to create shadows and highlights, adding depth and dimension to your design. And don't be afraid to get creative with the lighting. Use colored LED lights to give your animal carving a unique and eerie glow. Imagine a green-eyed cat or a red-eyed bat – spooky, right?
#2: Monster Mash: Cool & Scary Creatures from the Depths of Imagination
Now, let's unleash our inner monster! This is where things get really fun. Forget the traditional ghosts and goblins, and let's create some truly unique and terrifying creatures from the depths of our imagination. Think about it: a tentacled beast emerging from the pumpkin's core, a cyclopean monster with a single, glowing eye, or even a creepy clown with a sinister smile. The only limit is your imagination!
When carving monsters, don't be afraid to get messy. Use different carving techniques to create a variety of textures and effects. Carve deep gouges to create jagged teeth, use small, precise cuts to create intricate scales, and use a rasp or file to create a rough, textured surface. The more detail you add, the more terrifying your monster will be. And don't forget the lighting! Use colored LED lights to create a spooky and atmospheric glow. Imagine a purple-skinned alien or a green-blooded zombie – now that's a scary pumpkin!
Creature Type | Example | Spooky Enhancement |
|---|---|---|
Animal | Wolf | Glowing yellow eyes, howling pose |
Monster | Tentacled Beast | Green LED lights, slimy texture |
Pop Culture | Zombie | Missing chunks, red LED lights |
Beyond the Carve: Painting, Decorating, & Other Cool Pumpkin Ideas
Beyond the Carve: Painting, Decorating, & Other Cool Pumpkin Ideas
#1: Pumpkin Picasso: Painting Your Way to a Cool Halloween
so maybe wielding a knife isn't your thing, or maybe you're just looking for a way to add some extra flair to your pumpkin. Enter: paint! Painting pumpkins is a fantastic way to get creative without the risk of slicing a finger. Plus, it's a great activity for kids of all ages. You can use acrylic paints, spray paint, or even glow-in-the-dark paint to create a truly unique and eye-catching design. Think spooky spiderwebs, colorful sugar skulls, or even a portrait of your favorite horror movie character.
The key to a successful painted pumpkin is to start with a clean, dry surface. Wipe down the pumpkin with a damp cloth to remove any dirt or grime, and then let it dry completely. If you're using acrylic paints, you may want to apply a base coat of white or black paint to help the colors pop. And don't be afraid to experiment with different techniques. Use stencils to create precise designs, use sponges to create textured effects, or even try splattering paint for a more abstract look. The possibilities are endless!
One year, I wasn't feeling the carving vibe, so I grabbed some neon paints and went wild, splattering and dripping colors all over the pumpkin. It looked like a Jackson Pollock painting, but with a Halloween twist! It was a huge hit, and it took me all of 15 minutes.
#2: Accessorize to Terrify: Decorating Your Pumpkin for Maximum Impact
Alright, so you've carved or painted your pumpkin – now it's time to accessorize! This is where you can really let your creativity shine and take your pumpkin to the next level. Think googly eyes, glitter, sequins, feathers, yarn, and even fake spiderwebs. The goal is to create a pumpkin that's both visually stunning and undeniably spooky.
One of my favorite decorating techniques is to use hot glue to attach different materials to the pumpkin's surface. You can use hot glue to create a textured effect, to attach googly eyes or sequins, or even to create a creepy spiderweb design. Just be careful not to burn yourself! Another fun idea is to use battery-operated fairy lights to illuminate your pumpkin from the inside. This will create a magical and ethereal glow that's perfect for Halloween night. And don't forget the finishing touches! Add a spooky hat, a creepy scarf, or even a pair of fake fangs to complete the look.
Decoration Type | Example | Spooky Enhancement |
|---|---|---|
Paint | Sugar Skull | Glow-in-the-dark paint |
Accessories | Googly Eyes | Different sizes, creepy arrangement |
Lighting | Fairy Lights | Colored lights, flickering effect |
Unleash Your Inner Pumpkin Picasso: Embrace the Cool and Scary!
So, there you have it – a monstrously massive collection of cool pumpkin carving ideas, from the delightfully spooky to the utterly terrifying. Whether you're a seasoned carving pro or a first-time gourd gouger, remember that the most important thing is to have fun and let your creativity shine. Don't be afraid to experiment, to try new techniques, and to put your own unique spin on these ideas. After all, Halloween is all about embracing the spooky, the silly, and the wonderfully weird. So, grab your tools, gather your pumpkins, and get ready to carve a Halloween that's both cool and scary – in the best possible way!