Table of Contents
Halloween is just around the corner, and what better way to celebrate than with a spectacularly spooky Jack-O'-Lantern? Forget the same old triangle eyes and toothy grin. This year, we're diving headfirst into the realm of cool pumpkin carving ideas scary enough to make your neighbors jump. Whether you're a seasoned carving pro or a first-time pumpkin sculptor, we've got inspiration to ignite your creative fire. Get ready to explore a gallery of ghoulish designs, from classic horror icons to modern monster mashups. We'll break down essential tools and techniques, ensuring your carving experience is smooth and successful. Plus, we'll even share some wicked ways to showcase your finished masterpiece, turning your porch into the creepiest spectacle on the block. So, grab your carving kit, unleash your inner artist, and prepare for a Halloween filled with frightfully fun creations!
Level Up Your JackO'Lantern Game: Scary Cool Pumpkin Carving Ideas
Level Up Your JackO'Lantern Game: Scary Cool Pumpkin Carving Ideas
Ditch the Basic Triangle Eyes
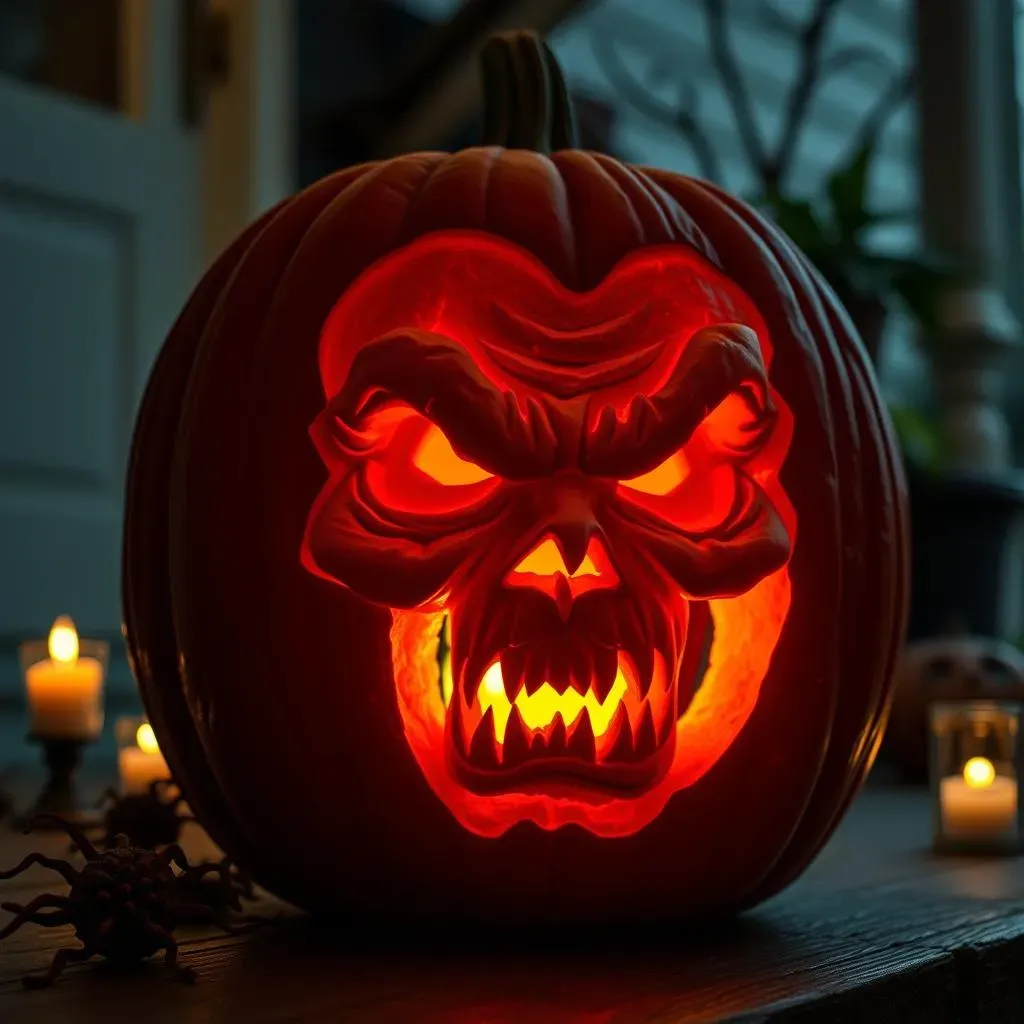
let's be honest, those simple Jack-O'-Lantern faces are cute for the little kids, but we're going for scary cool this year! Forget the basic shapes and start thinking about adding depth and dimension. I'm talking about using different carving tools to create shadows and highlights, making your pumpkin look like it's leaping out of the darkness. Consider incorporating negative space – carving away large sections to reveal the spooky glow from within. Think silhouettes of creepy trees, menacing creatures, or even iconic horror movie scenes.
One year, I carved a portrait of Dracula, using varying depths to give his face a gaunt, shadowy appearance. It took some time, but the result was totally worth it! The key is to sketch out your design beforehand and plan where you want the light to shine through most intensely. Don't be afraid to experiment and get messy; that's part of the fun!
Embrace the Power of Stencils (But Don't Be Afraid to Freehand!)
Stencils are your best friend when it comes to achieving intricate and detailed designs. You can find tons of free, printable stencils online, ranging from spooky ghosts and grinning skulls to creepy crawlies and pop culture villains. But, here's a tip: don't just blindly follow the stencil. Use it as a starting point, and then add your own personal flair. Maybe you can add some extra scars to a zombie face or give a witch a more menacing glare.
I love using stencils for complex designs, but I always try to add my own twist. One year, I used a stencil of a raven, but I carved the feathers in a way that made them look tattered and torn, giving it a more sinister vibe. If you're feeling brave, try freehand carving! Start with a simple sketch on the pumpkin and then carefully carve away the areas you don't need. It might be a little intimidating at first, but the results can be truly stunning.
From Classic Ghouls to Modern Monsters: Find Your Scary Pumpkin Inspiration
From Classic Ghouls to Modern Monsters: Find Your Scary Pumpkin Inspiration
Classic Horror Icons: Timeless Terror
You can't go wrong with the classics! Think Dracula, Frankenstein's monster, mummies, and werewolves. These iconic creatures have been scaring audiences for generations, and they're perfect for creating a truly terrifying Jack-O'-Lantern. For Dracula, focus on his sharp features, piercing eyes, and menacing grin. With Frankenstein's monster, emphasize the bolts, scars, and the sheer size of his head. Mummies can be wrapped in bandages, with just a glimpse of their eerie eyes peeking through. And werewolves? Go wild with the fur, fangs, and a snarling expression that will send shivers down spines.
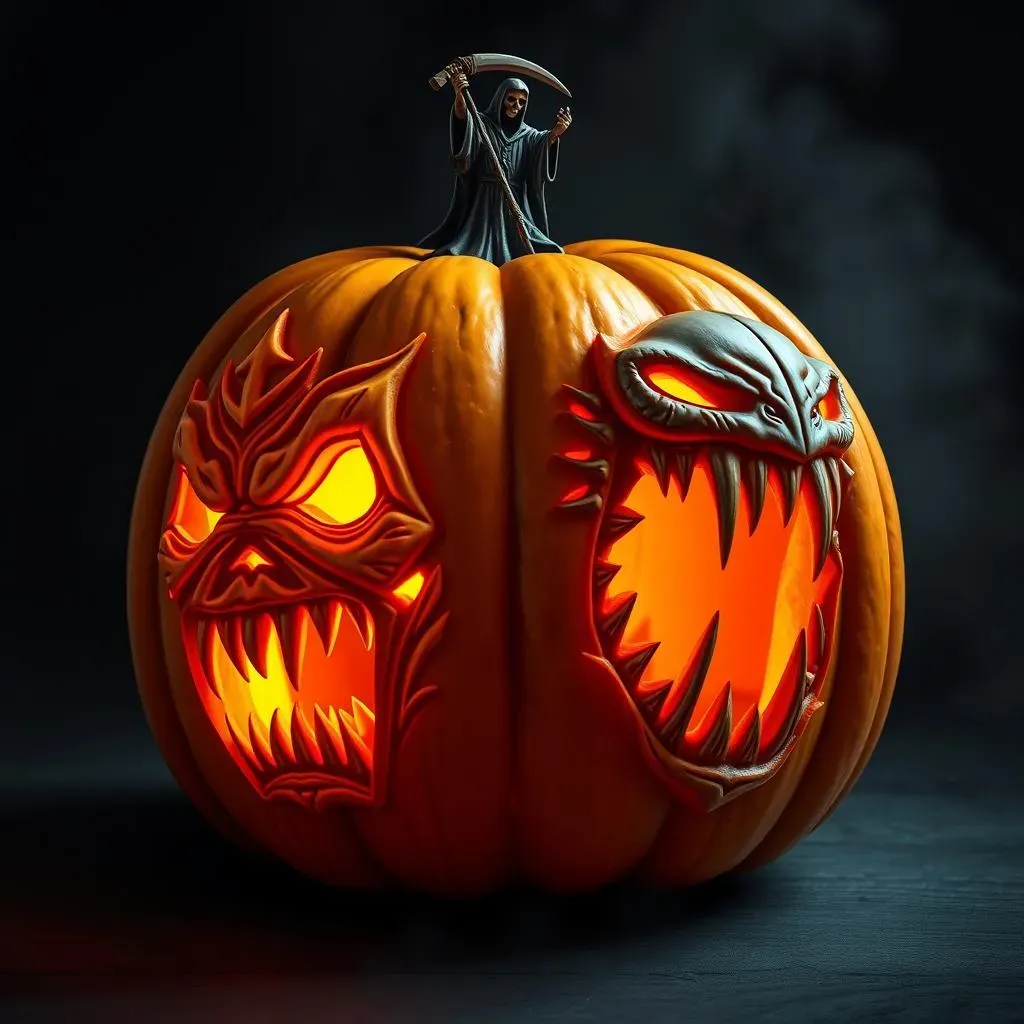
One of my favorite classic designs is the Grim Reaper. The flowing cloak, skeletal face, and scythe create a chilling image that's perfect for Halloween. Plus, it's relatively easy to carve, even for beginners. Just remember to focus on the details that make each monster unique and recognizable.
Modern Monster Mashups: Creepy and Contemporary
If you're looking for something a little more modern, why not try carving a monster from a recent horror movie or video game? Think Pennywise from "It," the Demogorgon from "Stranger Things," or a creepy character from "Resident Evil." These modern monsters often have unique and disturbing features that can translate into some truly terrifying pumpkin carvings. You could also try creating your own original monster mashup, combining elements from different creatures to create something truly unique and unsettling.
I remember one year, I carved a pumpkin inspired by the movie "The Babadook." The Babadook's long, spindly fingers and shadowy face made for a super creepy and effective design. The key is to choose a monster that you find genuinely scary and that you can capture effectively in a pumpkin carving.
Monster Type | Key Features | Carving Tips |
|---|---|---|
Classic Ghoul | Sharp teeth, pale skin, dark eyes | Use thin cuts for a gaunt look |
Modern Monster | Unique textures, unusual shapes, bright colors | Experiment with different carving tools |
Original Creation | Anything you can imagine! | Let your imagination run wild! |
Beyond the Basic Face: Creative Twists on Terror
Who says your scary pumpkin has to have a face? Get creative with your designs! Think about carving a scene from a horror movie, a creepy graveyard, or a haunted house. You could also try carving a 3D design, using multiple pumpkins to create a more elaborate and immersive display. Another idea is to incorporate other materials into your pumpkin carving, such as twigs, leaves, or even fake blood.
One year, I saw someone carve a pumpkin to look like it was overflowing with spiders. They used fake spiders and hot glue to create a truly horrifying effect. The possibilities are endless when it comes to creative pumpkin carving. Don't be afraid to think outside the box and come up with something truly original.
Tools and Techniques for Cool Scary Pumpkin Carving Success
Tools and Techniques for Cool Scary Pumpkin Carving Success
Gather Your Ghastly Gear
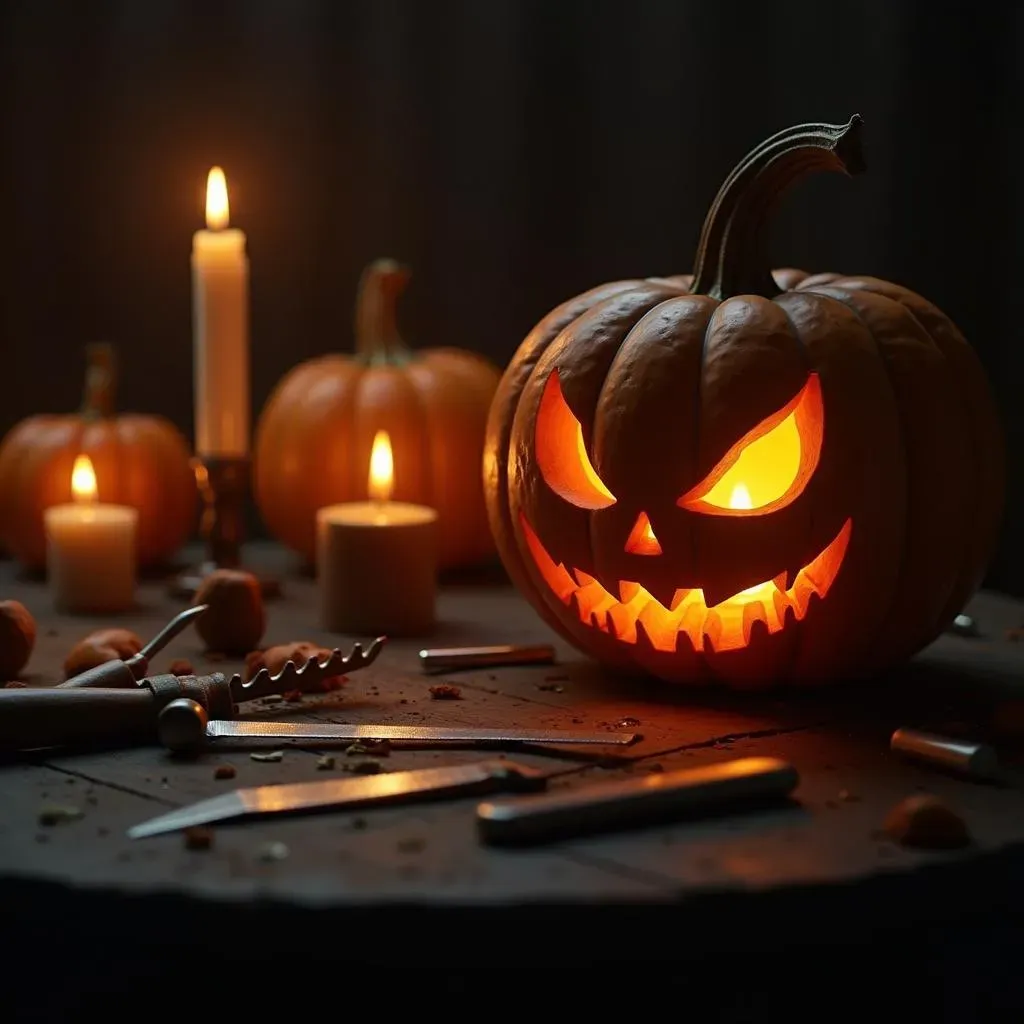
Alright, before you even think about plunging a knife into that pumpkin, you gotta arm yourself with the right tools. Forget those flimsy plastic carving kits – we're going pro (or at least, pro-adjacent) here. You'll want a good quality serrated knife for sawing off the top and thinning the walls. A set of carving tools with different shapes and sizes is essential for creating intricate details. Spoons and scrapers are your friends for gutting the pumpkin. And don't forget a sturdy work surface, a bowl for the pumpkin guts, and some paper towels for wiping up the inevitable mess.
I've learned the hard way that investing in decent tools makes a world of difference. One year, I tried to carve a pumpkin with a butter knife (don't ask), and it was a complete disaster. The pumpkin looked like it had been attacked by a rabid badger. Trust me, spend a few extra bucks on some quality tools; your pumpkin (and your sanity) will thank you.
- Serrated Knife: For cutting the lid and thinning walls.
- Carving Tools: Assorted shapes for detailed work.
- Spoon/Scraper: For removing pumpkin guts.
- Stencils: To transfer reference images to the pumpkin.
- Pencil/Marker: To trace your designs.
Mastering the Art of the Carve
you've got your tools, you've got your design, now it's time to get carving! Start by carefully sawing off the top of the pumpkin at an angle, so the lid doesn't fall inside. Scoop out all the seeds and stringy bits (roast those seeds later for a tasty snack!). Thin the walls of the pumpkin to about an inch or two thick, depending on the complexity of your design. Then, transfer your design onto the pumpkin using a stencil or by drawing it freehand. Now, the fun begins! Use your carving tools to carefully cut along the lines of your design, starting with the smaller details and working your way up to the larger areas.
Pro tip: Don't try to carve all the way through the pumpkin in one go. Instead, use a sawing motion and gradually work your way through the flesh. This will help you create cleaner lines and avoid accidentally breaking off any pieces. And remember, safety first! Always carve away from yourself, and take breaks when you need them. Pumpkin carving should be fun, not a trip to the emergency room.
Remember that you can start with a small pumpkin. It is ok to start small. As you get more confident, you can start to carve bigger pumpkins.
Beyond the Carve: Creative Ways to Display Your Scary Cool Pumpkins
Beyond the Carve: Creative Ways to Display Your Scary Cool Pumpkins
Light It Up (But Not Just with Candles!)
a flickering candle inside your Jack-O'-Lantern is classic, but let's think outside the box, shall we? For a truly eerie glow, consider using battery-operated LED lights. You can find them in all sorts of colors, from spooky green to blood red. String lights are also a great option for creating a more diffused and atmospheric effect. And if you really want to get fancy, try using a small spotlight to highlight specific features of your carving. Play around with different lighting techniques to see what works best for your design.
I remember one year, I used a blacklight inside my pumpkin, and it made the white parts of the carving glow with an otherworldly intensity. It was super creepy and totally unexpected. You could also try projecting patterns onto your pumpkin using a small projector. The possibilities are endless when it comes to lighting up your scary cool pumpkins!
Elevate Your Display (Literally!)
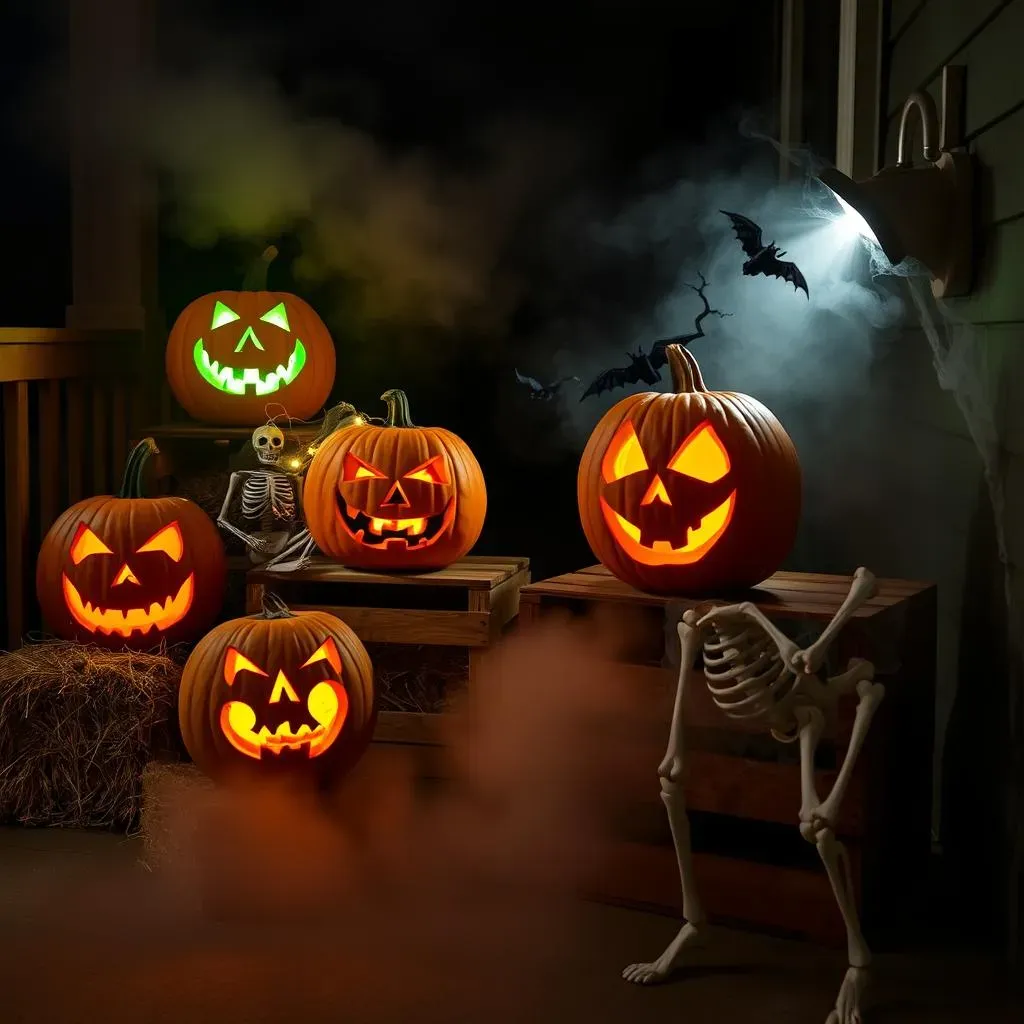
Don't just plop your Jack-O'-Lantern on the porch and call it a day. Think about creating a more elaborate and eye-catching display. Use hay bales, crates, or even old tires to elevate your pumpkins to different heights. Add some spooky props, like skeletons, cobwebs, or fog machines, to create a more immersive and terrifying scene. You could also try arranging your pumpkins in a graveyard setting, complete with tombstones and eerie lighting.
I saw someone create a haunted house scene on their porch using multiple pumpkins, fog machines, and spooky sound effects. It was like walking into a real-life horror movie! The key is to use your imagination and create a display that tells a story. Don't be afraid to go over the top and create something truly memorable.
- Hay Bales: Add rustic charm and height.
- Crates/Boxes: Create tiered displays.
- Fog Machines: Enhance the eerie atmosphere.
- Spooky Props: Skeletons, cobwebs, etc.
Conclusion: Carve Your Way to a Spooktacular Halloween!
So there you have it – a cauldron full of cool pumpkin carving ideas scary enough to make this Halloween unforgettable. From terrifyingly traditional to wickedly whimsical, the possibilities are endless. Remember, the most important thing is to have fun and let your creativity shine (or should we say, glow?). Grab your tools, pick your pumpkin, and get carving! This Halloween, let your Jack-O'-Lantern be a testament to your spooky spirit and artistic flair. Happy haunting!