Table of Contents
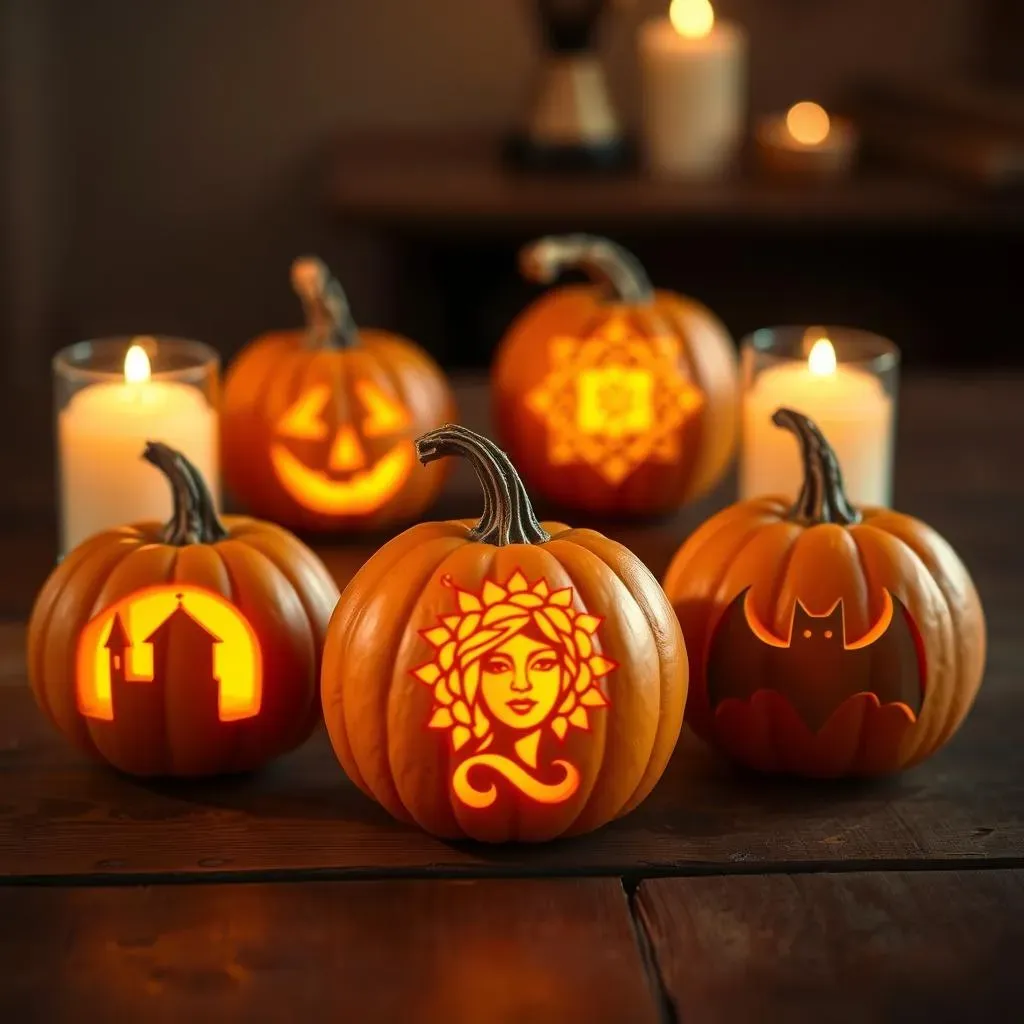
Don't let their size fool you; small pumpkins are a canvas for some seriously cool pumpkin carving ideas! Forget the giant gourds that take hours to hollow out. We're diving into the world of mini pumpkins, where creativity reigns supreme and intricate designs are surprisingly achievable. Are you looking for a fun Halloween activity that won't take all night? Or perhaps you want to add a touch of spooky charm to every corner of your home? Then you've come to the right place.
Small Pumpkin, Big Impact: Creative Carving Ideas
Small Pumpkin, Big Impact: Creative Carving Ideas
so you've got these adorable little pumpkins, right? Don't underestimate them! The size is actually an advantage. It's like having a miniature art canvas. Think intricate patterns, detailed character faces, or even tiny scenes from your favorite spooky movies. The key here is to embrace the challenge and let your imagination run wild. Forget the basic jack-o'-lantern face; we're going for miniature masterpieces.
Consider carving silhouettes against the pumpkin's natural glow. Imagine a tiny haunted house scene, a spooky forest, or even a minimalist portrait. The smaller surface area forces you to be more creative and precise, which can lead to some truly stunning results. Plus, these little guys are perfect for displaying in groupings, so you can create an entire miniature pumpkin patch of artistic expression.
Another idea is to use cookie cutters as stencils! Press them firmly into the pumpkin's surface and then carefully carve around the edges. Stars, moons, bats – the possibilities are endless and it’s a super easy way to get a consistent design. And don't be afraid to experiment with different tools. A small clay sculpting tool or even a dental pick can be surprisingly effective for carving fine details.
- Intricate Patterns: Think mandalas, geometric designs, or delicate floral motifs.
- Character Faces: Recreate your favorite movie monsters or cartoon characters in miniature form.
- Silhouettes: Carve spooky scenes or minimalist portraits for a dramatic effect.
- Cookie Cutter Stencils: Use cookie cutters to create easy and consistent designs.
Cute and Spooky: Pumpkin Carving Designs for Little Gourds
Cute and Spooky: Pumpkin Carving Designs for Little Gourds
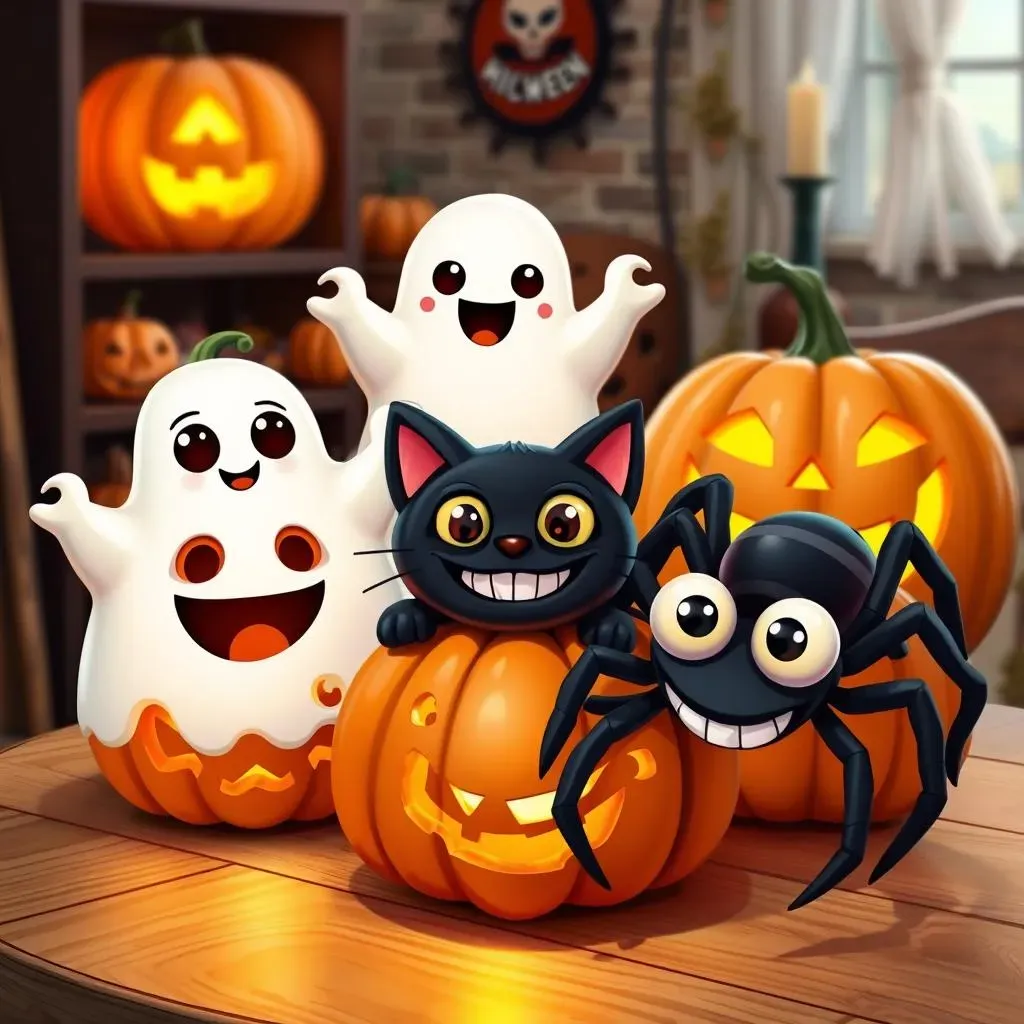
Alright, so you want to nail that perfect balance between adorable and eerie? That's where the real magic happens! Think beyond the scary monster faces and explore the world of "spooky cute." We're talking ghosts with big, innocent eyes, bats with tiny smiles, and spiders that are more charming than creepy. The goal is to create designs that bring a smile to your face while still capturing the spirit of Halloween. After all, who says spooky can't be sweet?
One of my favorite ideas is to carve a cute little ghost peeking out from behind a tombstone. Or how about a friendly black cat with a mischievous grin? You could even create a whole family of adorable monsters, each with its unique personality. The key is to focus on the details: big, expressive eyes, playful smiles, and quirky accessories. These little gourds are perfect for adding a touch of whimsy to your Halloween decor, and they're sure to be a hit with kids and adults alike.
Design Idea | Description | Difficulty |
|---|---|---|
Friendly Ghost | A cute ghost with big, round eyes and a playful smile. | Easy |
Mischievous Black Cat | A black cat with a wide grin and perky ears. | Medium |
Charming Spider | A spider with oversized eyes and a friendly expression. | Medium |
Don't forget to get creative with your carving tools! Use a small melon baller to create perfectly round eyes, or try using a toothpick to etch fine details. And if you're feeling adventurous, you can even add some paint or glitter to your designs for an extra touch of sparkle. Because let's be honest, a little bit of glitter never hurt anyone!
- Ghostly Grins: Carve playful smiles on your ghostly creations.
- Batty Eyes: Give your bats big, expressive eyes for a cute touch.
- Spider Webs: Create delicate spider webs using a fine-tipped carving tool.
- Monster Mash: Design a whole family of adorable monsters with unique personalities.
Easy Pumpkin Carving with Free Stencils: NoFuss Fun
Easy Pumpkin Carving with Free Stencils: NoFuss Fun
Stencils to the Rescue
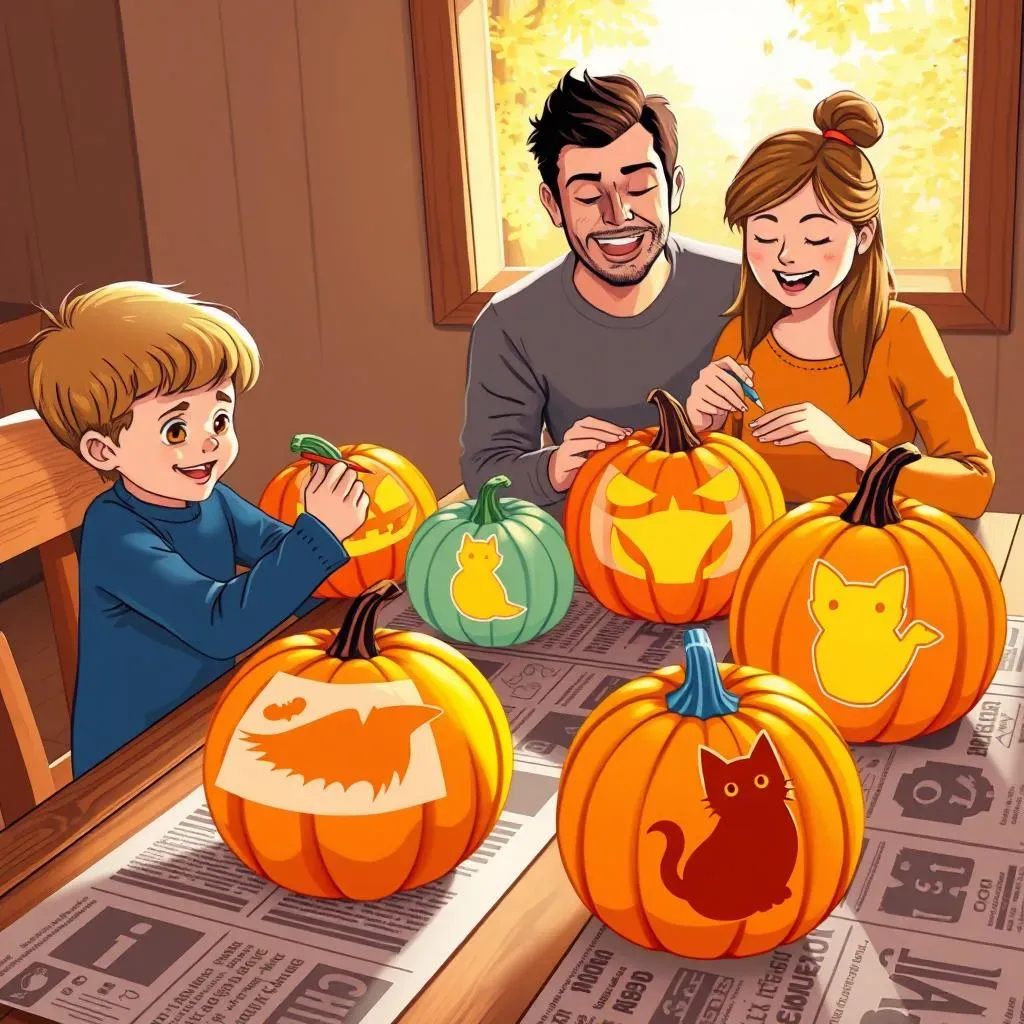
let's be real, not everyone is a carving prodigy. And that's totally fine! That's where free stencils come in. Seriously, these things are a game-changer. You can find tons of them online – from classic Halloween designs to more modern and quirky patterns. Just print them out, tape them to your pumpkin, and trace away. It's like connect-the-dots for pumpkin carving!
The beauty of stencils is that they eliminate the guesswork. No more wonky eyes or lopsided smiles. You get a clean, professional-looking design every time. Plus, they're perfect for kids (with adult supervision, of course!). It's a fun and easy way to get everyone involved in the Halloween spirit without the stress of freehand carving. Trust me, your pumpkins (and your sanity) will thank you.
Hassle-Free Carving: Tips & Tricks
So, you've got your stencil, now what? First things first, make sure your pumpkin is clean and dry. Then, tape the stencil securely to the pumpkin's surface. Use a poking tool or a toothpick to poke holes along the stencil lines. This will create a guide for your carving tool. When you're ready to carve, start with the smaller, more intricate details first. This will help prevent the stencil from shifting and make it easier to clean up any mistakes.
And remember, safety first! Always carve away from yourself and use a carving tool that's appropriate for your skill level. If you're working with kids, consider using a plastic pumpkin carving kit. These kits are designed to be safer and easier for little hands to use. With a little patience and a few helpful tips, you'll be carving like a pro in no time!
Tip | Description |
|---|---|
Secure the Stencil | Use tape to keep the stencil from moving during tracing. |
Poke Holes | Create a dotted line along the stencil for easier carving. |
Start Small | Begin with intricate details to avoid stencil shifting. |
Safety First | Always carve away from yourself and use appropriate tools. |
Hacks and Tips for Carving Cool Small Pumpkins Like a Pro
Hacks and Tips for Carving Cool Small Pumpkins Like a Pro
Alright, let's talk about taking your small pumpkin carving game to the next level! It's not just about slapping on a stencil; it's about finesse, technique, and a few clever tricks. Whether you're aiming for intricate designs or just want to make the process smoother, these hacks will help you carve cool small pumpkins like a pro. Trust me, a little know-how can make a HUGE difference.
First things first: invest in the right tools. That flimsy plastic knife that comes with most carving kits? Toss it. You need precision. Think small gouges, clay sculpting tools, or even a detail knife used for wood carving. These will give you much more control and allow you to create finer details. Also, consider using a lemon zester for creating textured surfaces! It's an unexpected tool, but it works wonders. These hacks and tips for carving cool small pumpkins will help you create some unique designs.
Next up: lighting. Carving under a bright light is essential, but consider using a headlamp or a focused desk lamp to really illuminate the area you're working on. This will help you see the details more clearly and avoid making mistakes. And speaking of mistakes, don't panic! If you accidentally carve too deep or make a wrong cut, you can often fix it with a toothpick and some glue. Just break off the toothpick to the right size, insert it into the pumpkin, and secure it with a dab of glue. Once the glue dries, you can carefully carve away any excess toothpick.
Hack | Description |
|---|---|
Invest in Precision Tools | Use small gouges, clay sculpting tools, or detail knives for finer control. |
Illuminate Your Workspace | Use a headlamp or focused desk lamp for better visibility. |
Fix Mistakes with Toothpicks | Use toothpicks and glue to repair accidental cuts. |
Another pro tip? Hollow out your pumpkin from the bottom instead of the top. This will help preserve the stem, which adds to the overall aesthetic. Plus, it makes it easier to place a candle or LED light inside. And when it comes to lighting, consider using battery-operated tea lights instead of real candles. They're safer, last longer, and won't dry out your pumpkin as quickly. With these hacks and tips for carving cool small pumpkins, you're well on your way to creating mini masterpieces that will impress everyone on your block!
Beyond the Basic Jacko'Lantern: Unique Pumpkin Carving Ideas
Beyond the Basic Jacko'Lantern: Unique Pumpkin Carving Ideas
Play with Textures and Patterns
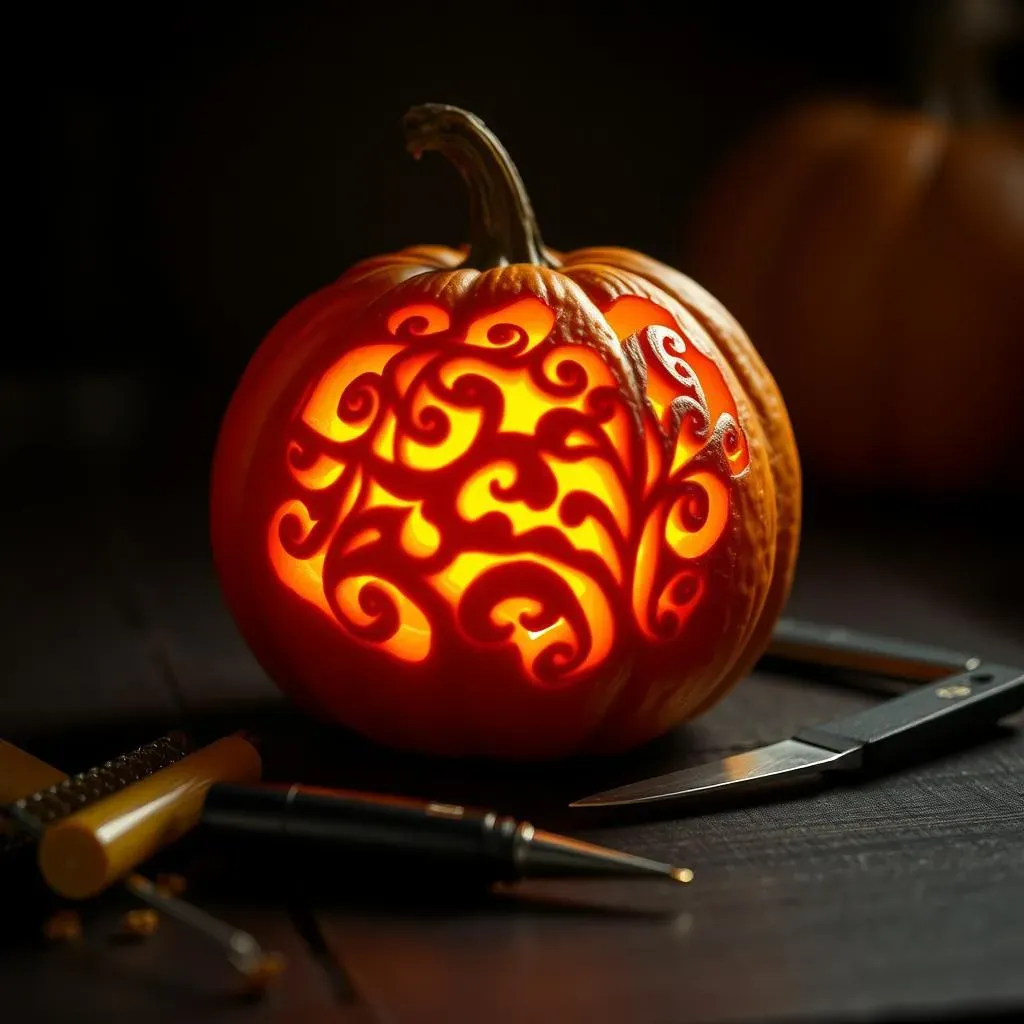
Forget just cutting shapes through the pumpkin! Think about carving into the surface to create textures and patterns. Use a small gouge or even a wood-burning tool (carefully!) to create intricate designs. Think swirling vines, geometric patterns, or even the look of aged wood. You can create a whole new dimension of visual interest. This is where your pumpkin goes from basic to boujee, my friend. It's all about playing with light and shadow.
Consider carving a floral design, but instead of cutting all the way through, just remove the top layer of the pumpkin's skin. This will create a subtle, glowing effect that's both elegant and spooky. Or try carving a series of concentric circles, each slightly deeper than the last, to create a mesmerizing optical illusion. The possibilities are truly endless! These unique pumpkin carving ideas are sure to set your gourds apart from the crowd.
Embrace the Negative Space
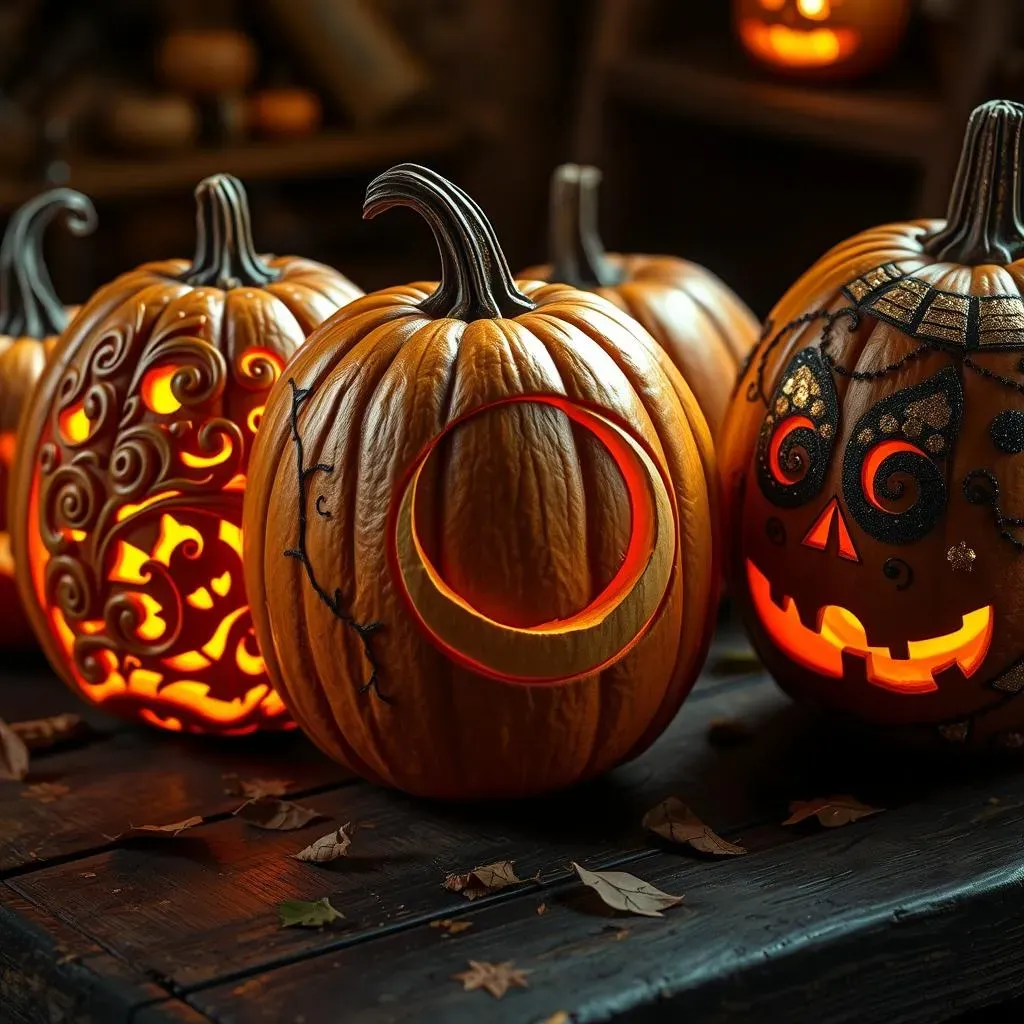
Instead of focusing on what you're carving out, think about what you're leaving behind. Negative space carving is all about creating a design by removing the background, leaving the subject matter to stand out in stark contrast. This technique can be particularly effective for creating silhouettes or minimalist designs. It's like reverse psychology for pumpkins!
Imagine carving a simple crescent moon, but instead of cutting out the moon itself, you carve away the surrounding pumpkin, leaving the moon shape intact. Or try carving a single tree branch, leaving the surrounding space empty to create a sense of isolation and drama. This technique requires a bit more planning and precision, but the results are well worth the effort. These unique pumpkin carving ideas are all about perspective.
Technique | Description | Effect |
|---|---|---|
Texture Carving | Carving into the pumpkin's surface to create patterns and textures. | Adds visual interest and depth. |
Negative Space Carving | Carving away the background to create a silhouette. | Creates a dramatic and minimalist effect. |
Add Embellishments and Mixed Media
Who says pumpkin carving has to be limited to just carving? Get creative with embellishments and mixed media! Add googly eyes, glitter, paint, yarn, or even small twigs and leaves to bring your pumpkin to life. This is where you can really let your personality shine through. Think of your pumpkin as a blank canvas and let your imagination run wild.
Consider painting your pumpkin a vibrant color and then adding glitter accents to create a sparkling masterpiece. Or glue on googly eyes and yarn to create a quirky and whimsical character. You could even use hot glue to attach small twigs and leaves to create a natural and rustic design. The key is to have fun and experiment with different materials. You create some very unique pumpkin carving ideas. Don't be afraid to break the rules and try something completely new!
- Googly Eyes: Add a touch of whimsy with googly eyes of different sizes.
- Glitter Accents: Create a sparkling masterpiece with glitter and glue.
- Paint: Use vibrant colors to bring your pumpkin to life.
- Natural Elements: Incorporate twigs, leaves, and other natural elements for a rustic look.
Tiny Pumpkins, Huge Halloween Spirit: Wrapping Up Your Carving Adventure
So, there you have it! A treasure trove of cool pumpkin carving ideas for small pumpkins to ignite your Halloween creativity. From spooky silhouettes to charming characters, these miniature masterpieces prove that size doesn't matter when it comes to festive fun. Whether you're a seasoned carving pro or a first-time pumpkin artist, we hope this guide has inspired you to grab some gourds and get carving. Remember to experiment, have fun, and don't be afraid to let your imagination run wild. Happy Halloween, and may your small pumpkins shine bright!