Table of Contents
Every year, the great pumpkin carving ritual arrives. You picture glowing masterpieces on your porch, then reality hits: slippery seeds, dull knives, and designs that look suspiciously like a slightly-melted snowman rather than a spooky ghoul. Maybe you’ve sworn off carving entirely after one too many pumpkin guts incidents. Or perhaps you just don't have hours to dedicate to creating something museum-worthy. The pressure to have a cool jack-o'-lantern is real, but who says it has to be a monumental effort?
Getting Started with Cool Pumpkin Carving Ideas Easy
Getting Started with Cool Pumpkin Carving Ideas Easy
Picking Your Perfect Pumpkin Pal
Alright, let's be real. You're not trying to carve the Sistine Chapel here. The first step to actually achievingcool pumpkin carving ideas easyis picking the right pumpkin. Skip the monster gourds unless you enjoy wrestling something heavier than your dog. Look for a pumpkin that feels sturdy, has a relatively smooth surface (less bumpy bits to navigate with a knife), and sits flat without rolling away like a runaway bowling ball. Check the bottom too; nobody wants a rotten surprise lurking underneath. A decent stem is nice for carrying, but don't stress if it's a little wobbly – it won't affect your carving prowess (or lack thereof).
Gathering Your (Probably Already Owned) Tools
Forget those flimsy, specialized carving kits that snap the second you hit a tough spot. You likely have everything you need for genuinelycool pumpkin carving ideas easylying around the kitchen. A sharp chef's knife is your best friend for cutting off the top (or bottom, more on that later). A sturdy spoon or ice cream scoop works wonders for gutting the thing. For the actual carving, a small paring knife is usually sufficient for simple shapes. Cookie cutters? Absolutely. A drill? Maybe, if you're feeling adventurous and want polka dots. The point is, don't overcomplicate the tool situation.
So, what's in your easy pumpkin carving toolkit?
- A medium-sized pumpkin (stable base preferred)
- Sharp chef's knife (for the lid)
- Sturdy spoon or ice cream scoop (for the guts)
- Small paring knife (for details)
- Marker or pen (for drawing your design)
- Bowl for seeds and pulp
- Newspaper or old tablecloth (trust me on this)
- Tea lights or battery-operated lights
Simple Cuts for Seriously Cool Pumpkin Carving Ideas Easy

Simple Cuts for Seriously Cool Pumpkin Carving Ideas Easy
The Strategic Lid (or Base) Cut
first things first: cutting the top. Or maybe the bottom? Pro tip forSimple Cuts for Seriously Cool Pumpkin Carving Ideas Easy: cutting a hole in the bottom makes placing a light inside way less awkward. No more trying to angle a candle or light through a small top hole. Regardless of where you cut, angle your knife inwards as you go around. This creates a ledge for the lid (or base) to sit on, preventing it from falling into the pumpkin. Use that sturdy chef's knife and a steady hand. Don't saw wildly; a smooth, consistent motion works best. Once the cut is made, gently pry the top (or bottom) off. If it's stuck, your angled cut might not be deep enough all the way around. Just go back over the stubborn spots.
Now comes the messy part: gutting. Grab that spoon or scoop. Scrape down the sides and bottom, getting rid of all the seeds and stringy pulp. The cleaner you get the inside, the better your light will shine through later. Plus, less gunk to deal with. It’s not glamorous, but it’s necessary for a clean look.
Mastering Basic Shapes for Maximum Impact
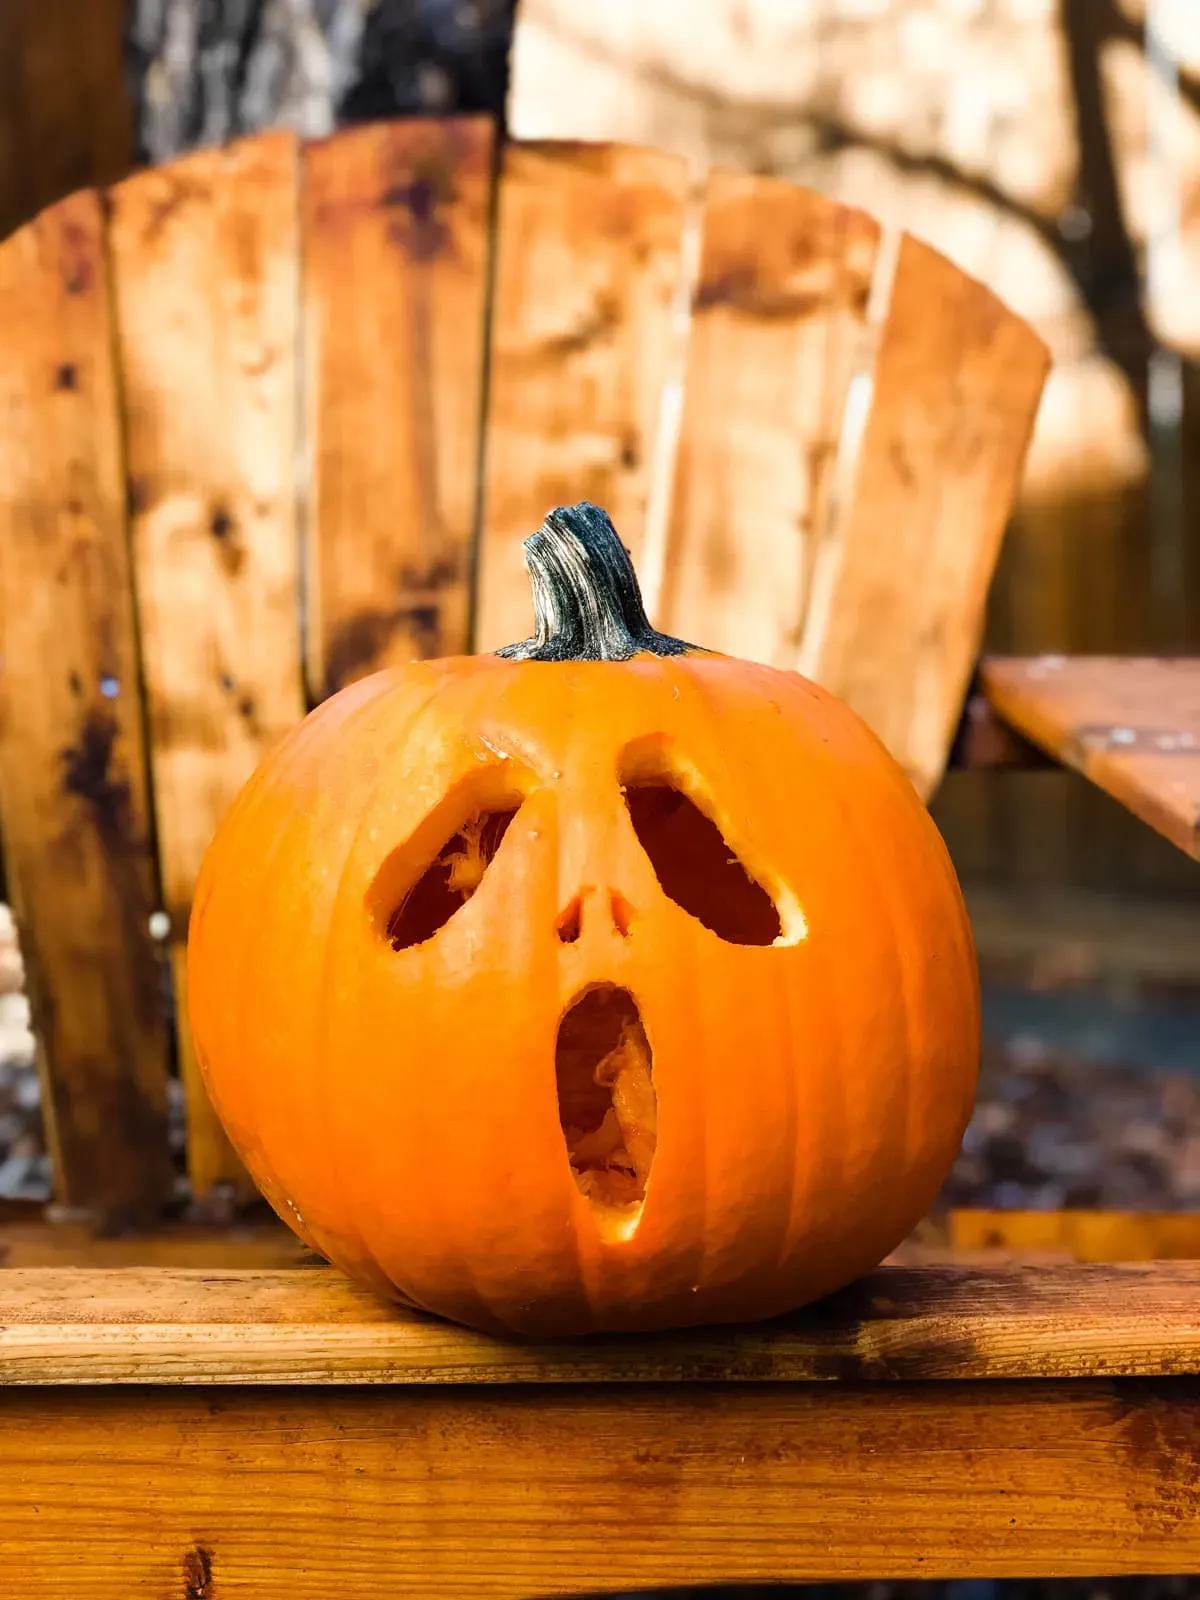
Forget complex portraits or intricate scenes. The real secret toSimple Cuts for Seriously Cool Pumpkin Carving Ideas Easyis making simple shapes look good. Think geometric: triangles, squares, circles. A classic jack-o'-lantern face uses simple shapes, and it’s iconic for a reason. Draw your design on the pumpkin first with a marker. Don't be afraid to make it big and bold. Small, fiddly shapes are harder to cut and more likely to break. Use your small paring knife for the cutting. Hold the knife perpendicular to the pumpkin surface and use a gentle up-and-down motion, following your lines. Take your time. If a piece doesn't pop out easily, don't force it; go back over the cut. Simple shapes like jagged teeth, round eyes, or even just a few different sized circles scattered across the surface can look surprisingly cool when lit from within.
What simple shapes pack the most punch?
- Triangles (classic eyes and nose)
- Squares or rectangles (blocky mouths, windows)
- Circles (eyes, polka dots, moon shapes)
- Simple curves (cat eyes, wavy mouths)
- Straight lines (slits for eyes or scars)
Beyond the Knife: Unique & Cool Pumpkin Carving Ideas Easy

Beyond the Knife: Unique & Cool Pumpkin Carving Ideas Easy
so maybe the whole "sticking a sharp object into a gourd" thing isn't your jam, or maybe you just want something different. That's whereBeyond the Knife: Unique & Cool Pumpkin Carving Ideas Easycomes in. Who says you even need to carve? Grab some acrylic paints and go wild. Paint spooky scenes, abstract patterns, or just a solid, vibrant color. Use stencils if drawing freehand feels intimidating. Or, get a drill with different sized bits and create patterns of holes – it looks surprisingly effective when lit from the inside, like a starry night or abstract art. Hot glue is your friend here too. Attach googly eyes, yarn for hair, buttons, or even small toy spiders for instant personality. It’s less messy than gutting, often faster, and opens up a whole different world of creative possibilities.
Making it Pop: Lighting Your Cool Pumpkin Carving Ideas Easy

Making it Pop: Lighting Your Cool Pumpkin Carving Ideas Easy
Choosing the Right Glow for Your Gourd
you’ve put in the minimal effort (minimal is key forcool pumpkin carving ideas easy, remember?) and your pumpkin is looking… well, carved. Now, how do you make it actually look cool? Lighting is everything. A sad, flickering candle is the traditional route, sure, but it's also a fire hazard and tends to blacken the top of your pumpkin pretty fast. Plus, they can be a pain to light once the top is on. Enter the modern era. Battery-operated LED lights are your absolute best bet.
They come in all shapes and sizes – simple tea lights, small puck lights, or even strings of mini-lights. They stay cool, so no risk of pumpkin fires. They last a long time on a set of batteries. And you can just drop them in, especially if you used that clever bottom-cutting trick. Different colors can change the whole vibe too. White or warm white gives that classic glow, but orange, purple, or green LEDs can make your simple design look extra spooky or fun without any extra carving effort.
How Light Transforms Simple Shapes
It’s kind of wild how much a simple light source can elevate even the most basiccool pumpkin carving ideas easy. Remember those simple triangles and circles you cut? When light shines through them, they become sharp, defined shapes against the dark shell of the pumpkin. A single light in the middle works fine, but if you have a taller pumpkin or multiple cutouts at different heights, consider using two smaller lights or even a string of lights to ensure even illumination. Play around with placing the light closer to one side if you want to emphasize certain cuts over others. The goal is to make those easy cuts pop and cast dramatic shadows.
Think about the effect you want. A bright white light makes sharp cuts look almost stark and modern. A warmer, yellow light feels more traditional and cozy. A colored light adds an instant, almost theatrical effect. Don't just stick a light in and walk away; take a minute to see how it looks and if moving the light source slightly changes the impact. It's the difference between "oh, a carved pumpkin" and "hey, that pumpkin looks pretty cool!"
Lighting Option | Pros | Cons |
|---|---|---|
Traditional Candle | Classic look, cheap | Fire hazard, short lifespan, blackens top, hard to light |
Battery LED Tea Light | Safe, long-lasting, easy to use, cheap | Can be dim for large pumpkins |
Battery LED Puck Light | Brighter than tea light, good for medium pumpkins | Slightly more expensive than tea light |
Battery Mini String Lights | Even illumination, good for tall pumpkins or multiple cutouts, flexible placement | Requires more batteries, can be fiddly to arrange inside |
Colored LED Lights | Adds dramatic effect, instantly changes mood | Might make details less visible depending on color |
Troubleshooting & Displaying Your Cool Pumpkin Carving Ideas Easy
Troubleshooting & Displaying Your Cool Pumpkin Carving Ideas Easy
Fixing Common Carving Flops
Let's face it, even withcool pumpkin carving ideas easy, things can go sideways. Maybe a piece you meant to stay attached snapped off. Don't panic. This isn't a heart transplant; it's a pumpkin. If a small piece broke, try reattaching it with toothpicks. Just push them into the broken edges and carefully fit the piece back into place. It might not be invisible, but it'll hold. If a larger section collapsed, lean into it. Turn a broken eye into a scarred, battle-worn look. A wobbly mouth? Make it look like your pumpkin is mid-howl. Sometimes the best designs come from fixing mistakes on the fly. Don't aim for perfection; aim for character.
Keeping Your Creation Fresh (Sort Of)
The sad reality of pumpkin carving is that it doesn't last forever. Once you cut into that tough skin, the clock starts ticking. But you can buy yourself a little time for yourcool pumpkin carving ideas easyto impress the neighbors. After carving, give your pumpkin a bath in cold water for a few hours. This helps it rehydrate. Some folks swear by rubbing petroleum jelly on the cut edges to seal in moisture. You can also mist it daily with a spray bottle filled with water, maybe with a splash of bleach to ward off mold (use sparingly!). Keep it out of direct sunlight and extreme temperatures. Inside is better than outside if you want it to last more than a few days, but the porch is where the action is, right? Accept that it's temporary art.
How do you extend your pumpkin's lifespan?
- Give it a cold water bath after carving.
- Rub petroleum jelly on cut edges.
- Mist daily with water (add a tiny bit of bleach if you dare).
- Keep it out of direct sun and heat.
- Bring it inside during the day if possible.
Showcasing Your Easy Masterpiece
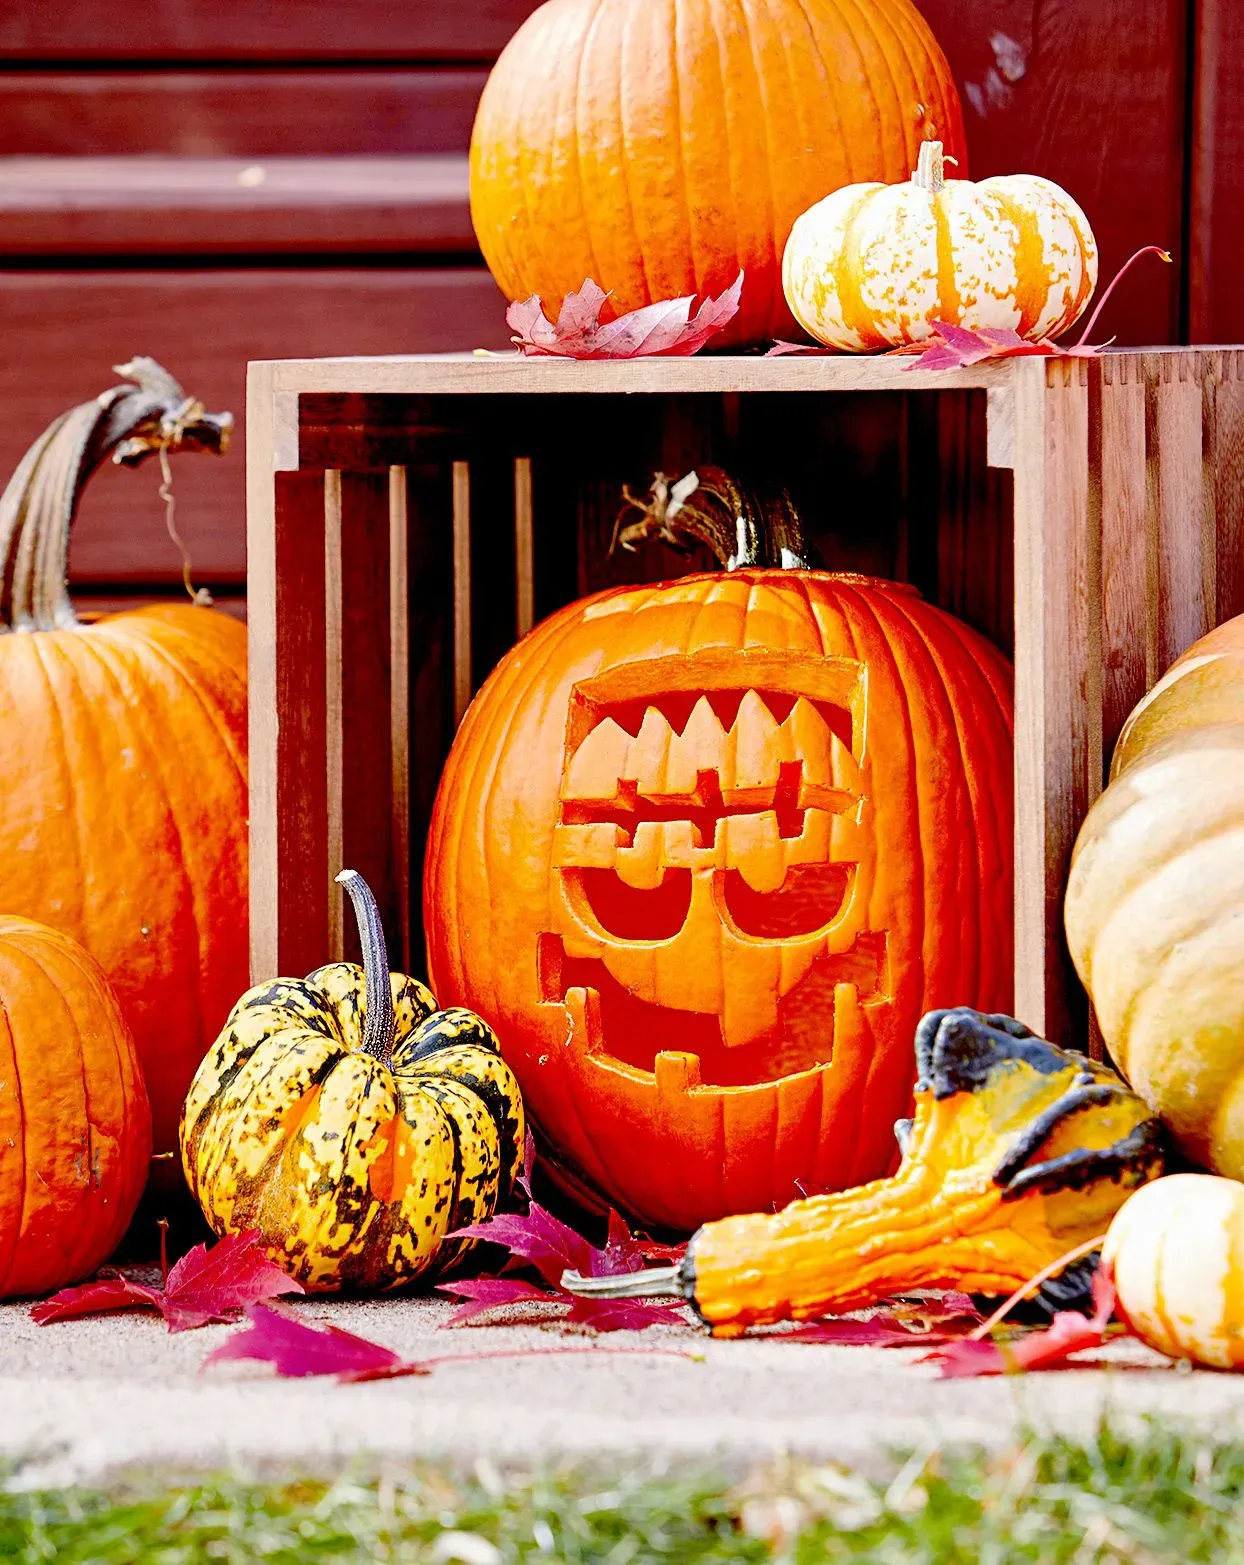
you've picked the pumpkin, used your kitchen tools, maybe even drilled some holes, and lit the thing up. Now it's time to show off yourcool pumpkin carving ideas easy. Placement matters. Put it on your front porch steps where trick-or-treaters can see it. Elevate it on a bale of hay or an overturned crate. Group several pumpkins together, even if they're just different sizes with simple faces. Add some mums, corn stalks, or fake spiderwebs to create a scene. Make sure the light source is positioned correctly inside to get the best effect. At night, step back from the street and see how it looks. Adjust the light if needed. Your simple creation, properly displayed and lit, can look just as effective as something far more complicated.
Carved It! Final Thoughts on Easy Pumpkins
So there you have it. Proof that getting a genuinely cool pumpkin on your porch doesn't require surgical precision or a week off work. We've looked at simple cuts, alternative methods, and how to make even the most basic design pop when the lights go down. You don't need a degree in fine art or a workshop full of specialized tools. Just a pumpkin, a few basic items, and maybe five minutes of focused effort. Ditch the stress, embrace the simplicity, and enjoy your easy win this Halloween. Your porch will look festive, and you won't have spent hours hunched over a gourd, wondering why it never looks like the picture.