Table of Contents
Halloween 2023 is creeping closer, and what better way to celebrate than with some seriously cool pumpkin carving ideas? Forget the same old triangle eyes and toothy grin; this year, it's time to unleash your inner artist and create a pumpkin masterpiece that will be the envy of the neighborhood. Whether you're a seasoned pro with a carving knife or a complete beginner armed with a spoon, there's a design here to inspire you. This article is your ultimate guide to cool pumpkin carving ideas 2023, packed with inspiration, tips, and tricks to help you create the perfect spooky (or cute!) centerpiece for your Halloween display. We'll explore classic designs with a modern twist, delve into the realm of spooky and scary creations, and uncover some truly unique and creative ideas that will set your pumpkin apart from the rest. And if you're new to the game, don't worry! We've got a section dedicated to easy pumpkin carving ideas for beginners. So, grab your pumpkin, gather your tools, and get ready to transform a humble gourd into a work of art. Let's dive into the world of cool pumpkin carving ideas 2023 and make this Halloween the most creative one yet!
Classic Cool Pumpkin Carving Ideas with a Twist
Classic Cool Pumpkin Carving Ideas with a Twist
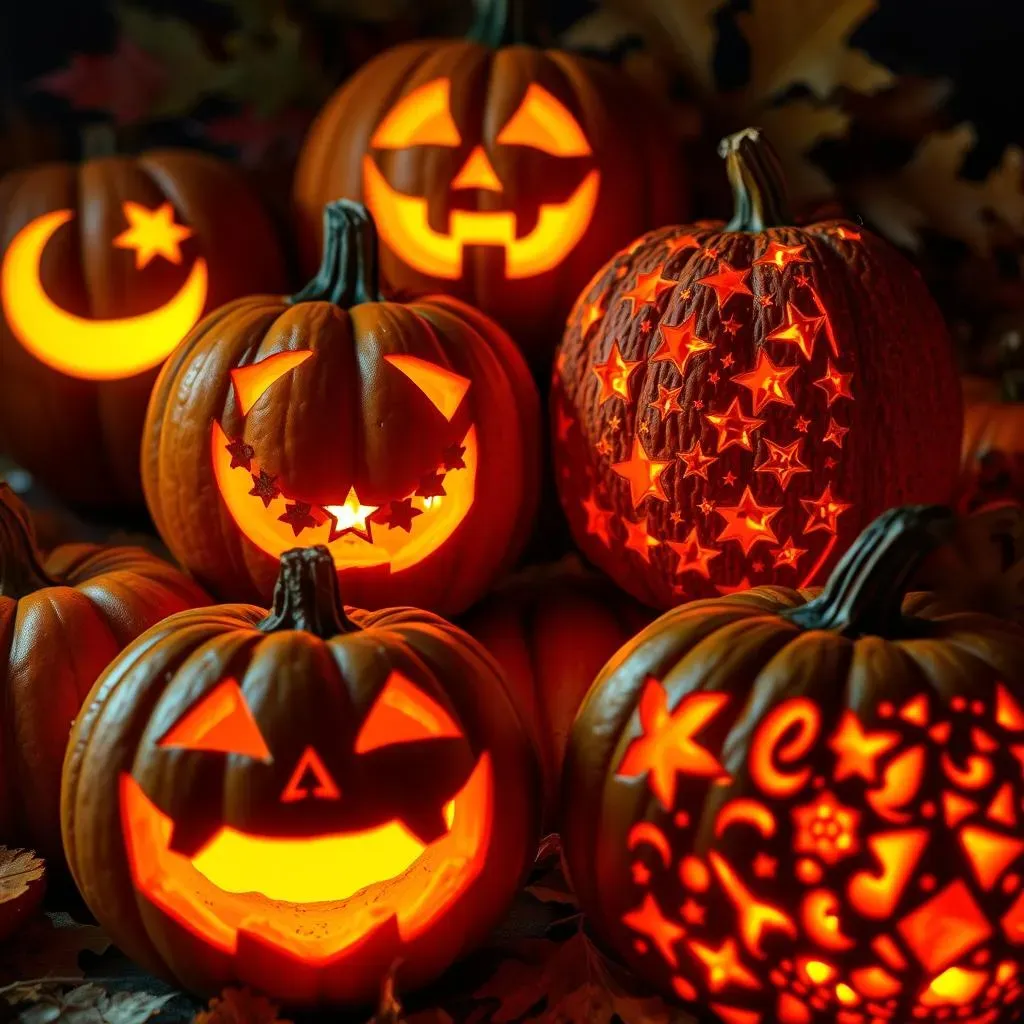
Let's be real, the classic Jack-o'-lantern is a staple for a reason. But this year, we're not just doing basic triangles and squares. We're taking those familiar faces and giving them a 2023 upgrade! Think about it: instead of simple triangle eyes, why not try carving crescent moons or stars? Ditch the jagged, toothy grin for a more sophisticated smile or even a surprised "O" shape. The goal is to recognize the classic, but with a subtle, cool twist that makes people stop and say, "Hey, that's clever!"
One super easy way to elevate the classic Jack-o'-lantern is to play with textures. Instead of just carving straight through the pumpkin skin, experiment with different depths. Shave away the outer layer to create a glowing effect, or use carving tools to add intricate patterns around the eyes and mouth. You could even incorporate stencils of leaves, bats, or other Halloween-themed images to add a touch of whimsy. Another idea? Consider using power tools. A Dremel can make quick work of intricate designs, adding a level of detail that's hard to achieve with traditional carving knives. Just be sure to wear safety glasses!
- Crescent Moon Eyes: A simple swap that adds instant elegance.
- Starry Smiles: Carve a series of small stars instead of teeth.
- Textured Skin: Shave away layers for a glowing effect.
- Power Tool Details: Use a Dremel for intricate designs.
Spooky and Scary Cool Pumpkin Carving Ideas for 2023
Spooky and Scary Cool Pumpkin Carving Ideas for 2023
Embrace the Darkness: Classic Horror Icons
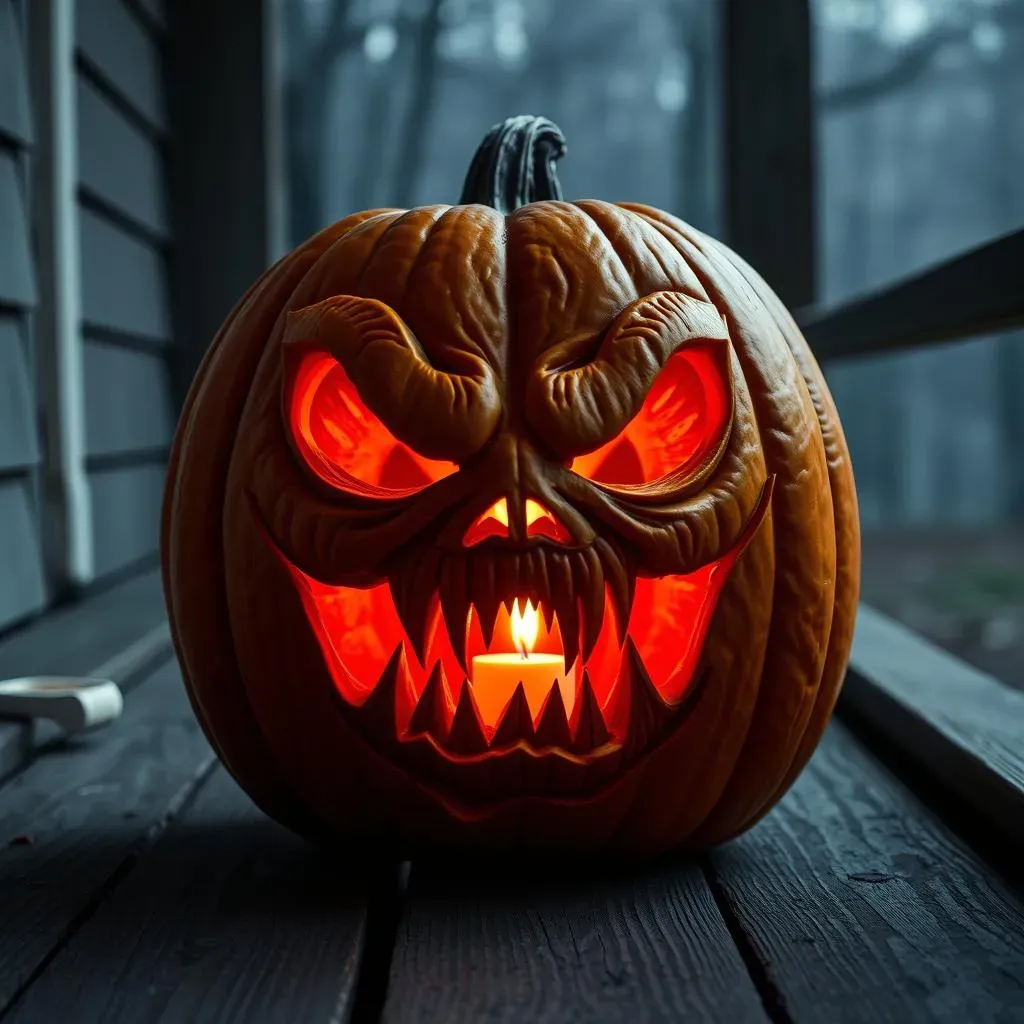
let's get serious. If you're going for truly spooky and scary, you can't go wrong with the classics. Think Dracula, Frankenstein's monster, or even a creepy rendition of the Grim Reaper. The key here is detail. Focus on capturing the iconic features of these characters – Dracula's sharp fangs, Frankenstein's bolts, the Reaper's skeletal grin. Stencils can be your best friend for these more complex designs. Pro tip: use a thin, serrated knife for precise cuts and a small spoon or loop tool to clean up the edges. And don't be afraid to add some dramatic lighting to really bring your creation to life!
Beyond the Basics: Elevating the Scare Factor
Want to take your spooky pumpkin to the next level? Think beyond the usual monsters and delve into the world of unsettling imagery. How about a pumpkin carved with a swarm of spiders crawling out of its eyes? Or a grotesque face with melting skin? The possibilities are endless! This is where you can really let your creativity shine (or, should I say, darken?). Consider incorporating 3D elements, like fake eyeballs or plastic spiders, to add an extra layer of creepiness. And remember, lighting is key! Use flickering LED candles or even a small strobe light to create a truly terrifying effect.
Bloody Good Fun: Incorporating Gore and Grime
Alright, this one's for the truly dedicated horror fans. If you're not afraid to get a little messy, consider incorporating some gore and grime into your pumpkin carving. This could involve using red food coloring to simulate blood dripping from the eyes or mouth, or even adding some fake moss or dirt to create a decaying effect. The goal is to make your pumpkin look as realistic and disturbing as possible. Just remember to keep it tasteful (or as tasteful as gore can be, anyway!). And be sure to clean up thoroughly afterward – you don't want to attract any unwanted critters!
Spooky Element | How to Incorporate | Extra Tip |
|---|---|---|
Blood | Red food coloring, fake blood | Drip strategically for maximum impact |
Grime | Fake moss, dirt, coffee grounds | Apply sparingly for a realistic effect |
Insects | Plastic spiders, flies, beetles | Use hot glue to secure in place |
Creative and Unique Cool Pumpkin Carving Ideas
Creative and Unique Cool Pumpkin Carving Ideas
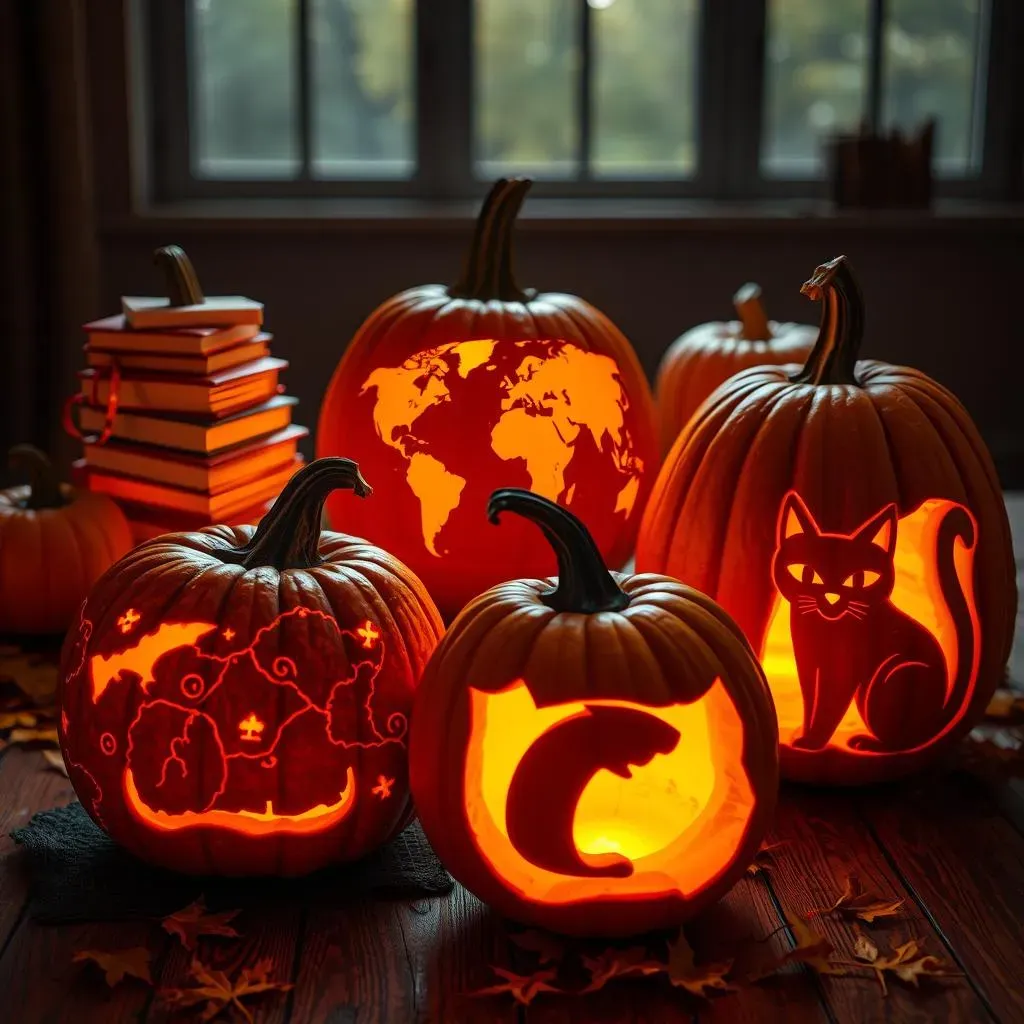
so you're tired of the same old scary faces? I get it! Let's dive into some seriously creative and unique cool pumpkin carving ideas that'll make your neighbors do a double-take. Think outside the box – or, in this case, the gourd! We're talking about transforming your pumpkin into a canvas for anything your imagination can conjure up. Forget the traditional Halloween tropes; this is about expressing your personality and pushing the boundaries of what a pumpkin can be. Are you a movie buff? Carve your favorite character! Obsessed with a certain animal? Let's see it in pumpkin form! The possibilities are truly endless, and that's what makes this so exciting.
Consider carving something that reflects your hobbies or interests. Are you a bookworm? Create a stack of books on your pumpkin! Do you love to travel? Carve a world map or your favorite landmark! The more personal you make it, the more unique and special your pumpkin will be. One year, I carved a pumpkin that looked like my cat, complete with whiskers and everything. It was a huge hit! And don't be afraid to experiment with different techniques. Instead of just carving, try painting, drilling, or even adding embellishments like glitter or sequins. The goal is to create something that's truly one-of-a-kind and reflects your individual style.
Another fantastic avenue for creative and unique cool pumpkin carving ideas is to draw inspiration from nature. Think beyond simple leaf patterns and consider carving intricate floral designs, woodland creatures, or even celestial scenes. You could create a pumpkin that looks like a blooming flower, with petals delicately carved into the skin. Or, you could carve a scene of owls perched on branches under a starry sky. The beauty of nature offers endless possibilities for creating a stunning and unique pumpkin display. And remember, lighting can make all the difference! Use different colored lights to highlight different aspects of your design and create a truly magical effect.
- Movie Character Mashups: Combine elements from different movies for a unique twist.
- Hobby-Themed Pumpkins: Show off your interests with carvings related to your hobbies.
- Nature-Inspired Designs: Intricate floral patterns, woodland creatures, or celestial scenes.
- Embellishments Galore: Add glitter, sequins, or other embellishments for extra flair.
Easy Pumpkin Carving Ideas for Beginners 2023
Easy Pumpkin Carving Ideas for Beginners 2023
Stencils are Your Best Friend
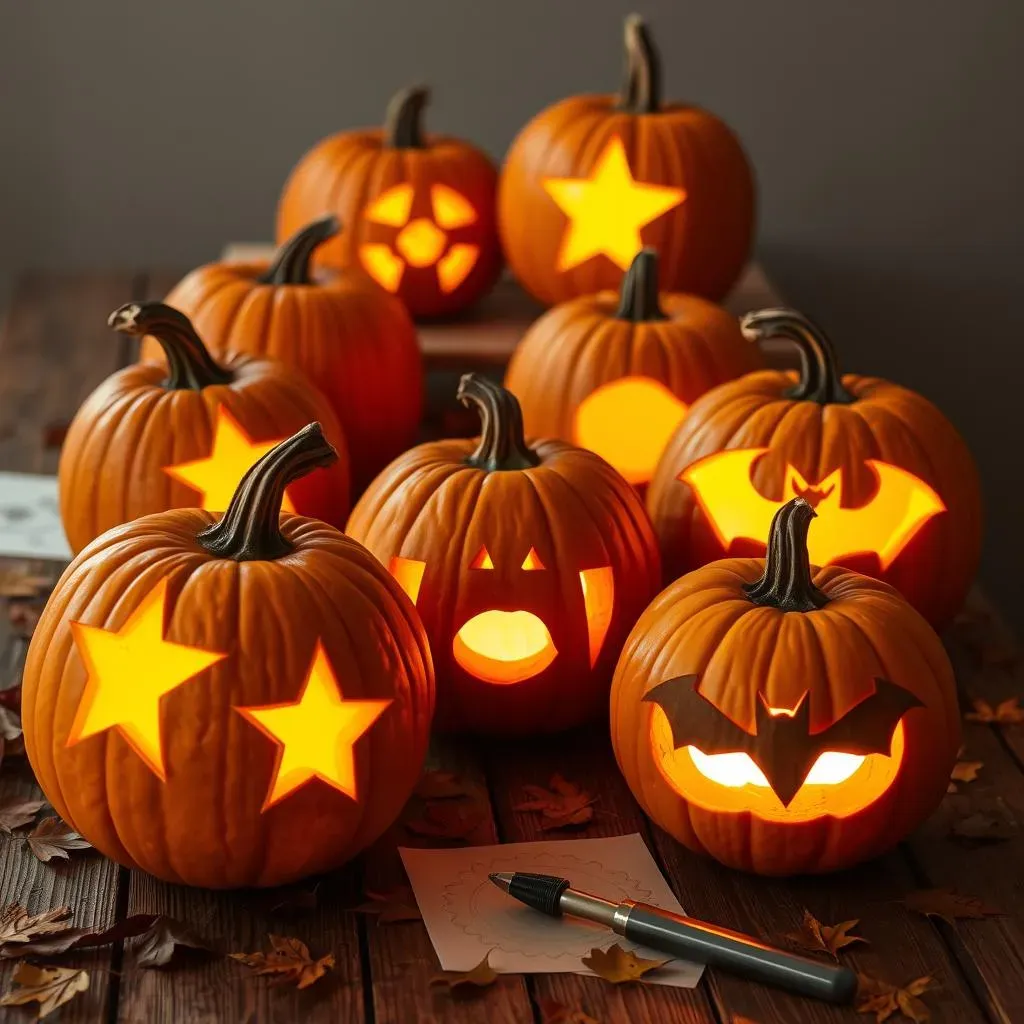
Alright, newbie carvers, listen up! The secret weapon for easy pumpkin carving ideas for beginners 2023? Stencils! Seriously, these things are a game-changer. You can find them online, in craft stores, or even make your own. They take the guesswork out of creating a design and ensure you get a clean, professional-looking result, even if you've never held a carving knife before. Start with simple shapes and patterns – think stars, moons, bats, or even just basic geometric designs. Trace the stencil onto your pumpkin, then carefully follow the lines with your carving tool. Trust me, you'll be amazed at how easy it is to create a stunning pumpkin with just a little bit of guidance.
When choosing a stencil, consider the size and shape of your pumpkin. A large, round pumpkin is perfect for a full-face design, while a smaller, oblong pumpkin might be better suited for a vertical pattern. Also, think about the complexity of the stencil. If you're a true beginner, stick to designs with fewer lines and larger, simpler shapes. As you gain confidence, you can start to tackle more intricate patterns. And don't be afraid to experiment! Try combining different stencils or adding your own personal touches to create a truly unique design.
Simple Shapes, Big Impact
Forget intricate designs and complicated patterns! For easy pumpkin carving ideas for beginners 2023, sometimes less is more. Simple shapes can be incredibly effective, especially when combined in creative ways. Think about carving a series of circles of different sizes to create a polka-dot pumpkin. Or, try carving a single, large star or moon in the center of your pumpkin. You could even carve a simple word or phrase, like "Boo!" or "Happy Halloween!" The key is to keep it clean and uncluttered. Choose a font that's easy to read and avoid overcrowding the design.
Another great way to create a big impact with simple shapes is to play with negative space. Instead of carving out the entire shape, try carving around it to create a silhouette effect. For example, you could carve around a bat to create a spooky bat silhouette against the glowing pumpkin. Or, you could carve around a star to create a celestial-themed pumpkin. This technique is surprisingly easy, but it can create a dramatic and eye-catching effect. And remember, lighting is key! Use a bright LED candle to really make your design pop.
Shape | How to Carve | Beginner Tip |
|---|---|---|
Circles | Use a cookie cutter as a guide | Vary the sizes for visual interest |
Stars | Print a star template and trace it | Use a small knife for sharp points |
Words | Choose a simple, blocky font | Carve slowly and carefully |
Tips and Tricks for Perfect Pumpkin Carving in 2023
Tips and Tricks for Perfect Pumpkin Carving in 2023
Prep Like a Pro: Choosing and Cleaning Your Pumpkin
so you've got your design in mind, but before you even think about picking up a carving knife, let's talk pumpkin prep! This is where tips and tricks for perfect pumpkin carving in 2023 really start to shine. First, choosing the right pumpkin is crucial. Look for one that's sturdy, with a smooth, even surface. Give it a little thump – it should sound hollow. Avoid pumpkins with soft spots or blemishes, as these can indicate rot. Once you've found the perfect pumpkin, it's time to get it clean. Wash it thoroughly with soap and water to remove any dirt or debris. Then, dry it completely with a clean towel. A clean pumpkin is a happy pumpkin, and a happy pumpkin is easier to carve!
Now, for the less glamorous but equally important part: gutting! Cut a large circle around the stem, angling your knife inward. This will create a lid that's easy to remove and replace. Scoop out all the seeds and stringy pulp. A metal ice cream scoop works wonders for this task. Scrape the inside walls of the pumpkin to remove any remaining pulp, leaving a smooth, clean surface. This will make carving much easier and prevent your pumpkin from rotting prematurely. Pro tip: Don't throw away the seeds! Roasted pumpkin seeds are a delicious and healthy snack. Just toss them with some olive oil, salt, and your favorite spices, and bake them in the oven until they're crispy and golden brown.
Carving Like a Champ: Tools and Techniques
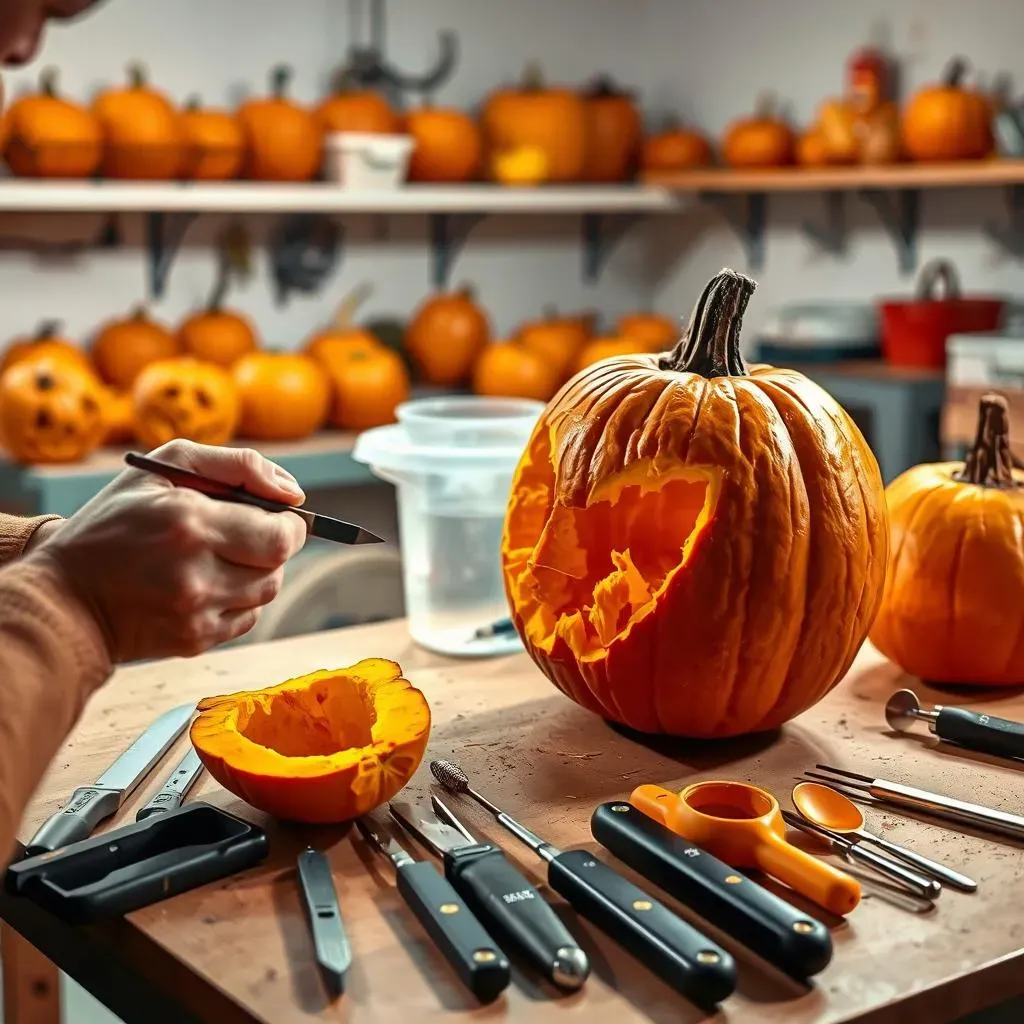
Alright, let's get to the fun part: carving! But before you start hacking away at your pumpkin, let's talk tools. Having the right tools can make all the difference in the world. Forget those flimsy plastic carving kits you find at the grocery store. Invest in a good set of carving tools with sturdy handles and sharp blades. A serrated knife is great for cutting the lid and removing large chunks of pumpkin, while smaller detail knives are perfect for creating intricate designs. You'll also want a scoop for removing pulp, a poking tool for transferring stencils, and a scraper for smoothing out the inside of the pumpkin. And don't forget a good light source! A headlamp or a bright desk lamp will help you see what you're doing and prevent you from making mistakes.
When it comes to technique, slow and steady wins the race. Don't try to rush the process. Take your time and carefully follow your design. Use short, controlled strokes and avoid applying too much pressure. If you're using a stencil, poke holes along the lines to transfer the design onto the pumpkin. Then, carefully connect the dots with your carving tool. Remember, it's always better to err on the side of caution. You can always remove more pumpkin, but you can't put it back! And if you make a mistake, don't panic! There are plenty of ways to fix it. You can use toothpicks to reattach broken pieces, or you can simply incorporate the mistake into your design. The most important thing is to have fun and let your creativity shine!
Tool | Purpose | Pro Tip |
|---|---|---|
Serrated Knife | Cutting lid, removing large chunks | Use a sawing motion |
Detail Knives | Creating intricate designs | Keep blades sharp |
Scoop | Removing pulp | Metal ice cream scoop works great |
Poking Tool | Transferring stencils | Use a needle or awl |
Preserve Your Masterpiece: Keeping Your Pumpkin Fresh
You've put in all this work, so you want your pumpkin to last as long as possible, right? Here are some tips and tricks for perfect pumpkin carving in 2023 to help you preserve your masterpiece! The first step is to hydrate your pumpkin. After carving, soak it in a solution of water and bleach (1 tablespoon of bleach per gallon of water) for about an hour. This will kill any bacteria that could cause your pumpkin to rot. After soaking, dry your pumpkin thoroughly with a clean towel.
Another great way to preserve your pumpkin is to apply a sealant to the cut edges. Petroleum jelly or vegetable oil work well for this purpose. Just rub a thin layer of sealant over the exposed edges to prevent them from drying out. You can also use a pumpkin preservative spray, which you can find at most craft stores. And finally, keep your pumpkin in a cool, dry place. Avoid direct sunlight and extreme temperatures. If possible, bring your pumpkin indoors at night to protect it from the elements. With a little bit of care, you can keep your pumpkin looking fresh and spooky for weeks!
- Bleach Soak: Kills bacteria and prevents rot.
- Sealant: Prevents cut edges from drying out.
- Cool, Dry Place: Avoid direct sunlight and extreme temperatures.
Cool Pumpkin Carving Ideas 2023: A Spooktacular Farewell
As Halloween night approaches, remember that the best pumpkin carving is one that reflects your unique style and spirit. Whether you opted for a classic spooky face, a whimsical woodland creature, or a modern geometric design, the most important thing is to have fun and let your creativity shine. We hope these cool pumpkin carving ideas 2023 have inspired you to create a Halloween masterpiece that you'll be proud to display. So, light up your pumpkins, gather your friends and family, and enjoy the spooky season. Happy carving, and Happy Halloween!