Table of Contents
Tired of the same old toothy grin staring back from your porch every Halloween? Yearning to unleash your inner artist and transform a humble pumpkin into a spine-chilling masterpiece? Then you've come to the right place! Forget the basic triangle eyes and wobbly smiles; we're diving headfirst into a world of cool pumpkin carving idea that will leave your neighbors green with envy (or maybe just a little spooked). This isn't your grandma's pumpkin carving guide. We're talking intricate designs, clever techniques, and a whole lot of inspiration to take your jack-o'-lantern game to the next level.
Beyond the Basic JackO'Lantern: Elevating Your Pumpkin Carving Game
Beyond the Basic JackO'Lantern: Elevating Your Pumpkin Carving Game
so you've mastered the classic jack-o'-lantern. Good for you! But let's be honest, those triangle eyes and that crooked smile are getting a little...predictable. It's time to break free from the pumpkin-carving norm and unleash your inner artist. Think of your pumpkin as a blank canvas, ready to be transformed into a spooky, kooky, or downright impressive work of art. We're not just talking about carving faces here; we're talking about intricate designs, creative themes, and techniques that will make your pumpkin the talk of the neighborhood.
Ready to move beyond the basics? It all starts with a shift in perspective. Stop thinking of pumpkin carving as a chore and start thinking of it as an opportunity to express your creativity. Consider what inspires you – maybe it's a favorite movie character, a spooky scene from a horror novel, or even just a cool pattern you saw on a piece of fabric. The possibilities are endless!
The next important step is to look at the pumpkin itself. Don't just grab the first round orange gourd you see. Explore different shapes, sizes, and even colors! A tall, slender pumpkin might be perfect for carving a spooky silhouette, while a round, squat pumpkin could be ideal for a whimsical character. The pumpkin's natural form can be a great starting point for your design.
Let's consider some ways to get those creative juices flowing:
- Theme it up: Instead of a random face, choose a theme. Pirates, zombies, space aliens – the possibilities are endless.
- Go 3D: Carve layers to create depth and dimension. Use different tools to achieve varying textures.
- Incorporate natural elements: Use leaves, twigs, or even small gourds to enhance your design.
- Play with light: Experiment with different light sources, like colored bulbs or flickering candles, to create spooky effects.
Stencils and Templates: Your Secret Weapon for Cool Pumpkin Carving
Stencils and Templates: Your Secret Weapon for Cool Pumpkin Carving
Why Stencils are a Game-Changer
let's face it, not all of us are born with the artistic skills of Michelangelo. But that doesn't mean we can't create stunning pumpkin carvings! That's where stencils and templates come in. Think of them as your secret weapon for achieving intricate designs without the need for freehand drawing. They provide a clear outline to follow, ensuring that even the most complex patterns are achievable.
Using stencils is like having a roadmap for your carving. They eliminate guesswork and prevent those dreaded "oops" moments that can ruin an otherwise perfect pumpkin. Plus, they save you time and effort, allowing you to focus on the fun part: actually carving! Whether you're a beginner or an experienced carver, stencils can help you create professional-looking results with ease.
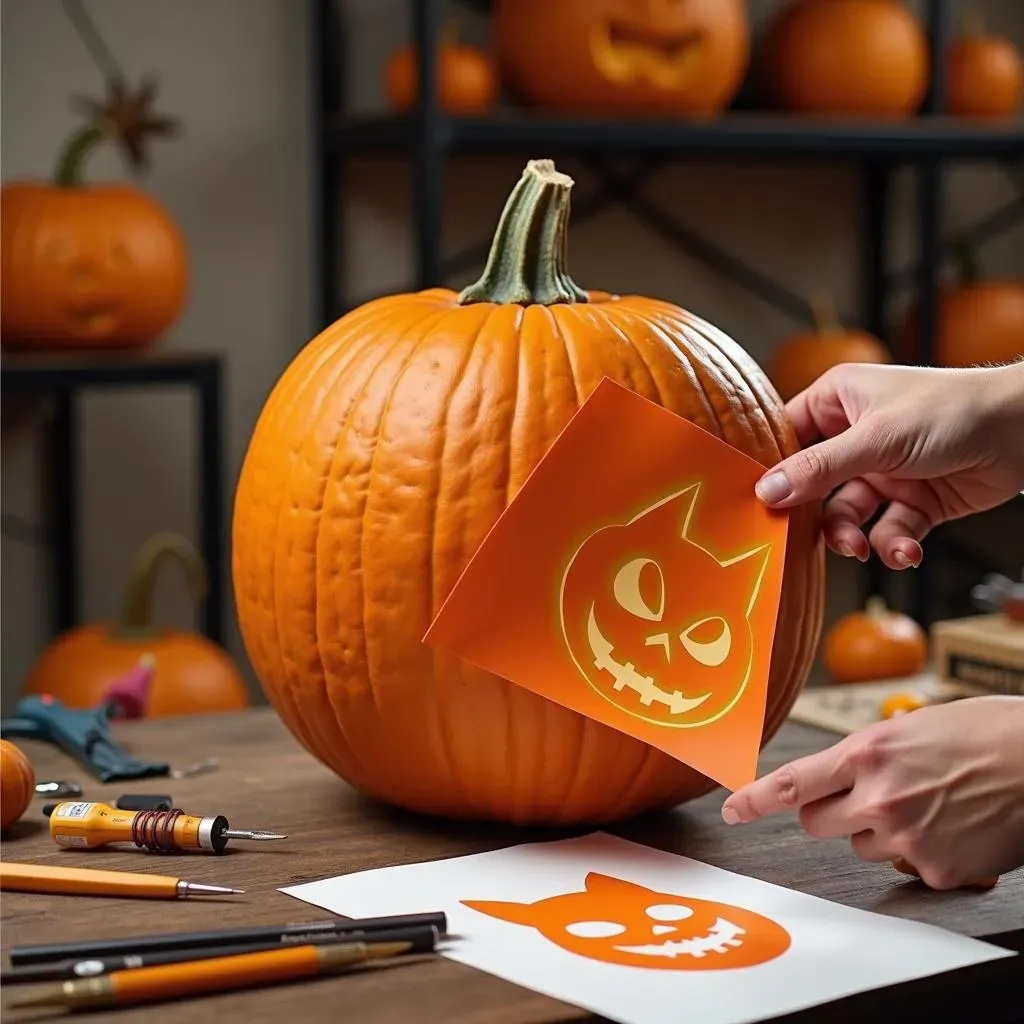
Finding the Perfect Stencil
So, where do you find these magical stencils? The good news is, they're everywhere! You can find printable stencils online with a quick search – there are tons of free options available, ranging from classic Halloween themes to pop culture icons. Craft stores and party supply shops also sell stencil books and kits with a variety of designs.
When choosing a stencil, consider your skill level and the size of your pumpkin. Intricate designs with lots of small details can be challenging for beginners, so it's best to start with something simpler. Also, make sure the stencil is appropriately sized for your pumpkin – a stencil that's too large or too small will be difficult to work with. Once you've found the perfect stencil, simply tape it to your pumpkin and use a poking tool or tracing wheel to transfer the design onto the surface. Then, grab your carving tools and get ready to bring your vision to life!
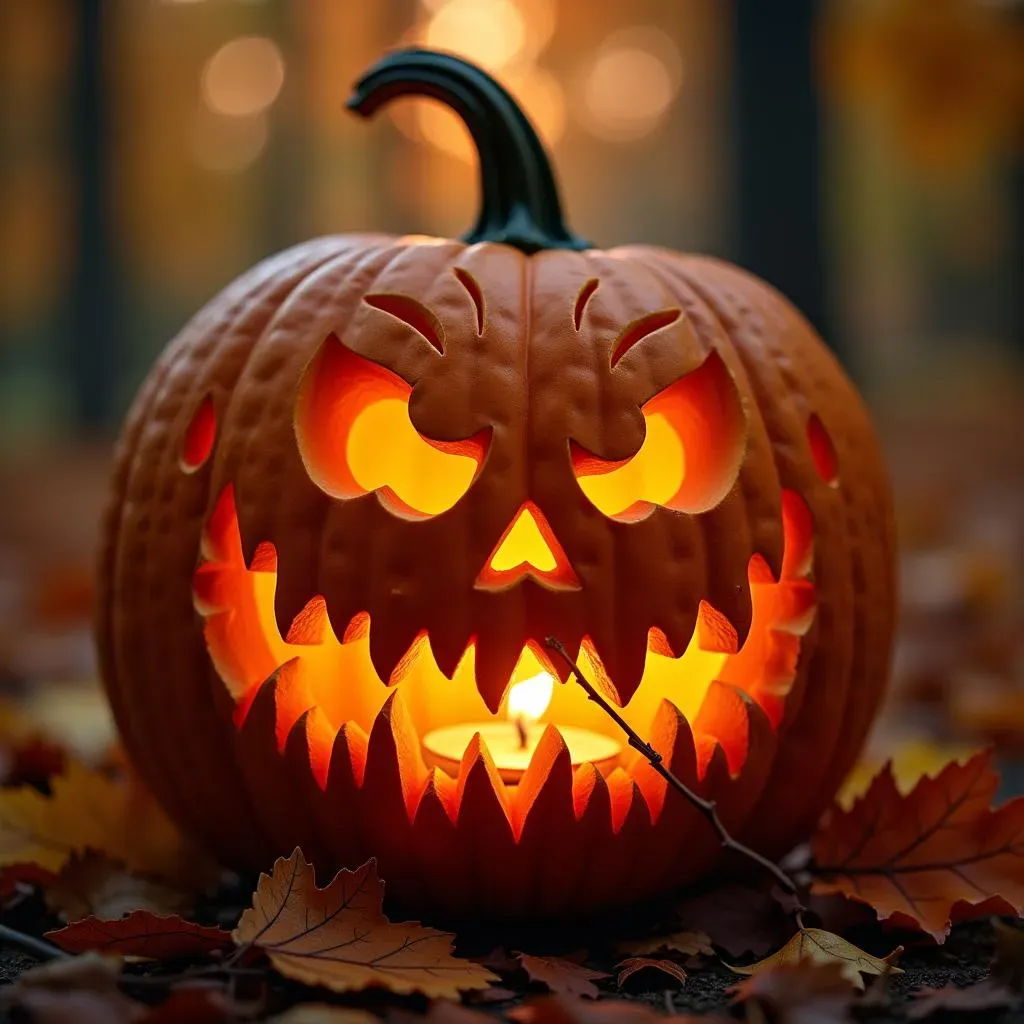
Cool Pumpkin Carving Ideas: From Simple to SpineChilling
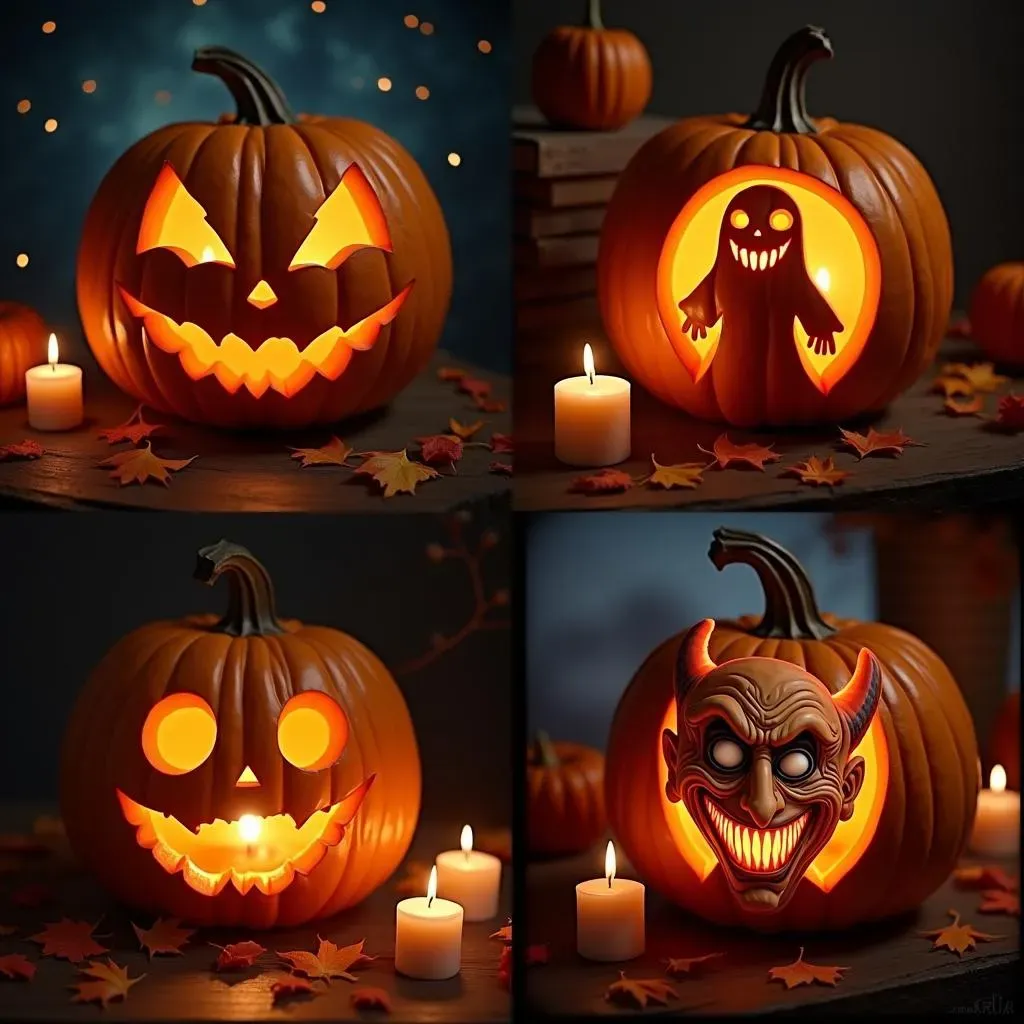
Cool Pumpkin Carving Ideas: From Simple to SpineChilling
Alright, let's get to the fun part: the ideas! Whether you're a pumpkin-carving newbie or a seasoned pro, there's a design out there for you. We're breaking it down into categories, from simple and sweet to downright terrifying. Don't feel pressured to create a masterpiece right away. The goal is to have fun and express your creativity, and who knows, maybe you'll discover a hidden talent along the way! So, let's jump into some cool pumpkin carving ideas that are sure to impress this Halloween.
Simple & Spooky
These ideas are perfect for beginners or anyone looking for a quick and easy carving project. They're also great for kids!
- Classic Jack-O'-Lantern: You can't go wrong with the basics! Try experimenting with different shapes for the eyes, nose, and mouth to give your jack-o'-lantern a unique personality.
- Ghostly Silhouettes: Cut out simple ghost shapes against a dark background for a spooky and minimalist design.
- Polka Dot Pumpkin: Use a drill or small carving tool to create a pattern of polka dots all over the pumpkin. This is a great way to add some texture and visual interest.
- Starry Night: Carve out a pattern of stars and crescent moons for a celestial-themed pumpkin.
Intermediate Intrigue
Ready to step up your carving game? These ideas require a bit more skill and patience, but the results are well worth the effort.
- Cartoon Characters: Carve your favorite cartoon character onto a pumpkin for a fun and playful design.
- Animal Faces: From cats and dogs to owls and bats, animal faces are a popular and versatile choice for pumpkin carving.
- Spooky Landscapes: Create a miniature haunted house or graveyard scene on your pumpkin.
- Word Art: Carve a spooky word or phrase, like "Boo!" or "Happy Halloween," onto your pumpkin in a creative font.
Spine-Chilling Spectacles
For the truly adventurous carvers, these ideas are guaranteed to send shivers down your spine.
Difficulty | Idea | Description |
|---|---|---|
Simple | Classic Jack-O'-Lantern | Traditional spooky face. |
Intermediate | Cartoon Character | Requires some precision. |
Advanced | Realistic Portrait | Demands patience and skill. |
- Realistic Portraits: Carve a portrait of your favorite horror movie villain or a spooky historical figure.
- 3D Sculptures: Use advanced carving techniques to create a three-dimensional sculpture on your pumpkin.
- Optical Illusions: Carve a design that creates an optical illusion when lit up.
- Gory Scenes: If you're not squeamish, carve a gruesome scene with zombies, skeletons, or other creepy creatures.
Tools of the Trade: Essential Pumpkin Carving Supplies
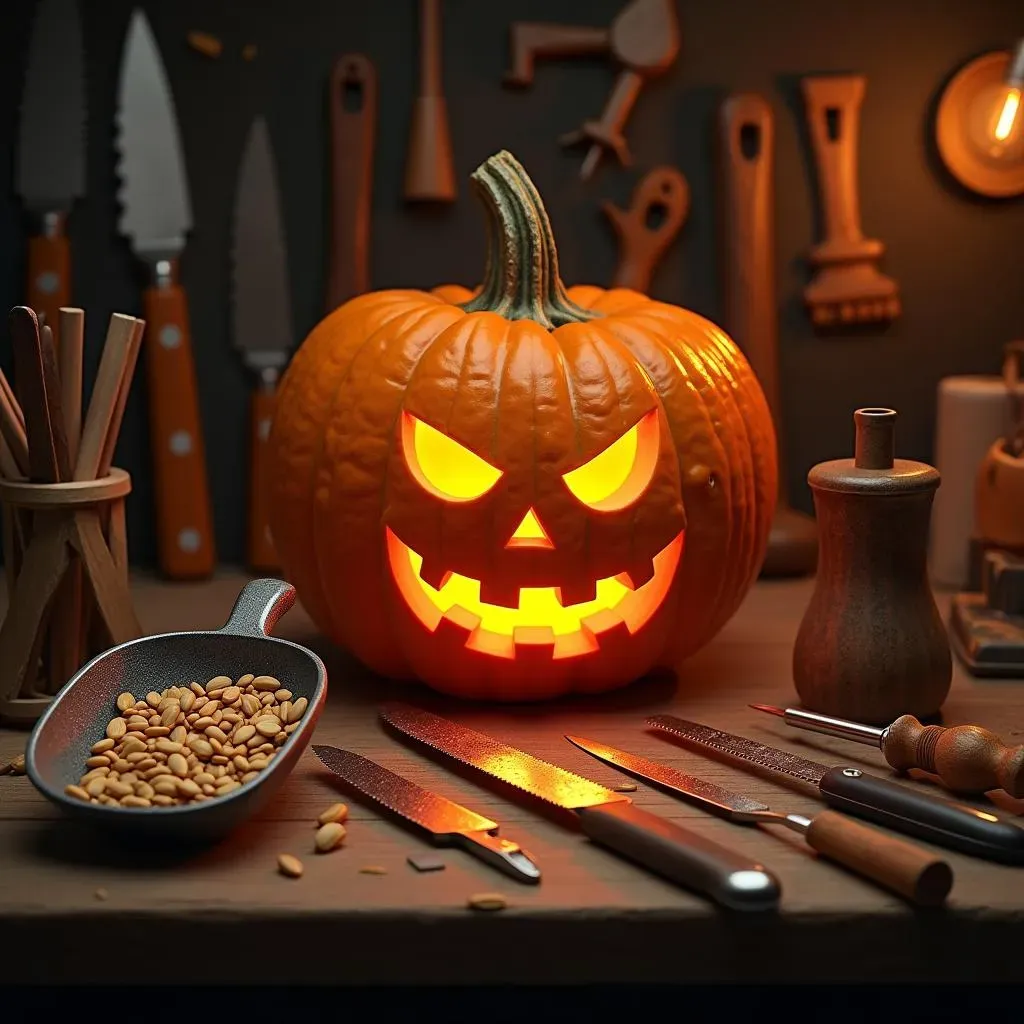
Tools of the Trade: Essential Pumpkin Carving Supplies
Alright, before you dive headfirst into carving, let's talk tools. Having the right equipment can make all the difference between a frustrating experience and a pumpkin-carving triumph. You wouldn't try to paint a masterpiece with a toothbrush, would you? Same goes for pumpkin carving! While a basic kitchen knife might get the job done in a pinch, investing in a few essential tools will make the process smoother, safer, and a whole lot more fun. Plus, you'll be able to achieve more intricate designs and create truly impressive works of art. So, what are these essential tools, you ask? Let's break it down!
- Pumpkin Carving Kit: These kits typically include a variety of saws, gouges, and scrapers specifically designed for pumpkin carving. They're a great option for beginners as they provide a good range of tools to experiment with.
- Serrated Knives: Look for knives with thin, serrated blades for precise cutting and carving. Different sizes and shapes will allow you to create a variety of details.
- Gouges and Scrapers: These tools are used to remove the pumpkin's flesh and create different textures. They're especially useful for creating 3D effects.
- Poking Tool or Tracing Wheel: Essential for transferring stencils onto the pumpkin's surface.
- Scoop: A sturdy scoop is a must-have for removing the pumpkin's seeds and pulp.
- Lighting: Candles, LED lights, or even a small flashlight will illuminate your creation and bring it to life.
Beyond the basics, there are a few other tools that can come in handy, such as a drill for creating polka dots or other patterns, and clay sculpting tools for adding fine details. And don't forget about safety! Always carve in a well-lit area and use caution when handling sharp tools. It's also a good idea to wear gloves to protect your hands from the pumpkin's sticky pulp. With the right tools and a little bit of practice, you'll be carving like a pro in no time!
Preserving Your Masterpiece: Tips for Keeping Your Cool Pumpkin Carving Fresh
Preserving Your Masterpiece: Tips for Keeping Your Cool Pumpkin Carving Fresh
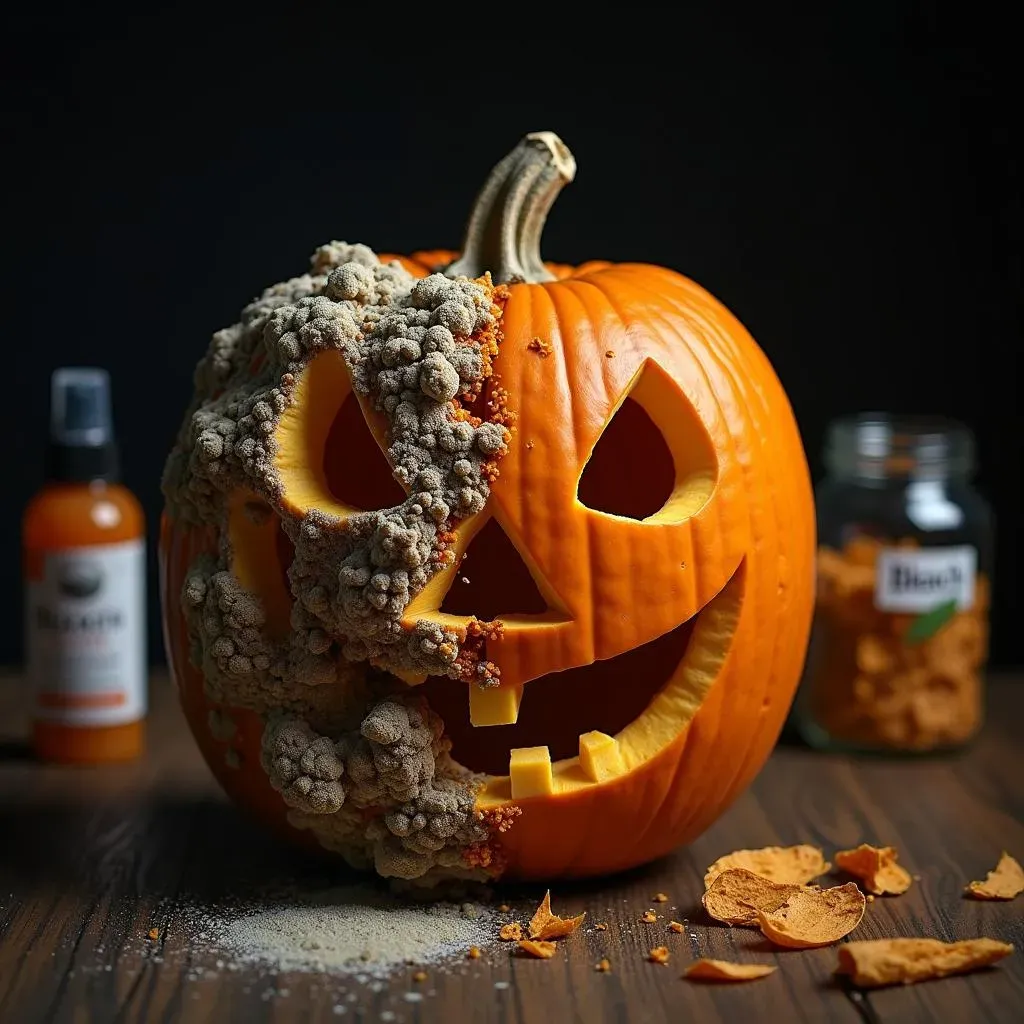
The Battle Against Decay: Why Pumpkins Rot
So, you've poured your heart and soul into creating a cool pumpkin carving masterpiece. The last thing you want is for it to turn into a moldy, mushy mess before Halloween even arrives! Unfortunately, pumpkins are highly perishable. Once you cut into them, they become vulnerable to bacteria, fungi, and dehydration, all of which contribute to their rapid decay. The good news is, with a few simple steps, you can significantly extend the life of your carved creation and keep it looking fresh and festive for longer.
Think of it like this: carving a pumpkin is like performing surgery. You're opening it up to the elements, and it needs some TLC to heal properly. Proper preservation techniques will help to slow down the decomposition process, allowing you to enjoy your spooky masterpiece for days or even weeks to come. So, let's dive into some practical tips and tricks to keep your pumpkin looking its best!
Top Tips for Prolonging Pumpkin Life
Alright, let's get down to the nitty-gritty. Here are some tried-and-true methods for preserving your cool pumpkin carving and keeping it looking fresh:
- Clean it Thoroughly: After carving, remove all the seeds and stringy bits from inside the pumpkin. Then, wash the interior with a mixture of water and bleach (1 tablespoon of bleach per quart of water). This will help to kill any bacteria or mold spores that may be present.
- Hydrate Regularly: Pumpkins dry out quickly, so it's important to keep them hydrated. You can do this by spraying the inside and outside of the pumpkin with water every day. Alternatively, you can submerge the pumpkin in a tub of water overnight every few days.
- Apply a Protective Coating: Petroleum jelly or vegetable oil can help to seal the pumpkin's surface and prevent moisture loss. Apply a thin layer to all cut surfaces.
- Store it Properly: When you're not displaying your pumpkin, store it in a cool, dry place. A refrigerator or basement is ideal.
- Consider a Commercial Preservative: There are several commercial pumpkin preservatives available on the market that can help to extend the life of your carving. Follow the instructions on the product label.
- Rehydrate with a Bleach Solution: If your pumpkin starts to look wilted, you can revive it by soaking it in a bleach solution (as described above) for a few hours.
Level Up Your Halloween: Embrace the Cool Pumpkin Carving Idea
So, there you have it! A treasure trove of inspiration and practical tips to transform your humble pumpkin into a Halloween showstopper. Whether you choose a classic spooky face, a pop culture icon, or a custom creation that reflects your unique style, remember that the most important ingredient is creativity. Don't be afraid to experiment, embrace mistakes as learning opportunities, and most of all, have fun! With a little practice and the right tools, you'll be amazed at what you can achieve. This Halloween, let your imagination run wild and create a pumpkin carving that will impress your friends, family, and even the neighborhood squirrels. Now go forth and carve something amazing!