Table of Contents
Halloween is just around the corner, and what better way to celebrate than by carving a pumpkin? But let's be honest, sometimes the same old spooky face can get a little boring. Are you looking for cool easy things to carve on a pumpkin that will impress your neighbors and bring your Halloween decorations to the next level? You've come to the right place! This guide is packed with 110 creative pumpkin carving ideas, perfect for all skill levels, from beginners to seasoned pros.
Setting Up Your Pumpkin Carving Station for Success
Setting Up Your Pumpkin Carving Station for Success
Safety First: Creating a Kid-Friendly Zone
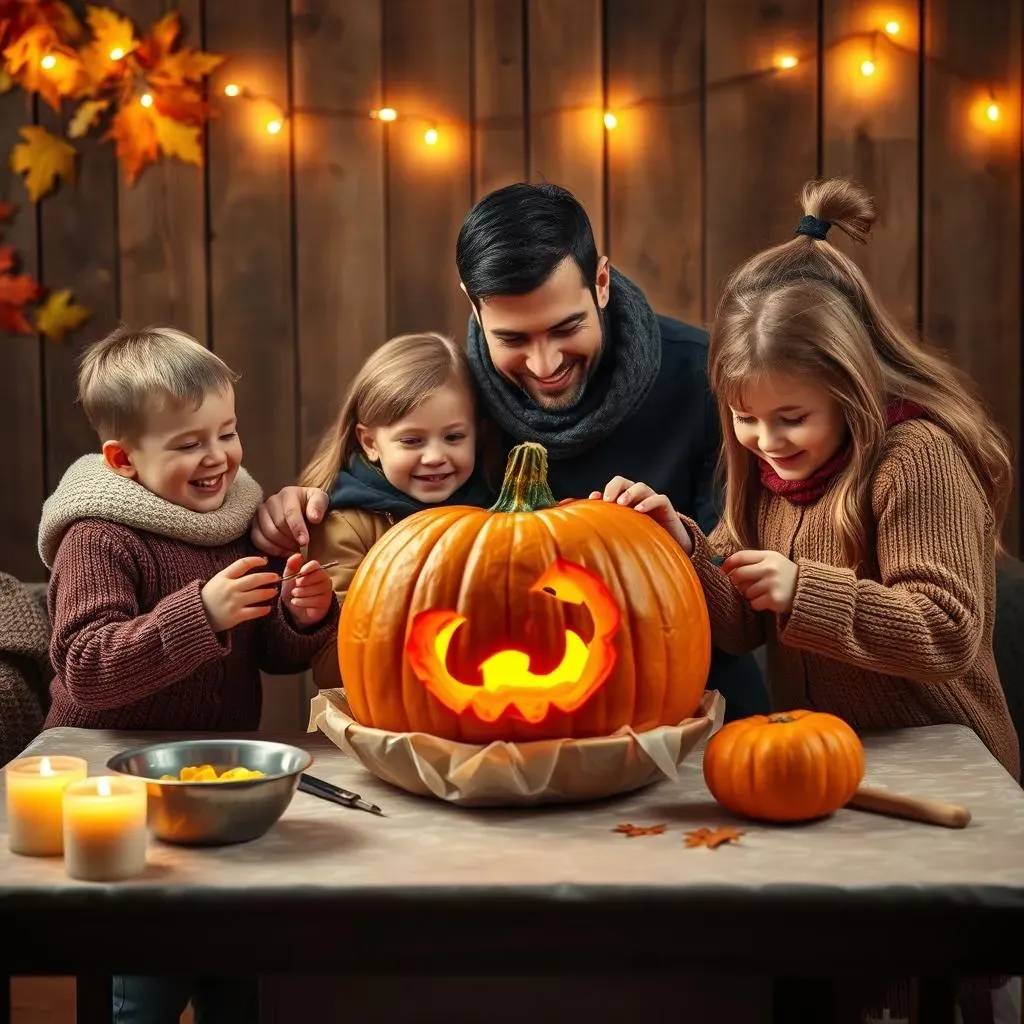
Alright, before we even think about sticking a knife into a pumpkin, let's talk safety. Carving can be a blast, but it involves sharp tools, so setting up a safe and organized workspace is key, especially if you've got little goblins helping out. Think of it like a cooking station, but instead of veggies, we're dealing with gourds and potentially slippery pumpkin guts. Choose a well-lit area, preferably a large table covered with newspaper or a disposable tablecloth for easy cleanup. Trust me, you'll thank me later.
Now, for the tools. Instead of letting the kids wield those huge carving knives, opt for kid-safe carving kits. These usually come with smaller, less sharp tools that are easier for little hands to manage. And always, always supervise! It's a great opportunity to teach them about being responsible and careful while still having fun. Maybe even turn on some spooky tunes to set the mood!
Essential Tools and Tricks for a Smooth Carving Experience
now that we've got the safety stuff covered, let's gather our gear. You don't need to go overboard, but having the right tools can make a world of difference. First, a good carving knife is essential. Look for one with a serrated edge for easier cutting. You'll also want a scoop to remove all those stringy pumpkin insides – the ickier, the better, right?
Next up, stencils! Unless you're a pumpkin Picasso, stencils can be a lifesaver for creating intricate designs. You can find tons of free templates online or even create your own. And don't forget a poking tool for transferring the stencil onto the pumpkin. Last but not least, have a bowl handy for all the pumpkin guts, and maybe some wet wipes for sticky fingers. With everything in place, you're ready to rock that pumpkin!
Tool | Purpose | Why You Need It |
|---|---|---|
Serrated Carving Knife | Cutting and shaping the pumpkin | Provides clean and precise cuts |
Pumpkin Scoop | Removing seeds and pulp | Makes the inside nice and hollow |
Stencils | Guiding your carving design | Ensures a perfect shape every time |
20 Cool Easy Things to Carve on a Pumpkin: Designs for All Skill Levels
20 Cool Easy Things to Carve on a Pumpkin: Designs for All Skill Levels
Classic Spooky Faces: A Timeless Tradition
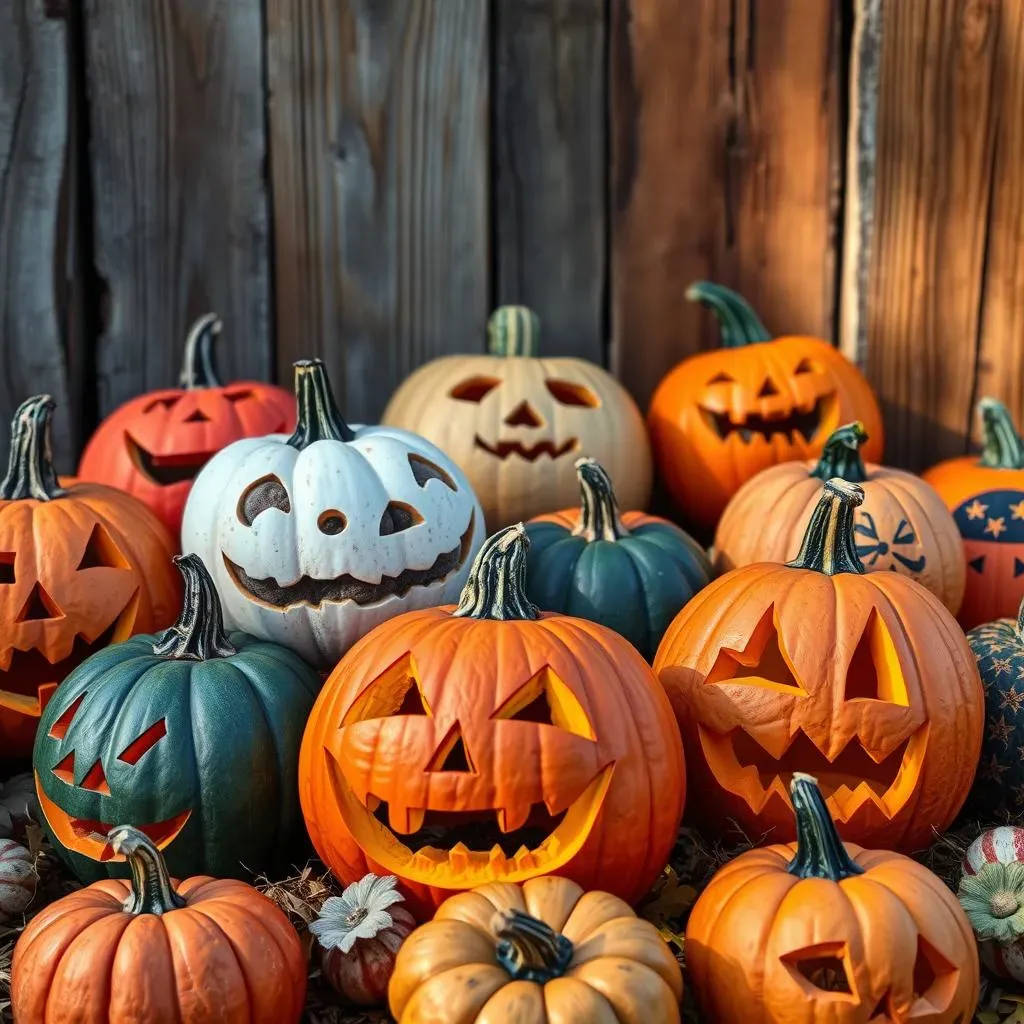
Let's kick things off with the classics! You can never go wrong with a traditional spooky face. Think simple triangles for eyes, a jagged mouth with a few teeth, and maybe a crooked nose. What's great about these is that they are super easy to customize. Want to make it scarier? Add more teeth or give it an angry brow. Want to make it friendlier? Round out the eyes and give it a big, goofy grin. The possibilities are endless! This is one of the cool easy things to carve on a pumpkin that everyone recognizes and loves.
To make it even easier, use a stencil! Trace the design onto your pumpkin, and then carefully carve along the lines. Don't worry about being perfect – the imperfections are part of the charm. And if you mess up? No problem! Just patch it up with a piece of pumpkin or a toothpick. Nobody will ever know!
Adorable Animals: Cute and Creepy Creations
If spooky faces aren't your thing, how about carving an adorable animal? A cat with arched back and pointy ears is always a hit, or you could try a smiling bat with big, round eyes. Owls are also a popular choice, with their wise and watchful gaze. These designs are still festive but add a touch of whimsy to your Halloween decorations. Plus, they're surprisingly easy to carve!
For animal designs, think about using different carving depths to create texture and dimension. For example, you could carve the outline of the animal deeply and then lightly shave away the surface of the pumpkin to create fur or feathers. This adds a level of detail that will really make your pumpkin stand out.
Geometric Patterns: Modern and Minimalist Designs
Want something a little more modern and minimalist? Try carving geometric patterns into your pumpkin. Think simple shapes like circles, squares, and triangles arranged in interesting ways. Or, you could try more complex patterns like mandalas or tessellations. These designs are not only visually striking but also surprisingly easy to carve. All you need is a good stencil and a steady hand.
To make geometric patterns even more interesting, consider using different sized carving tools to create varying depths and textures. You could also try using a drill to create a series of small holes in a pattern. This will give your pumpkin a unique and modern look that's sure to impress.
Design Idea | Skill Level | Description |
|---|---|---|
Classic Spooky Face | Beginner | Traditional jack-o'-lantern with simple shapes. |
Smiling Bat | Easy | Cute bat design with round eyes and a friendly smile. |
Geometric Pattern | Intermediate | Modern design with circles, squares, and triangles. |
Beyond the Basics: Elevating Your Pumpkin Carving Game

Beyond the Basics: Elevating Your Pumpkin Carving Game
Adding Depth with Shading and Texture
so you've mastered the basic cut-through carving. Now it's time to add some dimension! Shading is your secret weapon here. Instead of cutting all the way through the pumpkin, try using different carving tools to shave away layers of the pumpkin skin. The thinner the skin, the more light will shine through, creating a cool shading effect. Think about using this technique to add shadows around the eyes of your spooky face or to create fur-like texture on your adorable animal.
Another way to add texture is by using different carving tools. A small gouge can create fine lines, while a larger one can create deeper grooves. Experiment with different tools to see what kind of effects you can achieve. You can even use a toothbrush or a wire brush to add subtle textures to the surface of the pumpkin. It's all about playing around and seeing what works best for you!
Using Power Tools for Intricate Designs
Ready to take your pumpkin carving to the next level? Then it's time to bring out the power tools! A rotary tool, like a Dremel, can be a game-changer for creating intricate designs. With a variety of bits, you can carve fine details, create smooth curves, and even engrave the surface of the pumpkin. This is perfect for creating complex patterns, detailed portraits, or even 3D sculptures.
But before you go all power-tool crazy, remember safety first! Always wear safety glasses and gloves when using power tools, and take your time. Start with a low speed and gradually increase it as you get more comfortable. And don't forget to practice on a scrap pumpkin first to get a feel for how the tool works. With a little practice, you'll be creating masterpieces in no time!
Technique | Description | Tools Needed |
|---|---|---|
Shading | Carving different depths to create light and shadow. | Various carving gouges, shading tools |
Power Carving | Using a rotary tool for intricate details. | Rotary tool (Dremel), various bits, safety glasses |
Stenciling | Transferring your design to your pumpkin. | Stencils, poking tool |
Adding Extra Flair with Paint and Accessories
So, you've carved your pumpkin to perfection, but why stop there? Adding paint and accessories can take your jack-o'-lantern from great to amazing! Think about using acrylic paints to add color and detail to your design. You could paint the eyes of your spooky face a glowing green or add stripes to your adorable animal. Or, you could use glitter to make your pumpkin sparkle and shine.
And don't forget about accessories! You can use twigs, leaves, and other natural materials to add extra flair to your pumpkin. For example, you could use twigs to create antlers for a deer or leaves to create a mane for a lion. You can even use battery-operated lights to illuminate your pumpkin from the inside, creating a spooky and magical glow. The possibilities are endless! So, let your imagination run wild and create a pumpkin that's truly one-of-a-kind.
More Halloween Inspiration: Decorations, Recipes, and Fun!
More Halloween Inspiration: Decorations, Recipes, and Fun!
Spooktacular Decorations: Setting the Halloween Scene
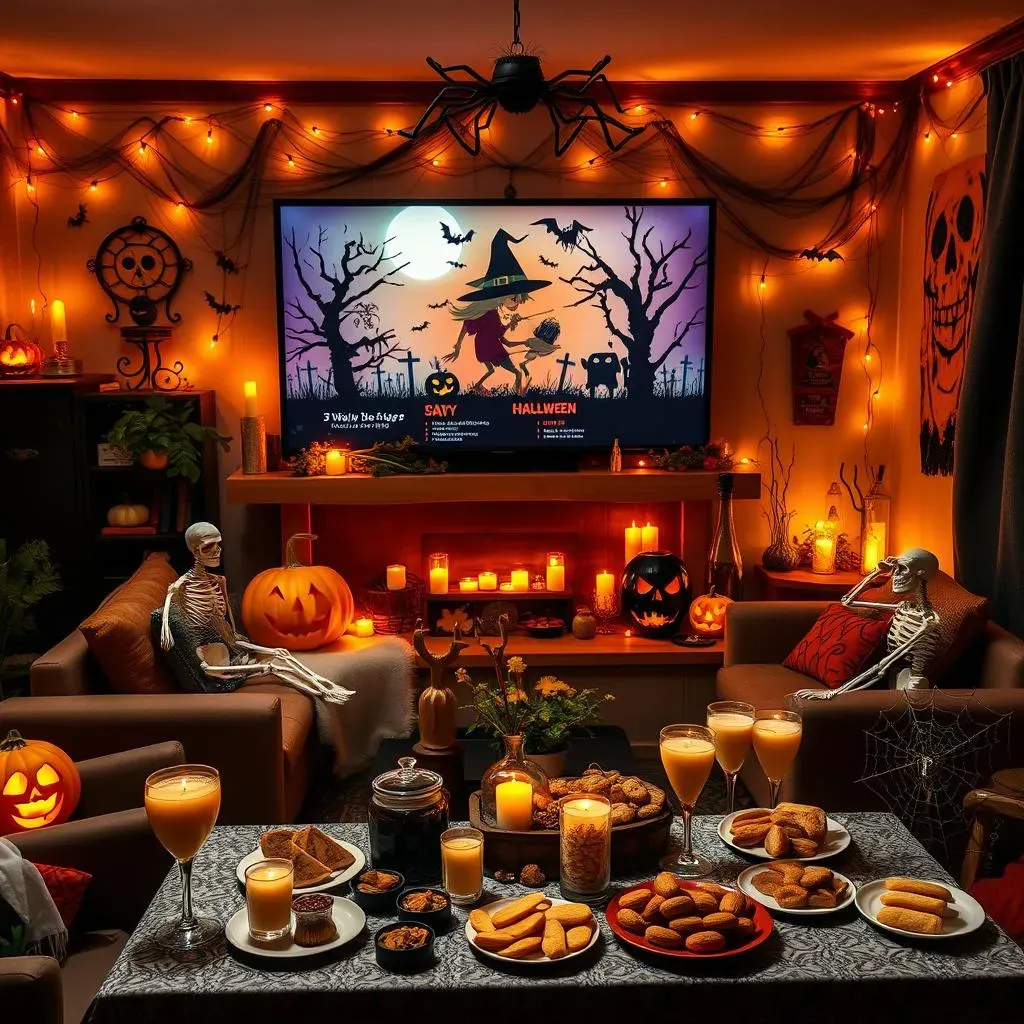
so you've got your killer jack-o'-lantern, but what about the rest of your Halloween setup? Decorations are key to creating a truly immersive spooky experience. Think beyond the basic plastic spiderwebs and dollar-store skeletons! Get creative with DIY decorations that will impress your guests and make your house the envy of the neighborhood. String up some eerie fairy lights, drape cheesecloth ghosts from the trees, and scatter faux cobwebs for a chilling effect. Remember, it's all about creating an atmosphere that's both fun and frightening!
Want to really step it up? Create a spooky graveyard scene in your front yard with styrofoam tombstones, skeleton bones, and maybe even a fog machine for added effect. Or, hang bats from the ceiling with fishing line to create a swarm of creepy creatures. With a little imagination, you can transform your home into a haunted haven that will delight and terrify trick-or-treaters of all ages.
Deliciously Spooky Recipes: Treats for Ghouls and Goblins
No Halloween celebration is complete without some delicious treats! Forget the boring candy corn and generic chocolate bars. This is your chance to get creative in the kitchen and whip up some spooktacular snacks that will impress your guests and satisfy their sweet tooth. Think beyond the basic cookies and brownies! How about some "monster" cupcakes with green frosting and candy eyes, or some "witch finger" pretzels dipped in chocolate and decorated with almond nails?
For a savory option, try making a "spiderweb" dip with sour cream and black olive spiders, or some "mummy" hot dogs wrapped in strips of pastry. And don't forget the drinks! A bubbling cauldron of "witch's brew" (aka green punch) or some "vampire" cocktails with cranberry juice and grenadine will be a hit with both kids and adults. With a little creativity, you can create a Halloween feast that's both delicious and delightfully spooky.
Decoration Idea | Description | Materials Needed |
|---|---|---|
Cheesecloth Ghosts | Ethereal ghosts hanging from trees. | Cheesecloth, liquid starch, balloons |
Styrofoam Tombstones | Graveyard scene in your front yard. | Styrofoam, gray paint, black marker |
Bat Swarm | Bats hanging from the ceiling. | Black construction paper, fishing line |
Frightfully Fun Activities: Games and Entertainment
What's a Halloween party without some frightfully fun activities? Keep your guests entertained with a variety of games and activities that will get them in the spooky spirit. A classic bobbing for apples is always a hit, or you could try a Halloween-themed scavenger hunt with clues hidden around the house or yard. For a more interactive activity, set up a DIY costume station with fabric scraps, glitter, and other embellishments and let your guests create their own spooky ensembles.
And don't forget the music! Create a playlist of spooky tunes to set the mood and get everyone dancing. You could even have a Halloween-themed karaoke night! Or, gather around a bonfire and tell scary stories. With a little planning, you can create a Halloween party that's both fun and memorable for everyone involved. These ideas will make this Halloween unforgettable!
- Bobbing for apples
- Halloween-themed scavenger hunt
- DIY costume station
Light Up the Night with Your Creative Pumpkin Carvings
So, there you have it – a treasure trove of cool easy things to carve on a pumpkin to ignite your Halloween spirit! Whether you opt for a classic spooky face with a modern twist or venture into more intricate designs, remember that the most important thing is to have fun and let your creativity shine. Gather your friends and family, put on some spooky tunes, and make pumpkin carving a memorable part of your Halloween celebration. With a little inspiration and a few simple tools, you can transform ordinary pumpkins into extraordinary works of art that will light up your neighborhood and bring smiles to faces of all ages. Happy carving, and Happy Halloween!