Table of Contents
Halloween is creeping closer, and what better way to celebrate than with some cool Disney pumpkin carving ideas? Forget the generic jack-o'-lantern; this year, transform your porch into a magical kingdom with pumpkins inspired by your favorite Disney characters and stories. Whether you're a seasoned carving pro or a first-time pumpkin artist, we've got something for everyone. Get ready to explore a treasure trove of Disney pumpkin stencils and templates that will make your Halloween the most enchanting yet!
Essential Tools and Tips for Flawless Disney Pumpkin Carving
Essential Tools and Tips for Flawless Disney Pumpkin Carving
Gather Your Gear: The Essential Toolkit
Alright, future pumpkin Picasso, first things first: you gotta have the right tools. Forget that flimsy plastic knife that comes with the grocery store kit. We're going for precision here! Think of it like outfitting a Jedi – you need the right lightsaber (or, in this case, carving tools) to master the Force (of pumpkin carving).
Here’s a quick rundown of what you'll need:
- Pumpkin Carving Kit: Look for one with various saws, scoops, and detail tools.
- Pencil or Marker: For transferring your chosen Disney stencil.
- Tape: To secure the stencil to your pumpkin.
- LED Candle or Light: Safer and longer-lasting than a traditional flame.
- Paper Towels: Because things are going to get messy!
Prep Like a Pro: Pumpkin Selection and Cleaning
Now, let's talk pumpkins. Size matters! A larger, flatter pumpkin is generally easier to carve, especially for intricate Disney designs. Give it a good once-over. You're looking for a pumpkin that's free of soft spots and has a sturdy stem. Think of it as auditioning your pumpkin for the role of "Most Magical Jack-o'-Lantern."
Once you've chosen your star, it's time for a spa day (for the pumpkin, anyway). Cut a hole in the back (yes, the back!), not the top. This makes it easier to light later. Then, scoop out all the gooey insides. Trust me, you want to get as much of that stringy stuff out as possible. A clean pumpkin is a happy pumpkin, and a happy pumpkin is easier to carve!
Pro Tip: Scrape the inside walls of the pumpkin thinner where you plan to carve. It'll make the carving process much smoother!
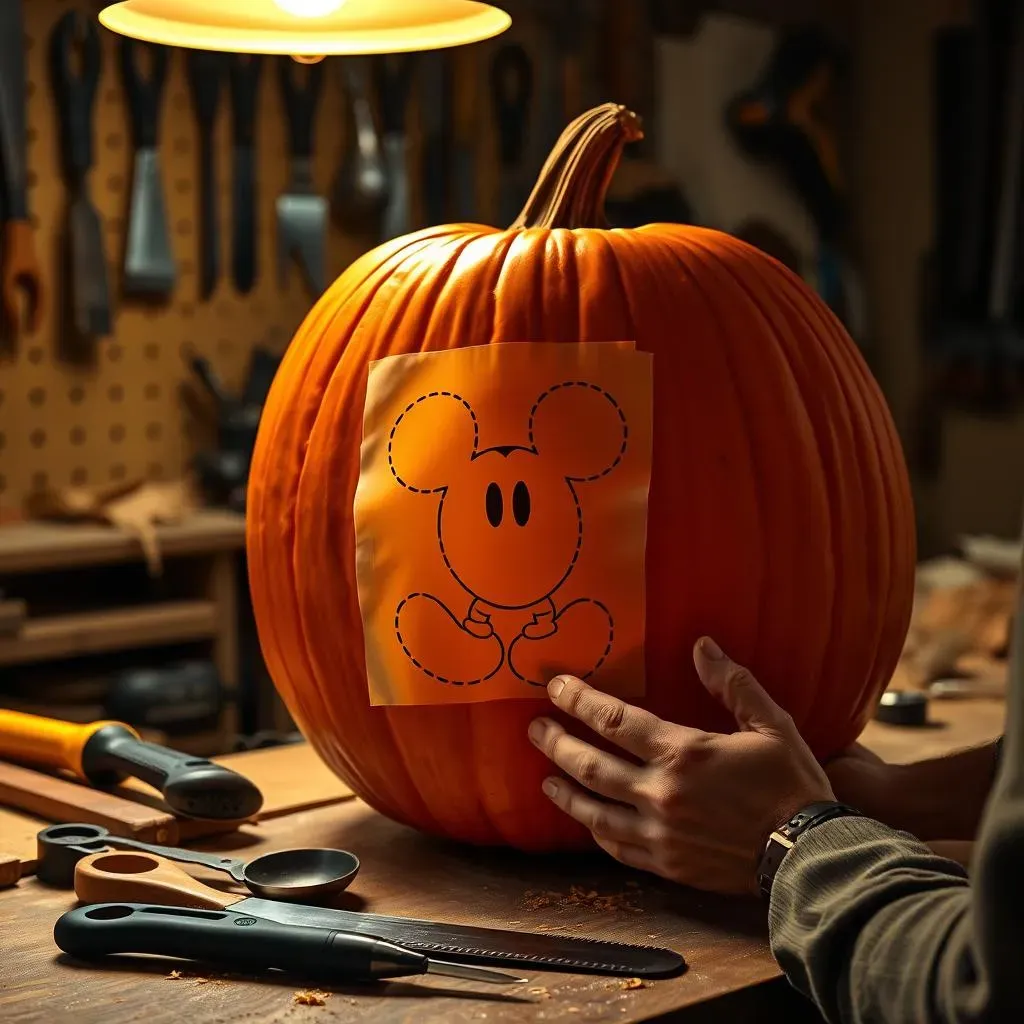
Stencil Savvy: Transferring Your Disney Dream
So, you've got your tools and a sparkling clean pumpkin. Now for the magic! Grab your chosen Disney pumpkin stencil (there are tons of free ones online – just search "Disney pumpkin stencils"). Tape the stencil securely to the front of your pumpkin. Now, using a pencil or marker, carefully poke holes along the stencil lines. The closer the holes, the more accurate your design will be.
Once you've traced the entire design, remove the stencil. You should now have a dotted outline of your chosen Disney character. Time to connect the dots – literally! Use a smaller carving tool to gently trace over the dotted lines, creating a clear guide for your carving.
Remember, patience is key! Don't rush this step. A well-transferred stencil is the foundation for a flawless Disney pumpkin masterpiece.
“The key to a good carving is a well-prepared pumpkin and a steady hand.” - Some Pumpkin Carving Expert
Classic Characters Come to Life: Timeless Disney Pumpkin Designs

Classic Characters Come to Life: Timeless Disney Pumpkin Designs
Mickey and Minnie: The OG Pumpkin Pair
Let's be real, you can't go wrong with Mickey and Minnie Mouse. They're the peanut butter and jelly of Disney, the dynamic duo that started it all! Carving these iconic characters onto your pumpkin is a surefire way to evoke some serious nostalgia and spread some classic Disney cheer. Plus, their simple yet recognizable silhouettes make them perfect for carvers of all skill levels. Think big, round ears, cheerful smiles, and maybe even a jaunty hat for Mickey.
To really nail the look, focus on clean lines and bold shapes. A classic Mickey silhouette against the warm glow of a pumpkin is pure Halloween magic. And if you're feeling extra creative, why not carve Mickey on one pumpkin and Minnie on another for a charming, coupled display? Talk about a "how sweet" Halloween!
Pro Tip: Use a smaller tool to carefully carve out the details of Mickey and Minnie's faces. Their expressions are key to capturing their personalities!
Here are some simple stencils for a Mickey Mouse pumpkin:
- Mickey Mouse Head Silhouette
- Smiling Mickey Face
- Minnie Mouse with Bow
Donald and Daisy: Adding Some Quack-tastic Fun
Want to add a little bit of sass and some serious quack-tastic fun to your pumpkin display? Then Donald and Daisy Duck are your go-to characters! Donald's perpetually grumpy expression and sailor suit, combined with Daisy's chic style and sassy attitude, make for a hilarious and eye-catching combination. These two add a playful touch to your Halloween decorations.
When carving Donald and Daisy, pay attention to their distinctive features. Donald's bill and sailor hat are essential, while Daisy's eyelashes and bow are key to capturing her feminine charm. And don't be afraid to get creative with their poses! Maybe Donald is throwing a temper tantrum, or Daisy is striking a glamorous pose. The possibilities are endless!
Fun Fact: Did you know that Donald Duck first appeared in 1934, and Daisy Duck made her debut in 1937? These two have been entertaining audiences for generations!
Here are some ideas to consider when carving Donald and Daisy:
- Donald Duck's Sailor Outfit
- Daisy Duck's Bow and Eyelashes
- A Grumpy Donald Face
Goofy and Pluto: The Loyal Companions
No collection of classic Disney characters is complete without Goofy and Pluto! These two lovable goofballs bring a sense of warmth and friendship to any Halloween display. Goofy's signature "gawrsh" and Pluto's unwavering loyalty make them instant crowd-pleasers. These two will be a hit with anyone passing by your house.
When carving Goofy and Pluto, focus on capturing their personalities. Goofy's buck teeth and floppy ears are a must, while Pluto's wagging tail and playful expression are essential. And don't be afraid to add some extra details, like Goofy's hat or Pluto's collar. These little touches will bring your pumpkin carvings to life!
Check out these ideas for your Goofy and Pluto pumpkins:
Character | Key Features | Stencil Ideas |
|---|---|---|
Goofy | Buck teeth, floppy ears, hat | Goofy's face with a wide grin, Goofy doing a silly pose, Goofy with his signature hat |
Pluto | Wagging tail, playful expression, collar | Pluto sitting and wagging his tail, Pluto with a bone, Pluto with Mickey Mouse |
Princess Power: Enchanting Disney Princess Pumpkin Carving Ideas

Princess Power: Enchanting Disney Princess Pumpkin Carving Ideas
Cinderella's Castle: A Fairy Tale Masterpiece
Bibbidi-bobbidi-boo! Transform your pumpkin into a stunning tribute to Cinderella with a carving inspired by her iconic castle. This design is perfect for those who want to showcase their carving skills and create a truly magical display. Picture delicate spires, arched windows, and maybe even a tiny glass slipper hidden somewhere within the design. This isn't just a pumpkin; it's a symbol of dreams coming true!
For an extra touch of enchantment, consider using a shimmering LED light inside the pumpkin to make the castle sparkle. You can also add some glitter or faux jewels to the carving to really make it shine. Just imagine the look on everyone's faces when they see this fairy tale masterpiece glowing on your porch! It's guaranteed to be the talk of the neighborhood.
Pro Tip: Use a thin carving tool to create the intricate details of the castle, such as the windows and spires. Patience and a steady hand are key!
Here are some elements to include in your Cinderella pumpkin:
- Cinderella's Castle Silhouette
- Glass Slipper Detail
- Clock Striking Midnight
Ariel's Grotto: Under the Sea Magic
Dive into an underwater adventure with a pumpkin carving inspired by Ariel and her magical grotto! This design is perfect for those who love the ocean and want to add a touch of whimsy to their Halloween decorations. Think swirling seaweed, colorful coral, and maybe even a hidden treasure chest. This pumpkin is sure to make a splash!
To really capture the essence of Ariel's world, use a variety of carving tools to create different textures and depths. Carve some areas deeper to create shadows and highlights, and use a smaller tool to add intricate details like scales and bubbles. And don't forget to add a touch of sparkle with some glitter or iridescent paint! This pumpkin is guaranteed to transport everyone to the depths of the ocean.
Fun Fact: Did you know that Ariel was originally going to be a mermaid princess in a completely different story? It wasn't until the writers combined elements from various fairy tales that the Ariel we know and love was born!
Check out these ideas for your Ariel-themed pumpkin:
Character/Element | Description | Carving Ideas |
|---|---|---|
Ariel | The Little Mermaid, with red hair and a green tail | Ariel's silhouette, Ariel holding a dinglehopper, Ariel singing |
Flounder | Ariel's best friend, a yellow and blue fish | Flounder swimming, Flounder looking surprised, Flounder with Ariel |
Sebastian | Ariel's advisor, a red crab | Sebastian conducting an orchestra, Sebastian looking worried, Sebastian with Ariel |
Beyond the Classics: Unique Disney and Pixar Pumpkin Inspirations
Beyond the Classics: Unique Disney and Pixar Pumpkin Inspirations
Toy Story Fun: Carving Buzz, Woody, or the Aliens
Alright, let's blast off beyond the classics and into the world of Pixar! Toy Story offers a treasure trove of pumpkin carving possibilities. Imagine carving Buzz Lightyear with his determined expression, Woody with his friendly grin, or even a whole bunch of adorable little green aliens. These designs are sure to bring a smile to everyone's face and add a touch of intergalactic fun to your Halloween display. To infinity...and beyond (the usual pumpkin carving)!
When carving your Toy Story pumpkin, think about capturing the unique details of each character. Buzz's space suit, Woody's cowboy hat, and the aliens' three eyes are all essential. And don't be afraid to get creative with the lighting! Use different colored LED lights to make Buzz's suit glow or to highlight the aliens' vibrant green skin. Let your imagination run wild!
Here are some stencil ideas to help you get started:
- Buzz Lightyear's Face
- Woody's Cowboy Hat
- Little Green Alien Silhouette
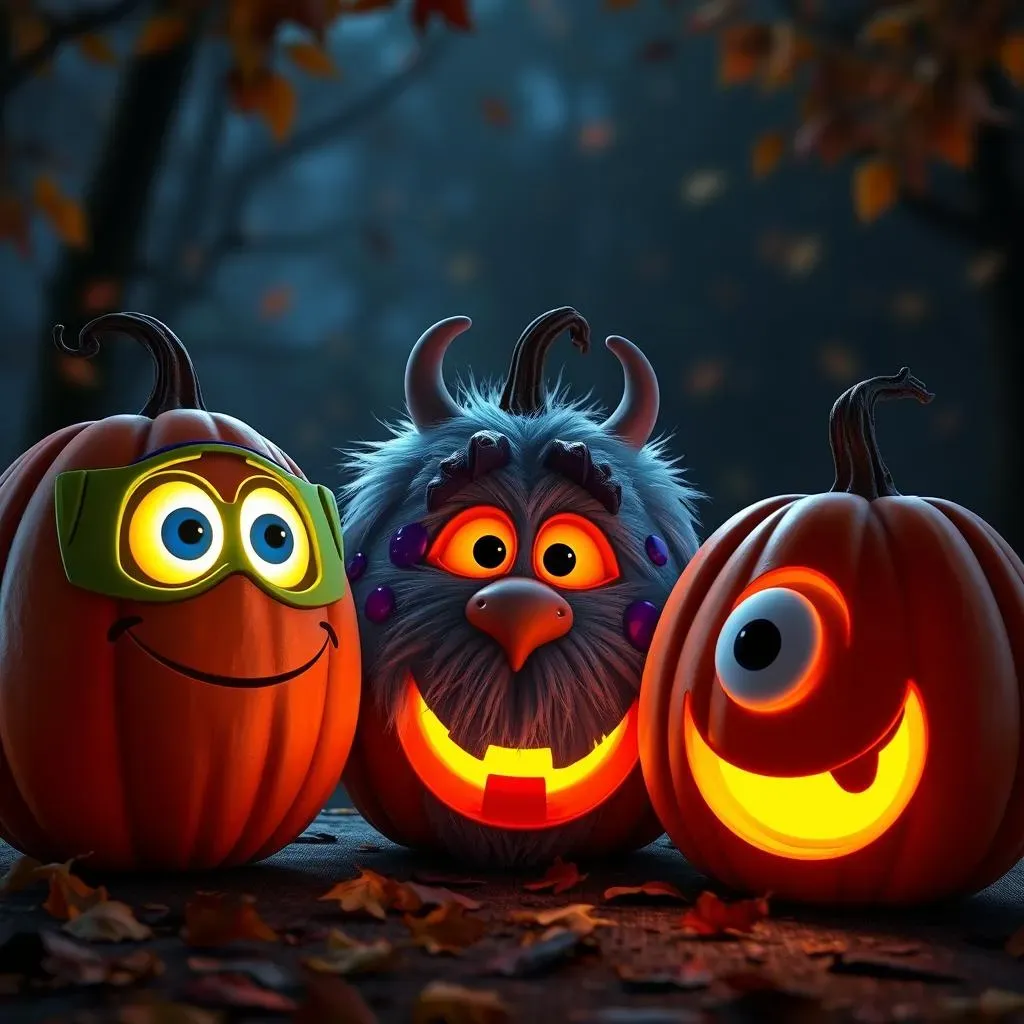
Monsters, Inc. Laughs: Sulley, Mike, and Boo
Ready to scare up some laughs? Monsters, Inc. is another fantastic source of unique Disney and Pixar pumpkin inspiration. Sulley's furry face, Mike Wazowski's single eye, and Boo's adorable pigtails are all perfect for carving. These designs are sure to be a hit with kids and adults alike, and they'll add a touch of monstrously good fun to your Halloween decorations. Think bright colors, silly expressions, and maybe even a little bit of friendly roaring!
To really capture the spirit of Monsters, Inc., use a variety of carving techniques to create different textures and depths. Carve Sulley's fur with short, choppy strokes, and use a smaller tool to create the intricate details of Mike's eye. And don't forget to add a touch of sparkle with some glitter or glow-in-the-dark paint! This pumpkin is guaranteed to be a scream!
Here's a table showcasing key features for carving Monsters, Inc. characters:
Character | Key Features | Stencil Ideas |
|---|---|---|
Sulley | Blue fur, purple spots, horns | Sulley's roaring face, Sulley hugging Boo, Sulley's silhouette |
Mike Wazowski | One eye, green skin, small horns | Mike's winking eye, Mike with a clipboard, Mike and Sulley together |
Boo | Pigtails, pink outfit, adorable smile | Boo saying "Kitty!", Boo in her monster costume, Boo giggling |
Level Up Your Carving: Advanced Techniques for Cool Disney Pumpkins
Level Up Your Carving: Advanced Techniques for Cool Disney Pumpkins
3D Carving: Adding Dimension to Your Disney Designs
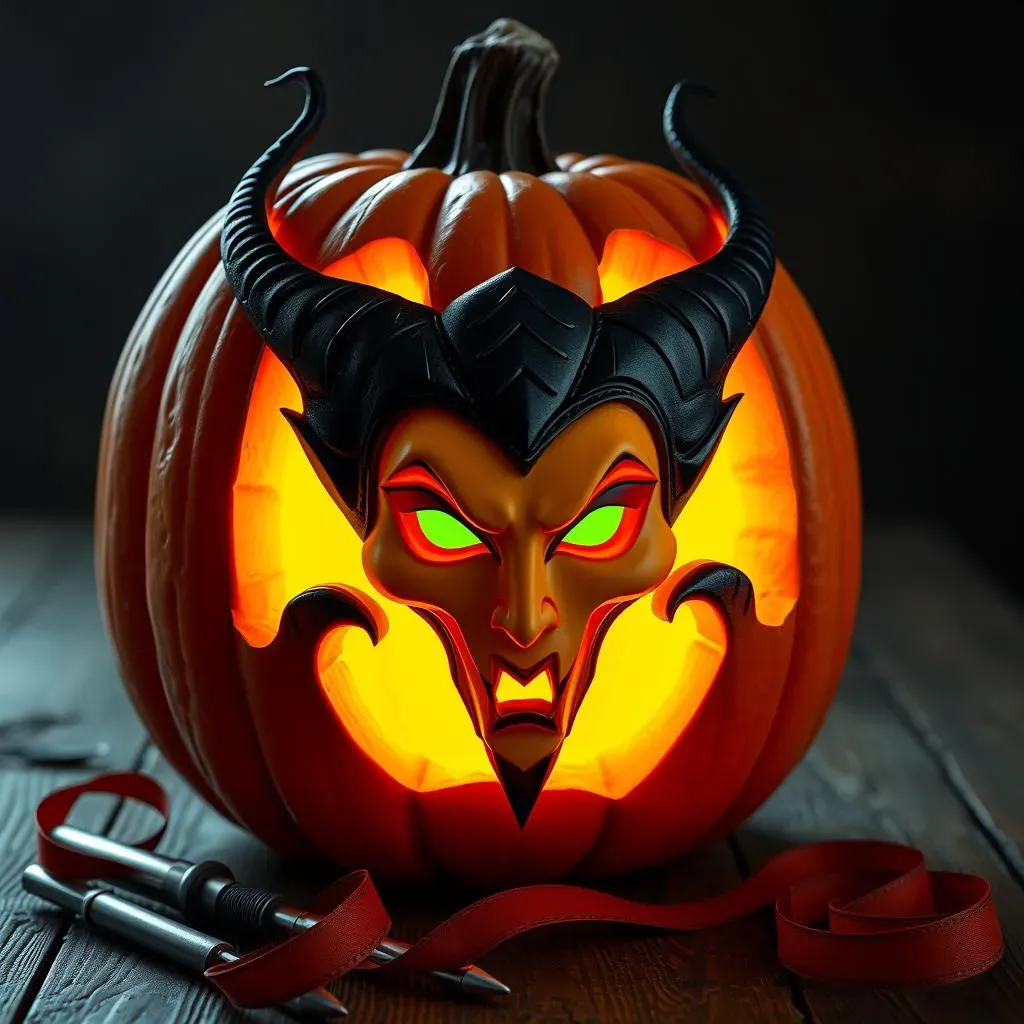
so you've mastered the basics of pumpkin carving. Now it's time to take your Disney pumpkins to another dimension – literally! 3D carving is all about creating depth and texture to make your designs pop. Instead of just cutting through the pumpkin, you'll be shaving away layers of the skin to create a more realistic and dynamic effect. Think of it like sculpting, but with a pumpkin instead of clay! Imagine bringing Maleficent's cheekbones to life or adding realistic fur to Simba. The possibilities are endless!
To get started with 3D carving, you'll need a good set of ribbon tools. These are small, looped tools that allow you to carefully shave away thin layers of the pumpkin skin. Start by transferring your chosen Disney stencil as usual. Then, using the ribbon tools, begin to shave away the areas that you want to appear more recessed. The more layers you remove, the deeper the area will appear. Remember to work slowly and carefully, and don't be afraid to experiment! With a little practice, you'll be creating stunning 3D Disney pumpkins in no time.
Here are some tips for successful 3D pumpkin carving:
- Use a variety of ribbon tools to create different textures and depths.
- Work in a well-lit area so you can see the details of your carving.
- Take your time and don't rush the process.
- Don't be afraid to experiment!
Shading and Lighting: Creating Mood and Atmosphere
Want to add even more drama and intrigue to your Disney pumpkin carvings? Then it's time to master the art of shading and lighting! By strategically shading certain areas of your design, you can create the illusion of depth and make your characters come to life. And by using different colored lights, you can set the mood and atmosphere of your display. Imagine a menacing green glow emanating from Ursula's lair or a warm, inviting light shining from Belle's enchanted castle. The possibilities are truly magical!
To create shading, use a rasp or sandpaper to gently roughen up the surface of the pumpkin in the areas you want to appear darker. This will create a subtle shadow effect that will add depth to your carving. For lighting, experiment with different colored LED lights to find the perfect mood for your design. You can also use flickering lights to create a more spooky or dramatic effect. And don't forget to consider the placement of your lights! By positioning them strategically, you can highlight certain areas of your carving and create a truly stunning display.
Consider these lighting ideas for your pumpkins:
Character/Scene | Lighting Ideas | Effect |
|---|---|---|
Ursula | Green or purple light | Menacing, spooky |
Belle's Castle | Warm, yellow light | Inviting, magical |
Jack Skellington | White or blue light | Eerie, ghostly |
Crafting Magic: Your Cool Disney Pumpkin Carving Adventure Awaits
With a little creativity and these cool Disney pumpkin carving ideas, your Halloween display is sure to be the talk of the neighborhood. From classic characters to modern masterpieces, the possibilities are endless. So, gather your family, choose your favorite stencils, and get ready to carve some Disney magic. Happy haunting, and may your pumpkins shine brighter than Cinderella's glass slippers!