Table of Contents
Halloween is creeping closer, and that means it's time to resurrect one of the holiday's most beloved traditions: pumpkin carving! Forget those same old, boring jack-o'-lanterns. This year, we're diving headfirst into a world of cool carved pumpkin ideas that will transform your porch from drab to fabulously frightful. Whether you're a seasoned pro with a Dremel or a newbie armed with a spoon and a dream, there's a pumpkin project here to ignite your imagination.
Classic Coolness: Timeless Jacko'Lantern Faces
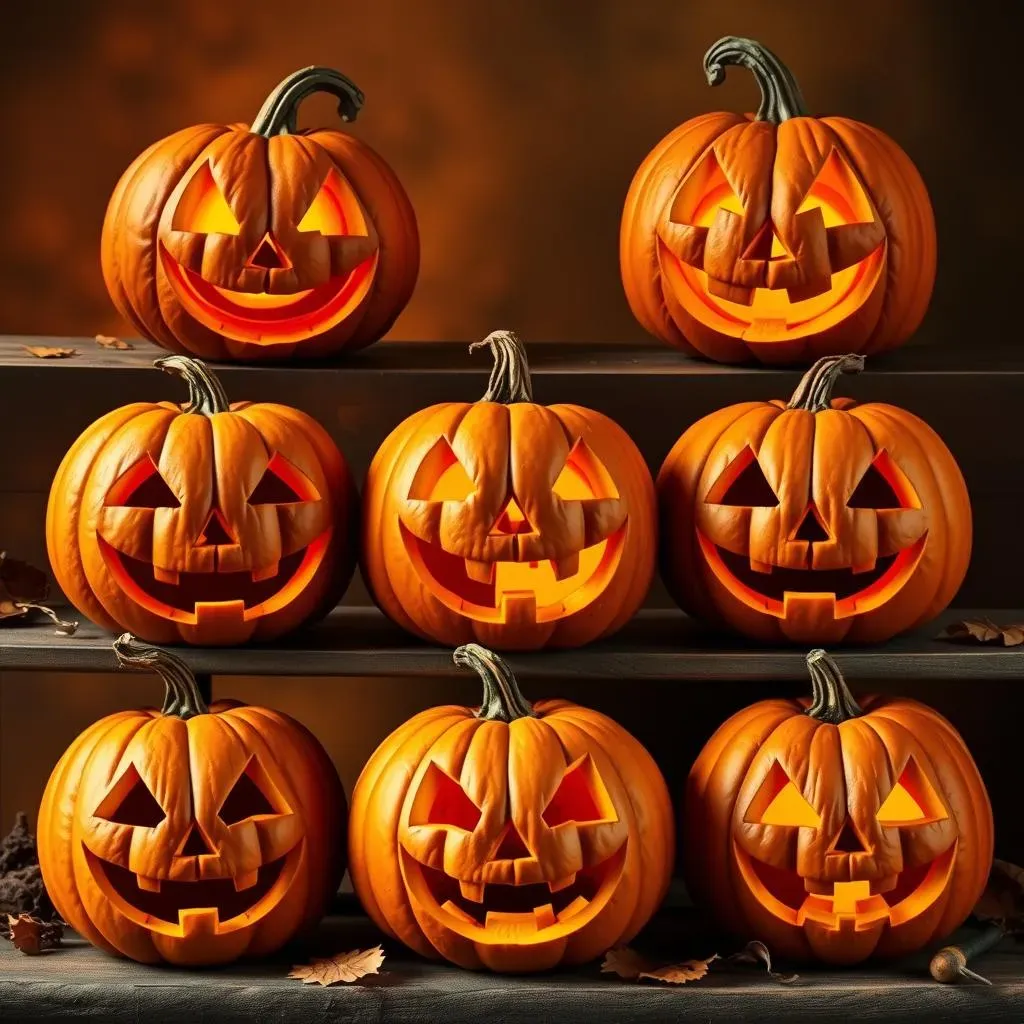
Classic Coolness: Timeless Jacko'Lantern Faces
The Enduring Appeal of the Classic Jack-o'-Lantern
Let's face it, sometimes the best things in life are the simplest. And when it comes to pumpkin carving, nothing beats the timeless appeal of a classic jack-o'-lantern face. Those goofy grins, spooky stares, and toothy smiles have been lighting up Halloween nights for generations. But just because it's a classic doesn't mean it has to be boring! There's plenty of room to put your own spin on these iconic designs.
Consider the eyes, for example. Do you want menacing triangles, wide-eyed circles, or something a little more abstract? What about the nose? A simple square? A crooked diamond? Or maybe no nose at all! The mouth is where you can really let your personality shine. A wide, toothy grin? A sinister sneer? Or a simple, elegant smile? Don't be afraid to experiment and see what you come up with.
Tools and Techniques for a Perfect Classic
Before you start hacking away at your pumpkin, it's important to have the right tools for the job. A good carving kit is essential, but you can also use tools you probably already have in your kitchen. A sturdy knife, a melon baller, and a paring knife can all come in handy. And don't forget a good spoon for scooping out the pumpkin guts!
Once you've got your tools, it's time to start carving. Begin by drawing your design onto the pumpkin with a marker. Then, carefully cut along the lines with your knife. Be sure to use a sawing motion rather than trying to force the knife through the pumpkin. For smaller details, use a melon baller or paring knife. And remember, it's always better to start small and work your way up. You can always remove more pumpkin, but you can't put it back!
Adding Your Personal Touch to a Timeless Design
So, you've mastered the basics of the classic jack-o'-lantern face. Now it's time to add your own personal touch! One way to do this is to experiment with different shapes and sizes. Try carving a tall, skinny jack-o'-lantern or a short, round one. You can also use different types of pumpkins, such as white pumpkins or gourds.
Another way to personalize your jack-o'-lantern is to add some extra details. Try carving some hair or a hat onto your pumpkin. You can also use paint, glitter, or other embellishments to add some extra flair. And don't forget about the lighting! A flickering candle or a string of fairy lights can really bring your jack-o'-lantern to life.
Quick Tips for Classic Coolness
- Use stencils for precise designs.
- Experiment with different eye shapes for unique expressions.
- Add texture by scraping the pumpkin skin instead of cutting all the way through.
- Consider using battery-operated candles for safety and longevity.
Beyond the Basics: Creative Carving Techniques for Unique Pumpkins
Beyond the Basics: Creative Carving Techniques for Unique Pumpkins
Ditch the Knife: Exploring Alternative Carving Tools
so you've nailed the classic jack-o'-lantern. Now, let's ditch the knife and get seriously creative! There's a whole arsenal of tools out there just waiting to transform your pumpkin into a work of art. Think power tools, sculpting tools, and even kitchen utensils! We're talking about taking your pumpkin carving game to a whole new dimension.
Ever thought about using a drill? It's fantastic for creating intricate patterns of holes that let light shine through in mesmerizing ways. Or how about a wood-burning tool? You can use it to etch designs onto the surface of the pumpkin, creating a cool textured effect. And don't forget about sculpting tools! These are perfect for creating 3D effects and adding depth to your designs. The possibilities are truly endless.
Surface Carving: Adding Depth and Dimension
Forget cutting all the way through the pumpkin skin. Surface carving is where it's at! This technique involves removing only the outer layer of the pumpkin to create a textured design. It's a great way to add depth and dimension to your carvings without compromising the structural integrity of your pumpkin.
You can use a variety of tools for surface carving, such as gouges, chisels, and even vegetable peelers. Start by drawing your design onto the pumpkin. Then, carefully remove the outer layer of skin, being careful not to cut too deep. You can create all sorts of cool effects with surface carving, from subtle shading to intricate patterns. And the best part? It's a lot less messy than traditional carving!
Tools for Surface Carving:
- Gouges: For removing larger areas of skin.
- Chisels: For creating sharp lines and details.
- Vegetable Peelers: For creating thin, even layers of texture.
- Clay Sculpting Tools: For fine detail work and blending.
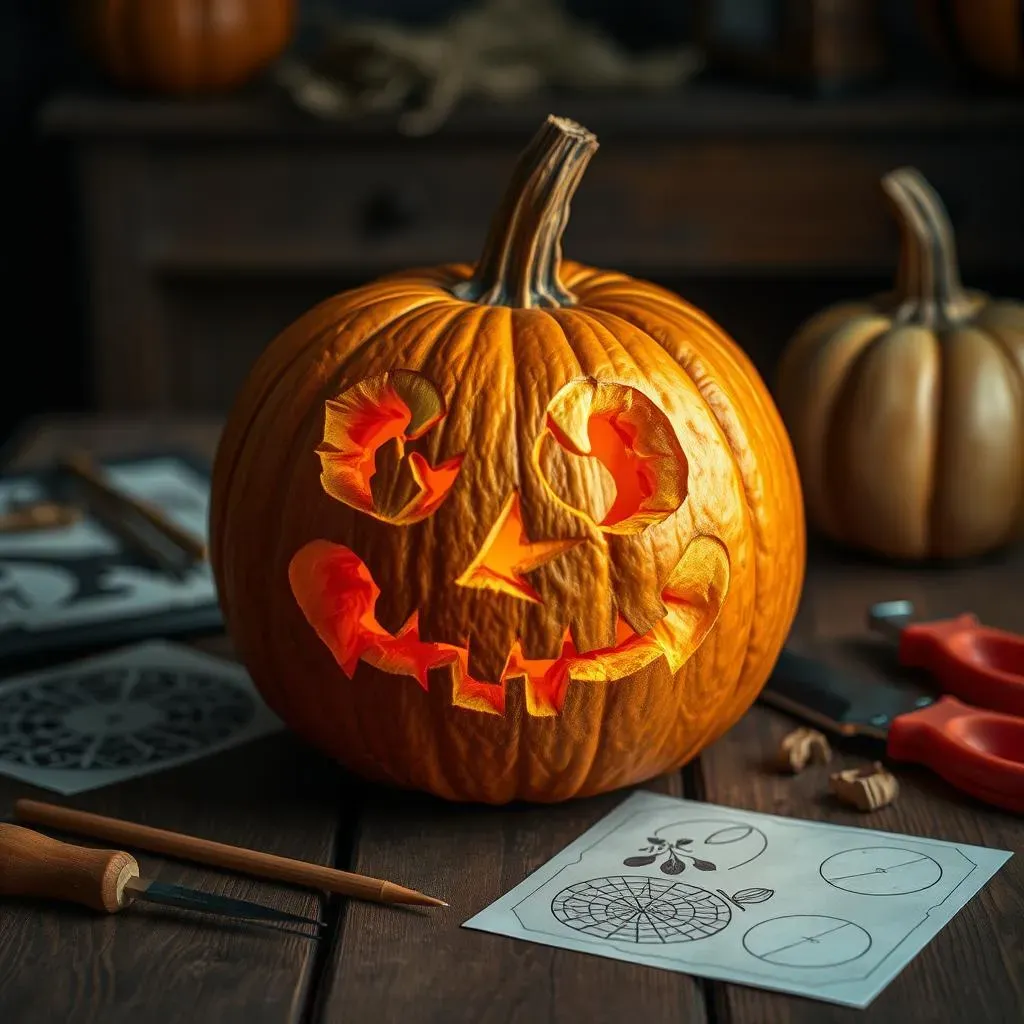
Stencils and Templates: Achieving Intricate Designs with Ease
Want to create a super intricate design but don't trust your freehand skills? Stencils and templates are your new best friends! You can find tons of free stencils online, or you can even create your own. Simply print out your stencil, tape it to your pumpkin, and trace the design with a marker. Then, carefully carve along the lines.
Stencils are great for creating complex patterns, logos, or even portraits. They're also a great way to get kids involved in the pumpkin carving process. Just make sure to supervise them closely when they're using sharp tools. With stencils, anyone can create a professional-looking pumpkin carving.
Stencil Type | Best For | Difficulty |
|---|---|---|
Simple Shapes | Beginners, kids | Easy |
Logos & Letters | Intermediate carvers | Medium |
Portraits & Scenes | Advanced carvers | Hard |
From Spooky to Sweet: Themed Cool Carved Pumpkin Ideas
From Spooky to Sweet: Themed Cool Carved Pumpkin Ideas
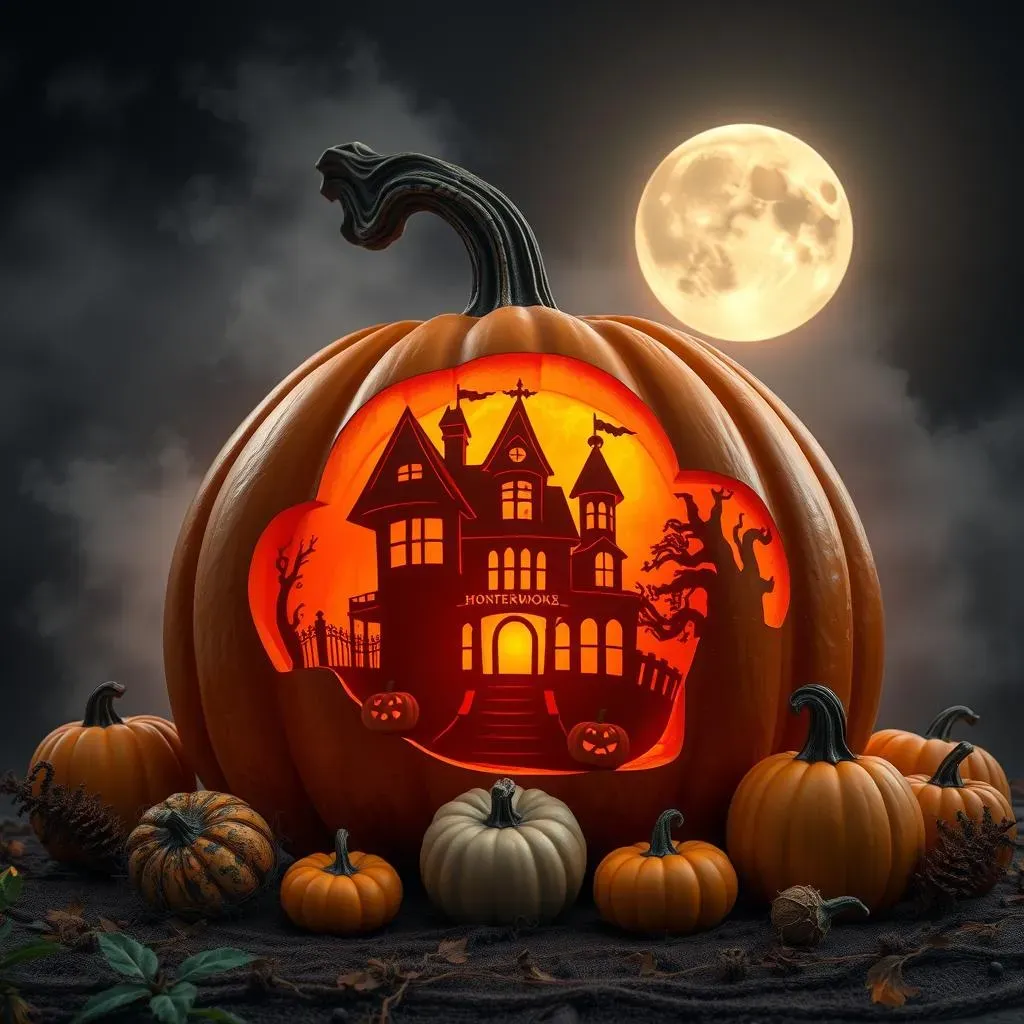
Haunted Houses and Graveyard Scenes: Spooky Carvings for Thrill-Seekers
Alright, if you're aiming for spine-chilling, let's talk spooky! We're not just talking about scary faces; we're talking full-blown haunted houses and graveyard scenes etched onto your pumpkin. Imagine tiny, gnarled trees silhouetted against a full moon, or ghostly figures rising from intricately carved tombstones. This is where your carving skills can truly shine, creating a mini-horror movie on your front porch.
Think about adding depth by carving some elements deeper than others, creating a layered effect. Use different sized drill bits to create a starry night sky behind your haunted house. Get creative with your lighting, too! A flickering orange bulb can mimic the glow of a dying fire, while a green bulb can cast an eerie pallor over your graveyard. And don't forget the fog machine for extra ambiance!
Cartoon Characters and Friendly Faces: Kid-Friendly and Adorable Designs
Not everyone's a fan of the frights, and that's totally cool! For the little ones (or the young at heart), let's explore the world of cute and cuddly pumpkin designs. Cartoon characters, friendly monsters, and adorable animals are all fantastic options. Think about carving a Minion, a friendly ghost with a big smile, or a playful kitten chasing a ball of yarn. The possibilities are endless!
When carving for kids, safety is key. Opt for simpler designs with larger, easier-to-carve shapes. Consider using paint or markers instead of carving for younger children. And always supervise them closely when they're using sharp tools. The goal is to create a fun and memorable experience for everyone involved.
Character Type | Difficulty | Tips |
|---|---|---|
Simple Cartoons | Easy | Use large, basic shapes. |
Animals | Medium | Focus on key features like eyes and ears. |
Complex Characters | Hard | Use stencils for accuracy. |
Words and Phrases: Personalized Messages and Greetings
Want to add a personal touch to your pumpkin display? Why not carve words or phrases into your pumpkin? A simple "Happy Halloween" is always a classic, but you can get creative with it! Think about carving your family name, a spooky quote from your favorite horror movie, or even a funny inside joke. This is a great way to make your pumpkin truly unique.
When carving words, it's important to choose a font that's easy to read and carve. Sans-serif fonts tend to work best. Also, be sure to space your letters evenly so that the words are clear and legible. You can use stencils to help you get the letters just right. And don't be afraid to experiment with different sizes and styles!
Phrase Ideas:
- "Boo!"
- "Trick or Treat"
- "Happy Halloween"
- "Enter If You Dare"
Illuminating Your Masterpiece: Lighting and Display Tips for Carved Pumpkins
Illuminating Your Masterpiece: Lighting and Display Tips for Carved Pumpkins
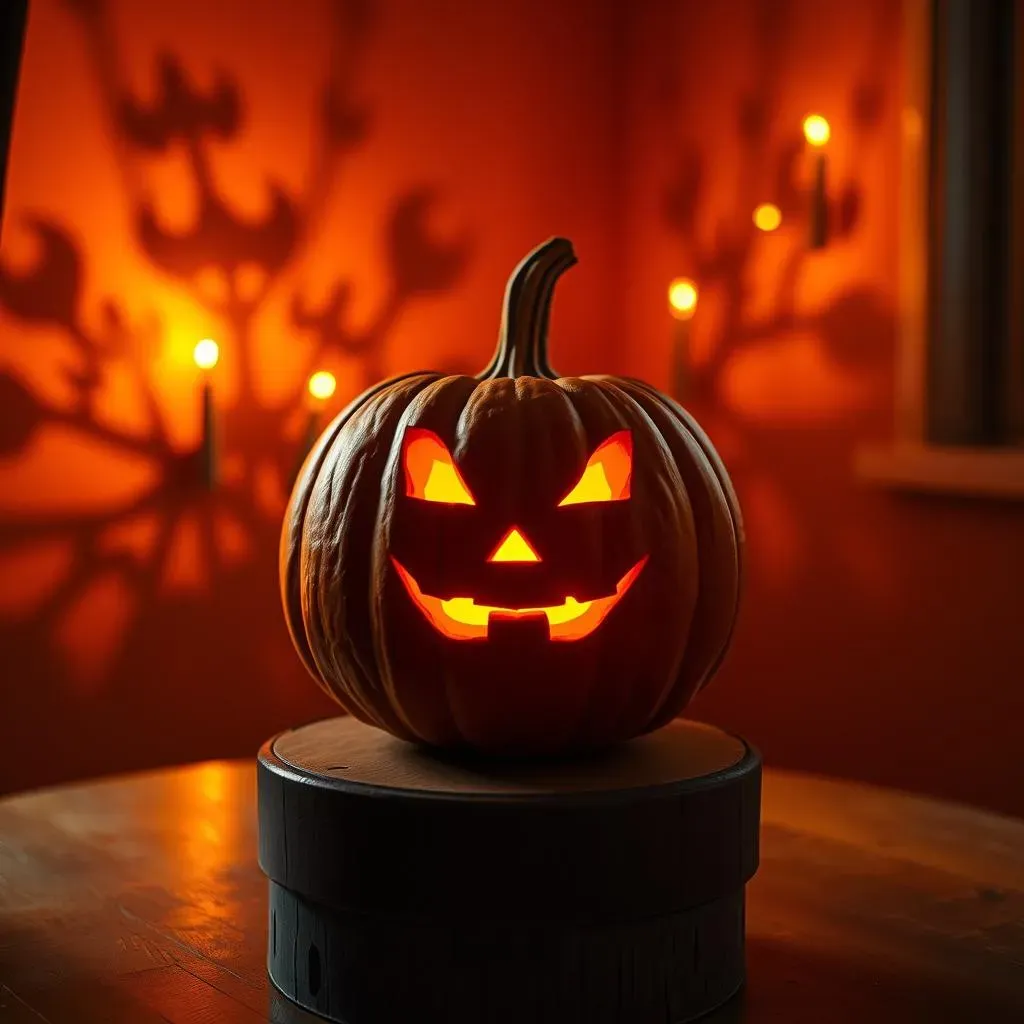
The Glow-Up: Choosing the Right Lighting
You've spent hours perfecting your cool carved pumpkin, but the job's not done until you've got the lighting right! Forget those old-school candles – they're a fire hazard and the light is often weak and uneven. These days, there are so many better options for illuminating your masterpiece and making it truly shine. We're talking LEDs, spotlights, and even smart lights that can change color and sync to music!
LED tea lights are a great starting point. They're cheap, safe, and they come in a variety of colors. For a more dramatic effect, try using a spotlight to shine up from below. This will create long, spooky shadows that will really make your pumpkin pop. And if you really want to get fancy, consider investing in some smart lights. These can be controlled with your smartphone, allowing you to change the color, brightness, and even create custom lighting effects. It's like having a mini light show inside your pumpkin!
Setting the Stage: Display Ideas for Maximum Impact
so you've got your pumpkin carved and lit. Now it's time to think about presentation! Where are you going to put it? How are you going to display it? The right display can take your pumpkin from "meh" to "WOW!" Think about creating a whole scene on your porch, incorporating hay bales, corn stalks, and other Halloween decorations. Or, if you're short on space, simply place your pumpkin on a pedestal or table to give it some extra height.
Consider the surroundings when choosing your display location. A spooky graveyard scene might look great in a dimly lit corner of your yard, while a cute cartoon character might be better suited for a brightly lit porch. And don't forget about safety! Make sure your pumpkin is placed on a stable surface where it won't get knocked over. And if you're using real candles, keep them away from flammable materials.
Display Idea | Best For | Tips |
|---|---|---|
Porch Scene | Spooky or festive themes | Use hay bales, corn stalks, and other decorations. |
Pedestal or Table | Highlighting a single pumpkin | Choose a pedestal that complements the pumpkin's design. |
Window Display | Showing off your pumpkin to passersby | Use a spotlight to illuminate the pumpkin from inside. |
Safety First: Tips for a Worry-Free Halloween
Halloween is all about fun, but it's important to keep safety in mind, especially when dealing with carved pumpkins and open flames. If you're using real candles, never leave them unattended. Keep them away from flammable materials, such as curtains, decorations, and costumes. And make sure they're placed on a stable surface where they won't get knocked over.
Battery-operated candles are a much safer alternative to real candles. They provide a warm, flickering light without the risk of fire. They're also great for pumpkins that are placed in hard-to-reach areas, such as windowsills or high shelves. And if you have young children or pets, battery-operated candles are definitely the way to go.
Safety Checklist:
- Never leave lit candles unattended.
- Keep candles away from flammable materials.
- Use battery-operated candles as a safer alternative.
- Place pumpkins on a stable surface.
- Supervise children closely when they're near carved pumpkins.
Carving Out a Halloween to Remember
So, there you have it – a cauldron full of cool carved pumpkin ideas to make this Halloween your most creative yet. From classic spooky faces to intricate artistic designs, the possibilities are endless. Don't be afraid to experiment, get messy, and most importantly, have fun! After all, pumpkin carving is about more than just creating a decoration; it's about embracing the spirit of the season and making memories that will last long after the jack-o'-lanterns have faded. Now go forth, carve boldly, and let your pumpkin shine!