Table of Contents
Alright, let's talk pumpkins. Every fall, you see those intricate, jaw-dropping carvings online, and maybe you think, "Yeah, that's not happening." You picture sticky hands, broken knives, and designs that look suspiciously like a melted blob rather than the spooky masterpiece you envisioned. The good news? You don't need an art degree or specialized tools to create something awesome. This year, forget the frustration and focus on the fun. We're diving intocool but easy pumpkin carving ideasthat will actually make your porch look festive without requiring a therapy session afterward. We'll walk through the basics, explore some surprisingly simple yet effective techniques beyond the standard toothy grin, and even touch on how to keep your creation looking fresh. So grab a pumpkin – maybe a practice one first, no judgment here – and let's get started on making Halloween decorating less of a chore and more of a triumph.
Why You Need Cool But Easy Pumpkin Carving Ideas This Year
Why You Need Cool But Easy Pumpkin Carving Ideas This Year
Tired of the Carving Catastrophe?
Let's be honest. The romanticized image of pumpkin carving involves crisp lines, perfect shapes, and maybe a mug of cider. The reality? Often involves a dull, potentially hazardous carving kit from the grocery store, slippery pumpkin guts everywhere, and a final product that looks less like a spooky ghost and more like something that lost a fight with a badger. You spend an hour wrestling with a gourd, only to end up with something you're slightly embarrassed to put on the porch. That's preciselywhy you need cool but easy pumpkin carving ideas this year. No more artistic meltdowns or explaining to your kids why their pumpkin looks "abstract." We're aiming for wins, not messy defeats.
Actually Enjoying the Process (Imagine That!)
Halloween decorating shouldn't feel like a second job. Opting forcool but easy pumpkin carving ideasshifts the focus back to the fun part: spending time, getting a little messy (but not *too* messy), and creating something festive without the pressure of perfection. Think about it – less time hunched over a pumpkin struggling with a complex pattern means more time admiring your work, handing out candy, or just enjoying the crisp autumn air. Easy ideas encourage everyone to participate, even the less artistically inclined among us. Plus, a successfully carved pumpkin, no matter how simple the design, just feels good to accomplish.
- Less frustration, more fun.
- Saves time for other spooky activities.
- Great for all skill levels, including beginners.
- Reduces the risk of minor carving-related injuries.
- Your porch still looks festive and put-together.
Essential Tools and Tricks for Cool But Easy Pumpkin Carving Ideas

Essential Tools and Tricks for Cool But Easy Pumpkin Carving Ideas
Forget the Fancy Kit, Grab the Kitchen Staples
You don't need a professional carving set that looks like it belongs in a dentist's office to pull offcool but easy pumpkin carving ideas. Seriously. Most of what you need is probably already in your kitchen drawer. A sturdy, sharp knife (a chef's knife works well for the top cut, a smaller paring knife for details), a large spoon or ice cream scoop for gutting (trust me, the ice cream scoop is a game-changer), and a dry-erase marker for drawing your design. That's it. For finer details or scraping, a simple metal spoon or even a sturdy toothpick can work wonders. The key is having tools that are clean and reasonably sharp, not necessarily specialized.
Prep Work Makes the Dream Work (and the Carving Easier)
Before you even think about sticking a knife into that pumpkin, do a little prep. First, wash the outside. Get rid of any dirt. Next, cut the lid off. Don't just cut a circle; angle your knife slightly inward so the lid has a lip to rest on and won't fall into the pumpkin later. Now comes the messy part: gutting. Use that big spoon or scoop to scrape out *all* the seeds and stringy bits. Get the walls relatively clean and smooth. This makes carving significantly easier and helps prevent your design from getting clogged up. A clean canvas is a happy canvas when you're aiming forcool but easy pumpkin carving ideas.
Here are some simple tools often overlooked:
- Cookie cutters (for punching shapes)
- Drill with various bits (for dot patterns or holes)
- Melon baller (for small circular cutouts)
- Vegetable peeler (for scraping designs)
Safety First, Fingers Second
Even with easy ideas, you're still dealing with knives and a hard surface. Always carve on a stable surface. Keep your free hand *away* from the blade's path. If you're working with kids, give them the job of gutting or drawing the design, or use specific kid-safe carving tools (which are often more like saws than knives). Don't rush. Take your time, especially on any cuts that go all the way through. Remember, the goal is festive décor, not a trip to the emergency room. Simple precautions ensure yourcool but easy pumpkin carving ideasremain fun and injury-free.
Beyond the Face: Creative Cool But Easy Pumpkin Carving Ideas
Beyond the Face: Creative Cool But Easy Pumpkin Carving Ideas
Simple Shapes and Silhouettes
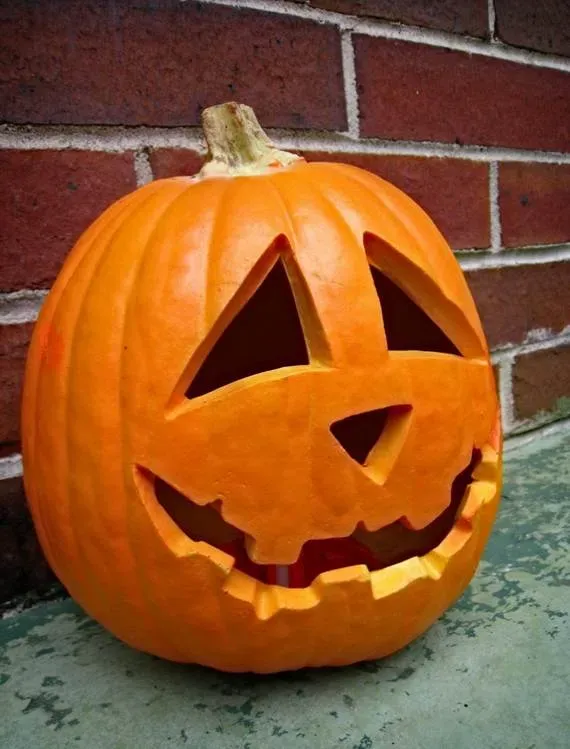
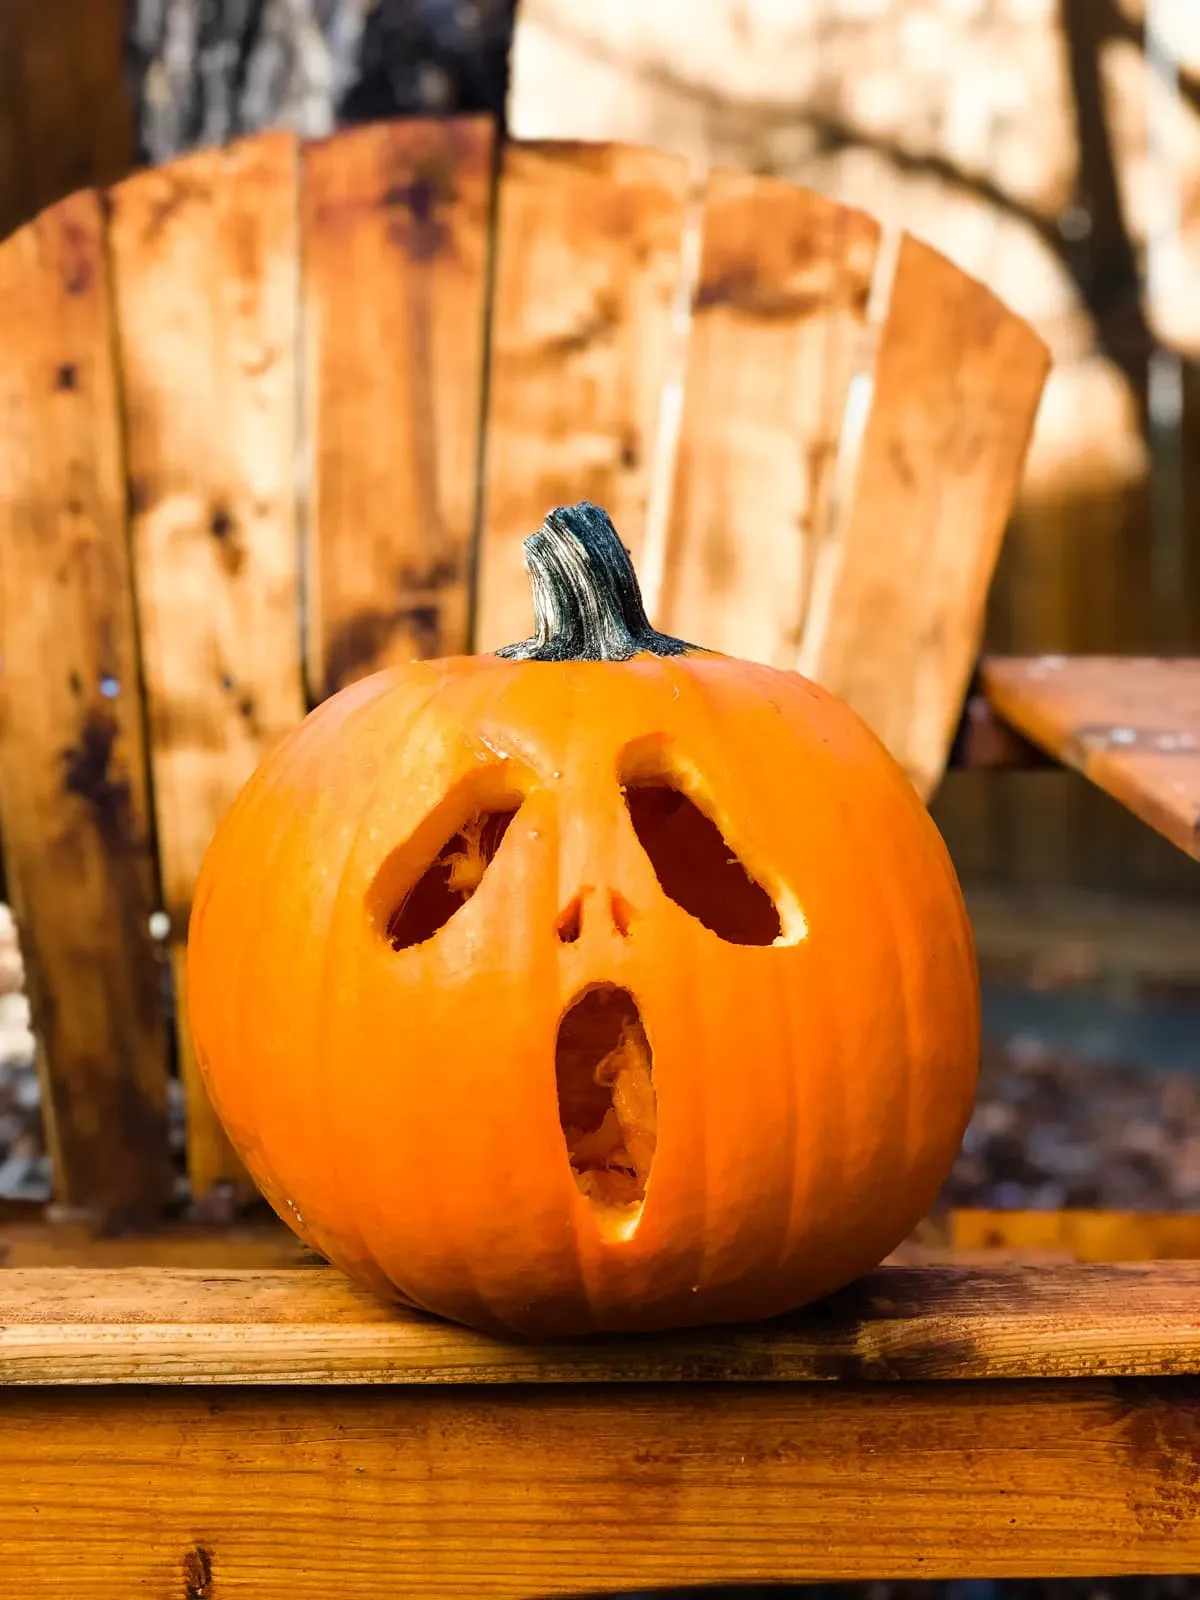
You don't have to attempt a detailed portrait of your cat (unless your cat is just a circle with two points) to have a cool pumpkin. Sometimes the most striking designs are the simplest. Think geometric shapes – triangles, circles, squares cut out in patterns. Or spooky silhouettes: a lone bat, a simple ghost shape, a cluster of stars. These are incredibly forgiving. If a line isn't perfectly straight, who cares? It adds character. Using stencils you find online or even just drawing freehand with a dry-erase marker makes this even easier. These kinds ofcool but easy pumpkin carving ideaslook modern and clean, and they take way less time than trying to nail that complex jack-o'-lantern grin.
Scraping, Not Cutting, for Depth
Who says you have to cut all the way through the pumpkin wall? Scraping or etching away just the outer layer of skin can create a fantastic effect, especially when lit from within. This technique is perfect for finer details or designs that would be too fragile if cut through. You can use a linoleum cutter, a sturdy metal spoon, or even a vegetable peeler to remove the orange skin, revealing the lighter flesh underneath. This works great for spooky trees, spiderwebs, or even lettering. It's a less intimidating process than full-on carving and offers a different kind of spooky glow. Exploring these scraping methods gives you even more options forcool but easy pumpkin carving ideas.
Consider these simple visual themes:
- Celestial bodies (stars, moons)
- Abstract patterns (dots, lines, swirls)
- Animal silhouettes (bats, cats, spiders)
- Simple lettering (BOO, SPOOKY)
- Geometric repeats
Using Unconventional Tools for Quick Effects
Step away from the carving knife for a moment. Other tools can help you achievecool but easy pumpkin carving ideaswith minimal effort. Cookie cutters, for instance. Press a metal cookie cutter firmly into the pumpkin skin, then use a knife to cut along the inside edge, or just hammer it gently if the pumpkin wall isn't too thick. Instant, perfect shape. A drill with different sized bits can create cool dot patterns or constellations. A melon baller can scoop out perfect little circles for eyes or decorative elements. Don't feel limited by traditional carving tools; look around your kitchen or toolbox for things that can make the job faster and simpler.
Keeping Your Cool But Easy Pumpkin Carving Ideas Looking Fresh
Keeping Your Cool But Easy Pumpkin Carving Ideas Looking Fresh
Fighting the Inevitable Sag and Mold
You spent time crafting yourcool but easy pumpkin carving ideas, and the last thing you want is for them to turn into a sad, moldy mess within a few days. Let's face it, pumpkins are organic matter. They are literally designed by nature to decompose. The enemy here is moisture and the hungry bacteria and mold spores floating around in the air and already on the pumpkin itself. As soon as you cut into that protective skin, you open the door for them to move in and start their work. The warmer and wetter the conditions, the faster your masterpiece will start to look like a science experiment gone wrong. It's not a question of *if* it will rot, but *when*, and how long you can delay the inevitable.
Simple Tricks to Extend Pumpkin Lifespan
While you can't stop decay entirely, you can definitely slow it down. The first step after carving yourcool but easy pumpkin carving ideasis to clean the inside and all the cut edges thoroughly. Get rid of any lingering pulp or strings. Then, pat it dry, inside and out. Moisture is mold's best friend. Some people swear by a bleach solution dip (a capful of bleach in a gallon of water) or a spray-on bleach solution to kill surface bacteria – just make sure it dries completely afterward. Another common trick is to rub petroleum jelly or vegetable oil on all the cut surfaces. This creates a barrier that helps lock in moisture from the pumpkin itself (preventing it from drying out and shriveling) while keeping external moisture and mold spores out. Reapply every few days, especially after rain.
Here are a few quick tips to keep your pumpkin looking good:
- Clean all pulp and strings thoroughly after carving.
- Dry the inside and cut surfaces completely.
- Apply petroleum jelly or vegetable oil to cut edges.
- Consider a light bleach solution spray or dip (dry afterward).
- Keep the pumpkin out of direct sunlight and rain if possible.
- Use a battery-operated LED light instead of a candle (heat accelerates decay).
Your Pumpkin, Your Rules (and Less Stress)
So there you have it. Stepping away from the overly complicated and embracingcool but easy pumpkin carving ideasdoesn't mean sacrificing style. It means working smarter, not harder, to get that spooky vibe on your doorstep. We covered ditching the fancy patterns for simpler shapes, knowing your tools (even basic kitchen ones can work wonders), exploring options beyond just faces, and giving your pumpkin a fighting chance against the elements. The goal isn't to win a carving competition you didn't enter; it's to have a decent-looking pumpkin without wanting to throw the whole thing in the trash halfway through. Pick an idea that feels manageable, take your time, and if it doesn't turn out perfect? Well, it's a rotting gourd in a few weeks anyway. Nobody's judging that hard.