Table of Contents
Every fall, the great pumpkin carving tradition rolls around, and for many, it feels less like festive fun and more like a messy, frustrating battle with a stubborn gourd. You picture those intricate, glowing masterpieces, then reality hits: dull tools, slimy insides, and a final product that looks like it lost a fight with a raccoon. It doesn't have to be this way. Forget the hours spent hacking away at thick pumpkin walls only to end up with a sad, lopsided grin.
Prep Work: Setting Up for Cool and Easy Pumpkin Carving

Prep Work: Setting Up for Cool and Easy Pumpkin Carving
Picking Your Perfect Pumpkin and Spot
Alright, step one for cool and easy ideas for carving pumpkins? You need the right canvas. Don't just grab the biggest one you see. Look for a pumpkin with smooth, firm skin. Avoid soft spots, bruises, or deep gashes – those are just asking for trouble and early rot. A flat bottom is also a bonus, so it doesn't roll away while you're trying to work your magic. Think about where this operation is going down, too. A garage floor or a covered porch is way better than your prized dining room table. Lay down plenty of newspaper or an old shower curtain. Pumpkin guts have a way of getting *everywhere*.
Gathering the Right Gear (Beyond Just a Knife)
You don't need a whole surgical kit, but a few specific tools make a world of difference for cool and easy ideas for carving pumpkins. The tiny saw from those cheap kits? Toss it. A serrated kitchen knife works okay for the lid, but dedicated pumpkin carving saws (they look like tiny hacksaws) are sharper and easier to control for details. Scoop out the insides with a sturdy metal spoon or, seriously, try an ice cream scoop. It gets the job done faster and saves your hands. A drill with different sized bits can make perfect holes for eyes or patterns, which is a game-changer for simple designs.
- Sharp serrated knife (for the lid)
- Pumpkin carving saws (small and large)
- Sturdy metal spoon or ice cream scoop
- Large bowl for guts and seeds
- Dry erase marker (easy to wipe off mistakes)
- Push pins or a poking tool (for transferring patterns)
- Drill and various drill bits
Dealing with the Guts (The Not-So-Glamorous Part)
the messy truth about cool and easy ideas for carving pumpkins: you still have to clean it out. This is where the ice cream scoop shines. Scrape down the walls until they're smooth, about an inch thick. Thinner walls are easier to carve. Don't forget the lid! Scrape all the stringy bits off the underside of the lid too. Separate the seeds from the pulp if you plan on roasting them (you should, they're delicious). This step isn't fun, but a thorough clean-out makes the carving part significantly less annoying.
Knives Aren't Everything: Cool and Easy Ideas for Carving Pumpkins Without the Drama
Knives Aren't Everything: Cool and Easy Ideas for Carving Pumpkins Without the Drama
Beyond the Blade: Tools for Stress-Free Designs
Look, the image of someone dramatically hacking at a pumpkin with a giant knife is pure Hollywood. In reality, it's messy and dangerous. For cool and easy ideas for carving pumpkins, sometimes the best tool isn't a knife at all. Cookie cutters are your best friend here. Press them firmly into the pumpkin skin, then use a rubber mallet or even the palm of your hand to tap them through. Voilà! Perfect shapes with minimal effort. Drill bits, as mentioned before, create flawless circles or patterns without the risk of slipping. Think about using linoleum cutting tools or clay sculpting loops for scraping away the skin instead of cutting all the way through – it creates cool effects and is much less effort than traditional carving.
Scraping, Drilling, and Stenciling Your Way to Awesome
You don't have to carve *through* the pumpkin to make it look good. Scraping off just the top layer of skin reveals the lighter flesh underneath, creating a two-tone effect. This is perfect for intricate designs or lettering because it's far less prone to breaking than full cut-outs. Stencils are a no-brainer for cool and easy ideas for carving pumpkins. Pin your design onto the pumpkin and use a poking tool or push pin to outline it with small holes. Then, connect the dots by scraping or using your small carving saw. It takes the guesswork out of freehand drawing and drastically reduces the chances of a catastrophic carving error.
- Cookie cutters + mallet = Easy shapes
- Drill bits = Perfect circles
- Linoleum cutters = Skin-deep designs
- Stencils + poking tool = Guided carving
- Ice cream scoop = Gut removal champ
Classic and Cool and Easy Ideas for Carving Pumpkins

Classic and Cool and Easy Ideas for Carving Pumpkins
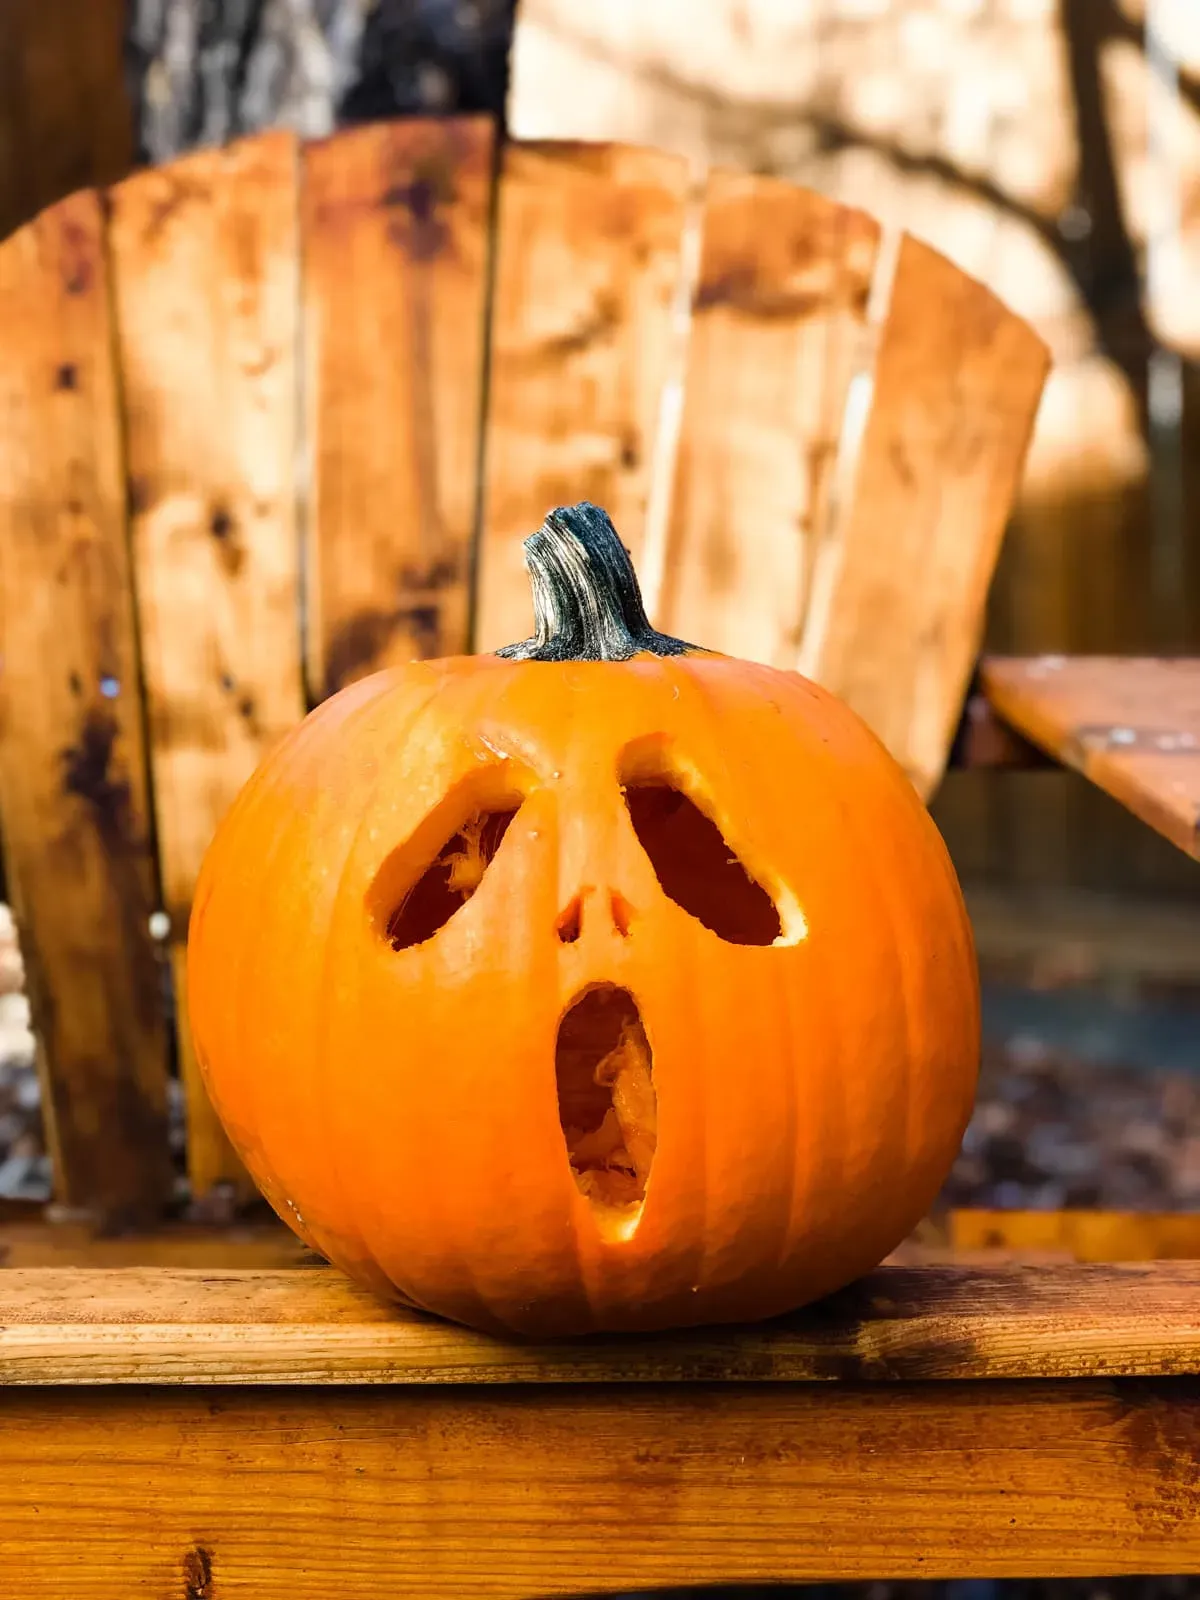
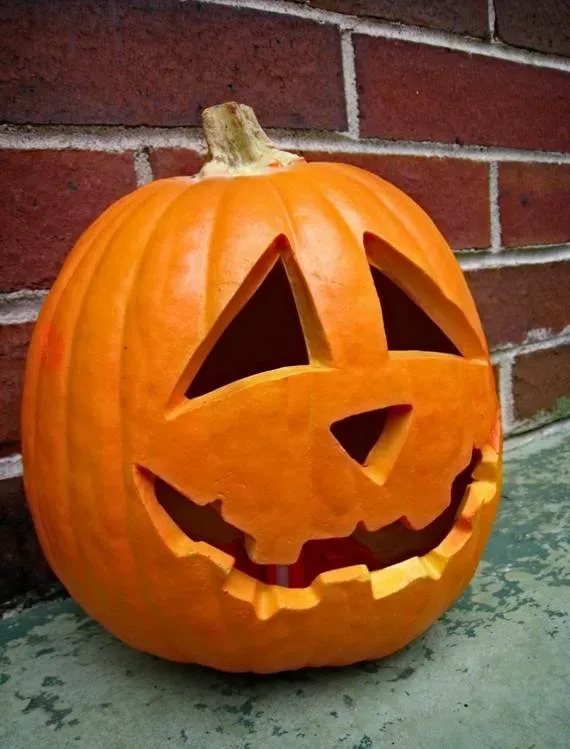
The Timeless Jack-o'-Lantern Face
let's be real. Sometimes, the best approach for cool and easy ideas for carving pumpkins is sticking to the classics. The standard jack-o'-lantern face? It's a classic for a reason. Two triangles for eyes, a triangle for a nose, and a jagged, toothy grin. It’s instantly recognizable, requires minimal precision, and still looks fantastic glowing on your porch. You can play with the size and angle of the triangles or the shape of the mouth without making it complicated. It’s the comfort food of pumpkin carving – familiar, satisfying, and hard to mess up completely. My first attempt, years ago, looked like a startled geometry teacher, but hey, it glowed, and nobody's porch caught fire.
Simple Geometric Patterns and Shapes
Moving slightly beyond the basic face, simple geometric shapes offer another path to cool and easy ideas for carving pumpkins. Think circles, squares, stars, or even just rows of different-sized holes. Using those drill bits we talked about makes perfect circles a breeze. You can create abstract patterns, constellations, or even block letters for a word like "BOO" or "SPOOKY". It looks intentional and modern without needing intricate cuts. Plus, cutting straight lines or perfect circles is generally easier and less likely to result in a cracked pumpkin wall than trying to carve a detailed portrait of your cat.
- Basic Triangle Eyes & Nose
- Jagged or Simple Curved Mouth
- Rows of Drilled Circles
- Star or Moon Shapes (using cookie cutters)
- Simple Block Letters
Thinking Outside the Gourd: More Cool and Easy Ideas for Carving Pumpkins
Thinking Outside the Gourd: More Cool and Easy Ideas for Carving Pumpkins
Painting, Accessorizing, and Avoiding the Knife Altogether
Who says you even need to carve? For truly cool and easy ideas for carving pumpkins, sometimes you just skip the carving part entirely. Painting a pumpkin is about as low-stress as it gets. Use acrylic paints and let your imagination run wild. Solid colors look sleek, or you can try stripes, polka dots, or even paint a spooky scene. Got old buttons, googly eyes, yarn, or craft foam? Glue them on! Create a pumpkin monster, a stylish pumpkin lady with yarn hair, or cover it in glitter (prepare for glitterocalypse, though). This is especially great for little kids where sharp objects are a hard no. It’s all the fun of decorating with none of the mess or risk of losing a finger.
Building with Gourds: Stacks and Scenes
Think beyond the single, lonely jack-o'-lantern. You can create impressive displays using multiple pumpkins and gourds without complex carving. Stack different sized pumpkins to make a pumpkin totem pole or a quirky character. Use smaller gourds as noses or ears. You can drill holes and insert dowels to keep stacks stable. Another approach for cool and easy ideas for carving pumpkins is to carve very simple, complementary designs on several pumpkins and arrange them as a scene. Imagine a few pumpkins with simple, surprised faces looking at one with a mischievous grin. It adds visual interest and feels more elaborate than it actually is.
Have you considered building a whole pumpkin family instead of just one face?
- Stack pumpkins of different sizes
- Use dowels for stability
- Arrange multiple simply carved pumpkins in a scene
- Incorporate smaller gourds as features
- Create a "pumpkin patch" display with varied shapes and sizes
Etching and Scraping for Texture and Detail
We touched on scraping earlier, but it's worth revisiting as a key element for cool and easy ideas for carving pumpkins. Instead of cutting all the way through, use linoleum cutters, clay tools, or even just a sturdy spoon to scrape away the orange skin. This reveals the lighter flesh underneath and lets you create detailed patterns, text, or images without the fragility of full cut-outs. You can etch spiderwebs, write spooky messages, or create intricate borders. It’s less physically demanding than carving and gives you more control over fine lines. Plus, the effect is subtle and atmospheric when lit from the inside.
Making Your Cool and Easy Pumpkin Carving Last
Making Your Cool and Easy Pumpkin Carving Last
Keep It Hydrated, Seriously
You spent time on those cool and easy ideas for carving pumpkins, so don't let your masterpiece shrivel up and collapse in a few days. Think of your carved pumpkin like a giant, thirsty fruit. It's losing moisture from every cut edge. The simplest trick is giving it a water bath. Dunk your carved pumpkin in a tub or large bucket filled with cold water for a few hours each day, or at least overnight. This rehydrates the flesh and keeps it looking plump. Another method is to spritz it regularly with water from a spray bottle. Pay special attention to the cut areas.
Fight the Funk: Mold and Rot Prevention
Mold is the sworn enemy of any carved pumpkin. Those slimy insides and damp surfaces are a perfect breeding ground. Once you've cleaned it out, wipe down the inside and all cut edges with a solution of water and a little bleach (about one tablespoon of bleach per quart of water). This kills existing mold spores and helps prevent new ones from taking hold. You can also find commercial pumpkin preservative sprays, which often contain bleach or other anti-fungal agents. Applying petroleum jelly or vegetable oil to the cut edges can create a barrier against moisture loss and some bacteria, though some argue it can trap moisture and encourage mold.
Method | How it Helps | Caveats |
|---|---|---|
Water Bath/Spritzing | Keeps flesh hydrated, prevents shriveling | Needs daily attention, can encourage mold if not combined with other steps |
Bleach Solution Wipe | Kills mold spores | Requires careful handling, can be irritating |
Petroleum Jelly/Oil | Reduces moisture loss from cuts | Can trap moisture, potentially aiding mold |
Commercial Sprays | Often contain anti-fungal agents | Varying effectiveness, check ingredients |
Protect Your Pumpkin from the Elements and Pests
Where you put your pumpkin matters when you're trying to make your cool and easy pumpkin carving last. Direct sunlight will cook it, causing it to wilt and rot faster than you can say "Boo!" Extreme cold can also damage the cell structure. Find a cool, shady spot on your porch or in your yard. And then there are the critters. Squirrels, mice, and even some birds find pumpkin a tasty snack. Spritzing the outside with a mixture of water and peppermint oil or hot sauce *might* deter some, but a determined critter is hard to stop. Bringing it inside at night, if possible, offers the best protection from both temperature swings and hungry visitors.
Carving Without the Crisis: Wrapping It Up
So there you have it. Pumpkin carving doesn't need to devolve into a chaotic, goo-covered mess that leaves you questioning your life choices. By skipping the overly complicated patterns and embracing simpler techniques and designs – or even ditching the knife entirely – you can actually create something decent without the usual struggle. The goal is a festive decoration, not a surgical procedure. Pick a plan, keep it simple, and maybe, just maybe, you'll end up with a jack-o'-lantern that looks intentional rather than accidentally terrifying.