Table of Contents
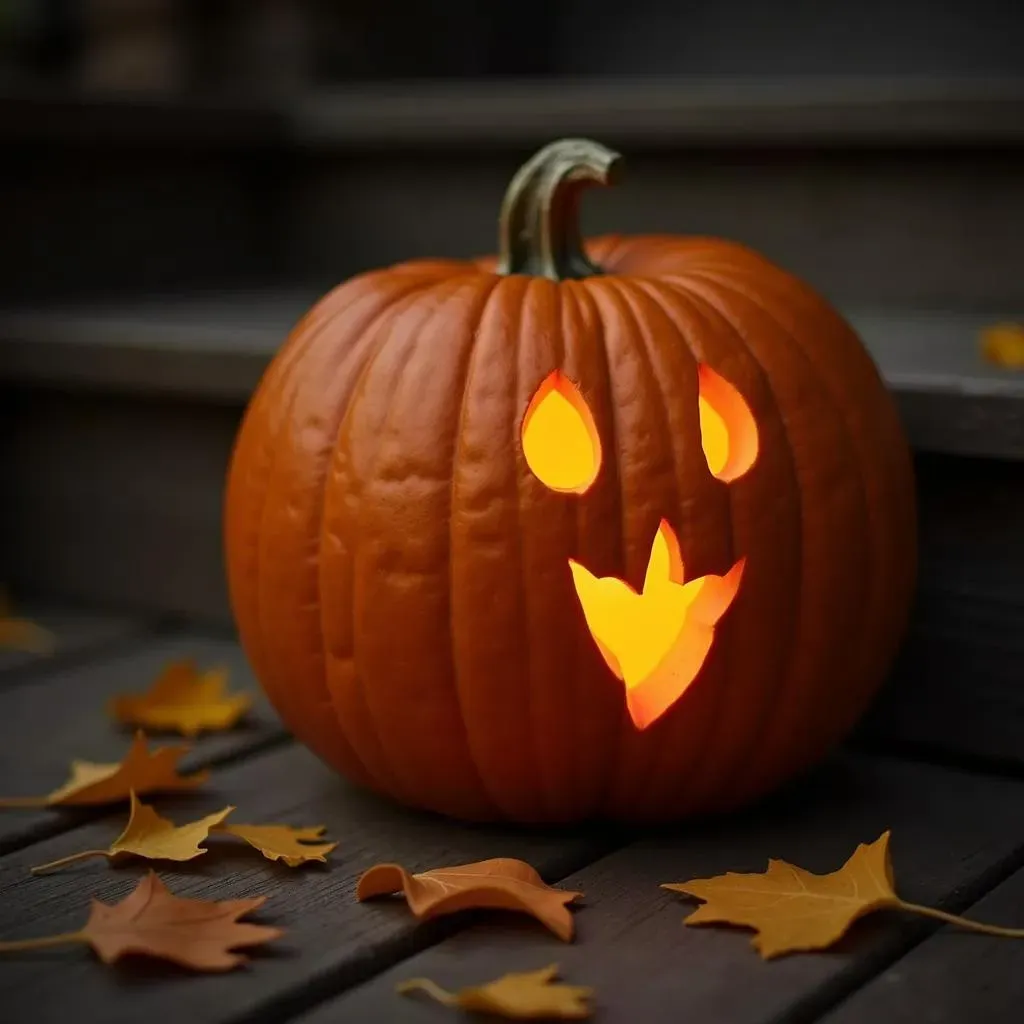
Halloween is creeping closer, and that means it's time to think about pumpkins! But forget those same-old triangle eyes and toothy grins. Are you ready to ditch the predictable and dive into some cool and easy ideas for carving pumpkins that will seriously wow your neighbors? This year, we're not just carving pumpkins; we're creating masterpieces (or at least having a ton of fun trying!).
Simple Stencils for Spooktacular Pumpkins
Simple Stencils for Spooktacular Pumpkins
Why Stencils Are Your Best Friend This Halloween
Let's be honest, not all of us are gifted with the artistic skills of a Michelangelo. And that's totally okay! That's where stencils swoop in to save the day (and your pumpkin). Stencils are like cheat codes for pumpkin carving, allowing you to create intricate and impressive designs without needing to be a master artist. They're perfect for beginners, kids, or anyone who wants a quick and easy way to achieve a spooktacular look.
Think of stencils as your pumpkin-carving blueprint. You simply attach the stencil to your pumpkin, trace the design, and then carve along the lines. Voila! Instant pumpkin art. Plus, there are tons of free stencils available online, ranging from classic Halloween themes like ghosts and bats to more modern designs like movie characters and pop culture icons. The possibilities are endless!
Getting Started: Stencil Selection and Application
so you're sold on stencils. Awesome! Now, let's talk about how to actually use them. First, you'll need to find a stencil you love. A quick Google search for "free pumpkin stencils" will unleash a torrent of options. Sites like Pinterest and pumpkin carving-specific websites are goldmines. Once you've found your stencil, print it out and grab your pumpkin.
Next, clean and gut your pumpkin. Tape the stencil to the front of the pumpkin, making sure it's smooth and secure. Now comes the fun part: tracing! You can use a variety of tools for this, like a poking tool (often found in pumpkin carving kits), a thumbtack, or even a dry erase marker. Gently poke holes along the stencil lines or trace the design with your marker. Once you've transferred the design, remove the stencil and get ready to carve!
NoCarve Pumpkin Decorating: Get Creative Without the Knife

NoCarve Pumpkin Decorating: Get Creative Without the Knife
Why Ditch the Knife? Unleashing No-Carve Creativity
let's talk about no-carve pumpkin decorating. Maybe you're not into the mess of pumpkin guts, or you've got little ones who aren't quite ready for sharp objects. Or, perhaps you just want a pumpkin that lasts longer than a week without turning into a moldy mess. Whatever your reason, no-carve decorating is where it's at! It's all about unleashing your creativity without ever picking up a knife. Think paint, glitter, googly eyes, fabric scraps – the possibilities are as endless as your imagination. No-carve pumpkins are also fantastic for themed decorations that go beyond the typical spooky vibe.
Glitter, Glue, and Googly Eyes: Your No-Carve Arsenal
So, what do you need to create a no-carve masterpiece? First, gather your supplies. Paint is a classic choice – acrylics work great and come in a rainbow of colors. Glitter adds a touch of sparkle and glam (just be prepared for glitter to end up everywhere). Googly eyes are always a hit, especially for creating silly monster faces. Fabric scraps, felt, buttons, and yarn can be used to add texture and dimension. And don't forget the glue! A hot glue gun is your best friend for attaching heavier items, but craft glue works well for lighter materials. Get yourself a canvas, I mean a pumpkin!
Here's a quick list to get you started:
- Acrylic paints (various colors)
- Glitter (lots of it!)
- Googly eyes (assorted sizes)
- Fabric scraps (felt, cotton, etc.)
- Buttons, beads, and other embellishments
- Yarn or ribbon
- Hot glue gun and glue sticks
- Craft glue
- Paintbrushes
Easy No-Carve Ideas to Get You Inspired
Alright, let's brainstorm some cool and easy no-carve pumpkin decorating ideas. How about a "glitter galaxy" pumpkin? Simply paint your pumpkin black or dark blue and then cover it in silver and gold glitter to create a starry effect. Or, try a "mummy" pumpkin by wrapping it in strips of cheesecloth and attaching googly eyes. For something more elegant, paint your pumpkin white and then glue on faux flowers and pearls. You could even create a "monster" pumpkin by covering it in colorful felt shapes and googly eyes. The key is to have fun and let your creativity flow!
Cool Pumpkin Carving Ideas with Power Tools
Cool Pumpkin Carving Ideas with Power Tools
Level Up Your Carving Game: Power Tools Edition
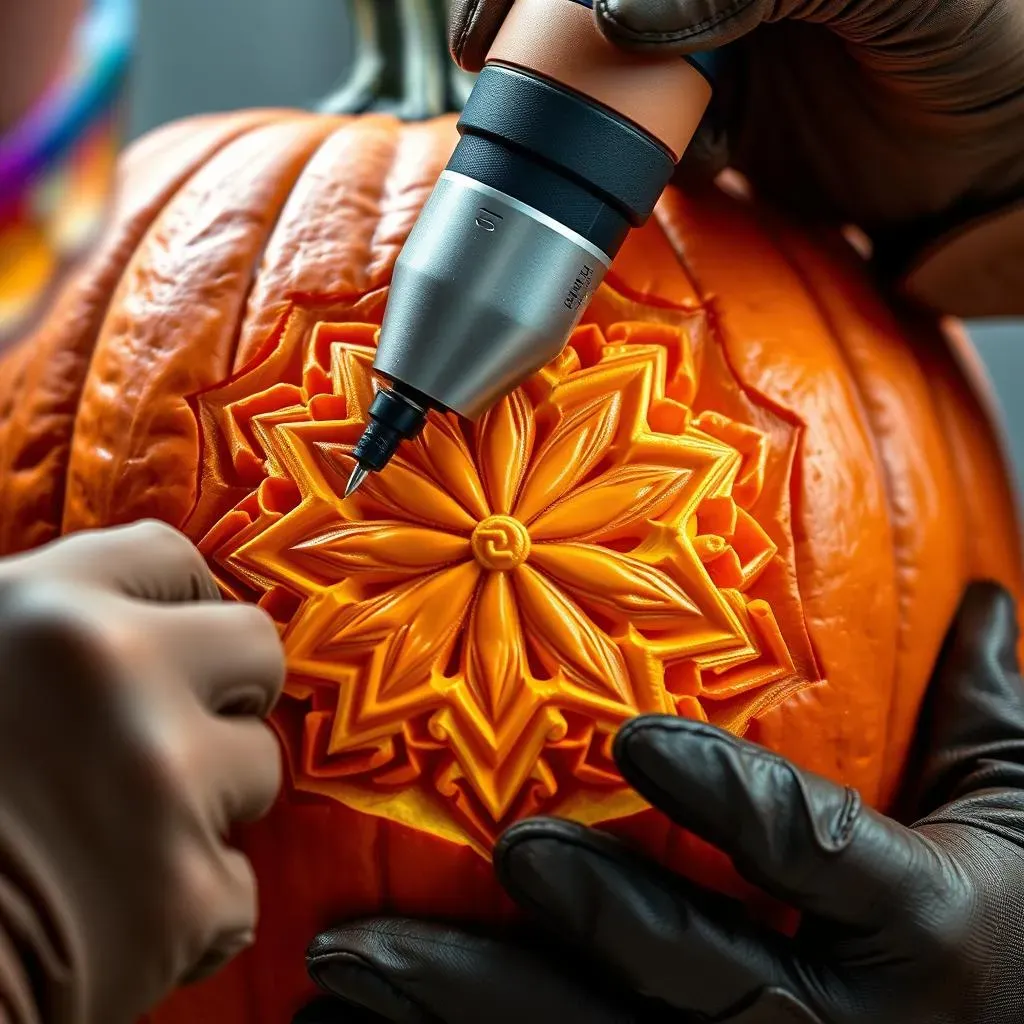
Alright, buckle up, because we're about to enter the realm of serious pumpkin carving. Forget those flimsy little carving kits – we're talking power tools! Now, I know what you might be thinking: "Power tools and pumpkins? Are you crazy?" Maybe a little, but trust me, using power tools to carve pumpkins is a game-changer. It allows you to create intricate designs and achieve a level of detail that's simply impossible with hand tools. Plus, it's just plain fun! But before you go grabbing your chainsaw, let's talk about which tools are best and how to use them safely.
Power tools aren't just for the pros. With the right guidance and a little practice, anyone can create stunning pumpkin art using these bad boys. We're going to explore the best power tools for pumpkin carving, safety tips to keep all your fingers intact, and some seriously cool design ideas that will make your pumpkin the envy of the neighborhood.
Choosing Your Weapons: Best Power Tools for Pumpkin Carving
So, which power tools are best for pumpkin carving? Here are a few of my favorites:
- Rotary Tool (Dremel): This is the MVP of power tool pumpkin carving. With various bits and attachments, you can use it for everything from fine detailing to cutting out large sections.
- Jigsaw: Perfect for cutting out large shapes and intricate silhouettes. Just be sure to use a fine-tooth blade.
- Drill: Great for creating patterns of holes or for adding texture to your design.
- Saber Saw: A larger, more powerful version of the jigsaw, ideal for quickly removing large chunks of pumpkin.
Remember to always wear safety glasses and gloves when using power tools. And start with a low speed and gradually increase it as you get more comfortable. Practice on a scrap pumpkin before tackling your final masterpiece.
Power Tool | Best For | Safety Tips |
|---|---|---|
Rotary Tool (Dremel) | Fine detailing, small cuts | Use low speed, wear safety glasses |
Jigsaw | Large shapes, silhouettes | Use fine-tooth blade, secure pumpkin |
Drill | Holes, texture | Use appropriate bit, steady hand |
Safety First: Power Tool Pumpkin Carving Dos and Don'ts
let's talk safety. Power tools are powerful, and pumpkins can be slippery. Here are some essential safety tips to keep in mind:
- Always wear safety glasses: Pumpkin guts and flying debris can seriously damage your eyes.
- Wear gloves: Protect your hands from cuts and scrapes.
- Secure your pumpkin: Place your pumpkin on a non-slip surface or use clamps to hold it in place.
- Start slow: Get a feel for the tool before tackling intricate designs.
- Take breaks: Power tool carving can be tiring. Take breaks to avoid fatigue and maintain focus.
- Never carve towards yourself: Always carve away from your body.
- Unplug the tool when changing bits: This is just common sense.
Beyond the Jacko'Lantern: Unique & Easy Pumpkin Designs
Beyond the Jacko'Lantern: Unique & Easy Pumpkin Designs
Think Outside the Triangle: Ditching the Traditional
so you've mastered the classic jack-o'-lantern. Now what? It's time to break free from the tyranny of triangles and explore some truly unique pumpkin designs. Forget the same-old spooky faces – let's get creative and think outside the box (or, in this case, the pumpkin). We're talking about designs that are clever, unexpected, and guaranteed to impress. This is where you can really let your personality shine and create a pumpkin that's as individual as you are.
The beauty of going beyond the jack-o'-lantern is that there are no rules. You can draw inspiration from anywhere – your favorite movies, books, animals, or even abstract art. The key is to have fun and experiment. Don't be afraid to try something new and see where your creativity takes you. After all, the best pumpkin designs are often the ones that are a little bit unexpected.
From Bookworms to Pop Culture Fanatics: Design Ideas for Everyone
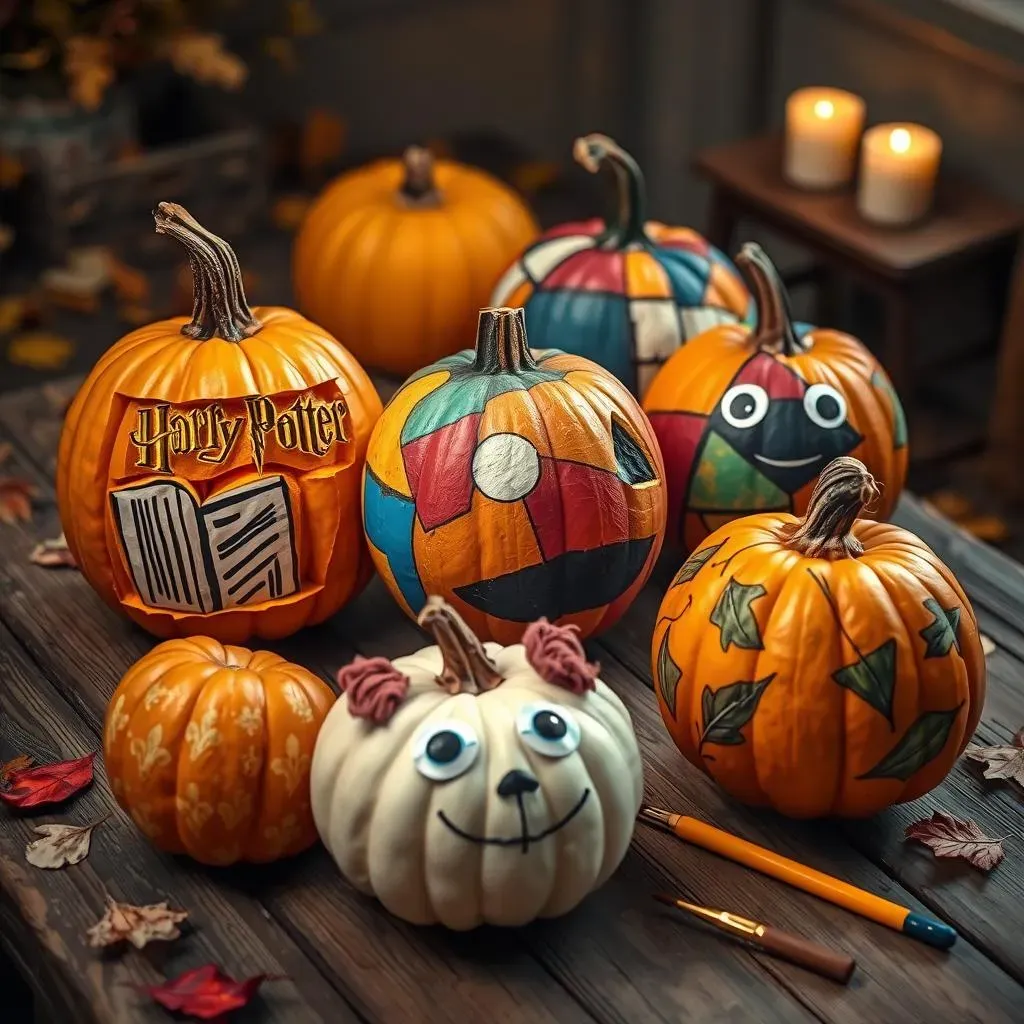
Need some inspiration to get those creative juices flowing? Here are a few ideas to spark your imagination:
- Book-Themed Pumpkins: Carve or paint your favorite book cover onto a pumpkin. Think Harry Potter, The Hobbit, or even a classic like Pride and Prejudice.
- Movie Character Pumpkins: Recreate the iconic faces of your favorite movie characters. From superheroes to villains, the possibilities are endless.
- Animal Pumpkins: Turn your pumpkin into a cute and cuddly creature. Think cats, dogs, owls, or even a majestic unicorn.
- Abstract Art Pumpkins: Create a modern masterpiece with geometric shapes, bold colors, and unexpected patterns.
- Nature-Inspired Pumpkins: Carve or paint leaves, flowers, trees, or even constellations onto your pumpkin.
And remember, you don't have to be a professional artist to create a stunning design. Simple shapes and patterns can be just as effective as intricate details. The key is to choose a design that you love and that reflects your personal style.
Making It Easy: Tips and Tricks for Unique Designs
So, you've got your design idea. Now, how do you actually bring it to life? Here are a few tips and tricks to make the process as easy and stress-free as possible:
- Use stencils: Just like with traditional jack-o'-lanterns, stencils can be a lifesaver for creating intricate designs.
- Embrace paint: Don't be afraid to use paint to add color and detail to your pumpkin. Acrylic paints work best and come in a wide range of colors.
- Get crafty with embellishments: Add texture and dimension to your design with googly eyes, glitter, fabric scraps, and other embellishments.
- Don't be afraid to experiment: Try different techniques and see what works best for you. There's no right or wrong way to decorate a pumpkin.
And most importantly, have fun! Pumpkin carving should be a relaxing and enjoyable activity. So put on some music, grab a pumpkin, and let your creativity run wild.
Embrace the Pumpkin: Cool Carving Creations Await
So, there you have it! A treasure trove of cool and easy ideas for carving pumpkins, designed to spark your creativity and make this Halloween unforgettable. Whether you opted for a simple stencil, embraced the no-carve revolution, or fearlessly wielded a power tool, the most important thing is to have fun and let your personality shine through. Don't be afraid to experiment, get a little messy, and most of all, enjoy the process of transforming a humble pumpkin into a festive work of art. Now go forth and create some pumpkin magic!