Table of Contents
Halloween is creeping closer, and that means it's time to unleash your inner artist and get your hands dirty with some seriously spooky pumpkin carving! Forget the same old triangle eyes and toothy grin. We're diving headfirst into a cauldron of carving scary pumpkins ideas that will transform your porch into the most haunted spot on the block. Whether you're a seasoned pro with a collection of power tools or a first-timer armed with a simple knife, there's a design here to thrill (and maybe even chill) your trick-or-treaters.
Terrifying Templates: Easy Scary Pumpkin Carving Ideas
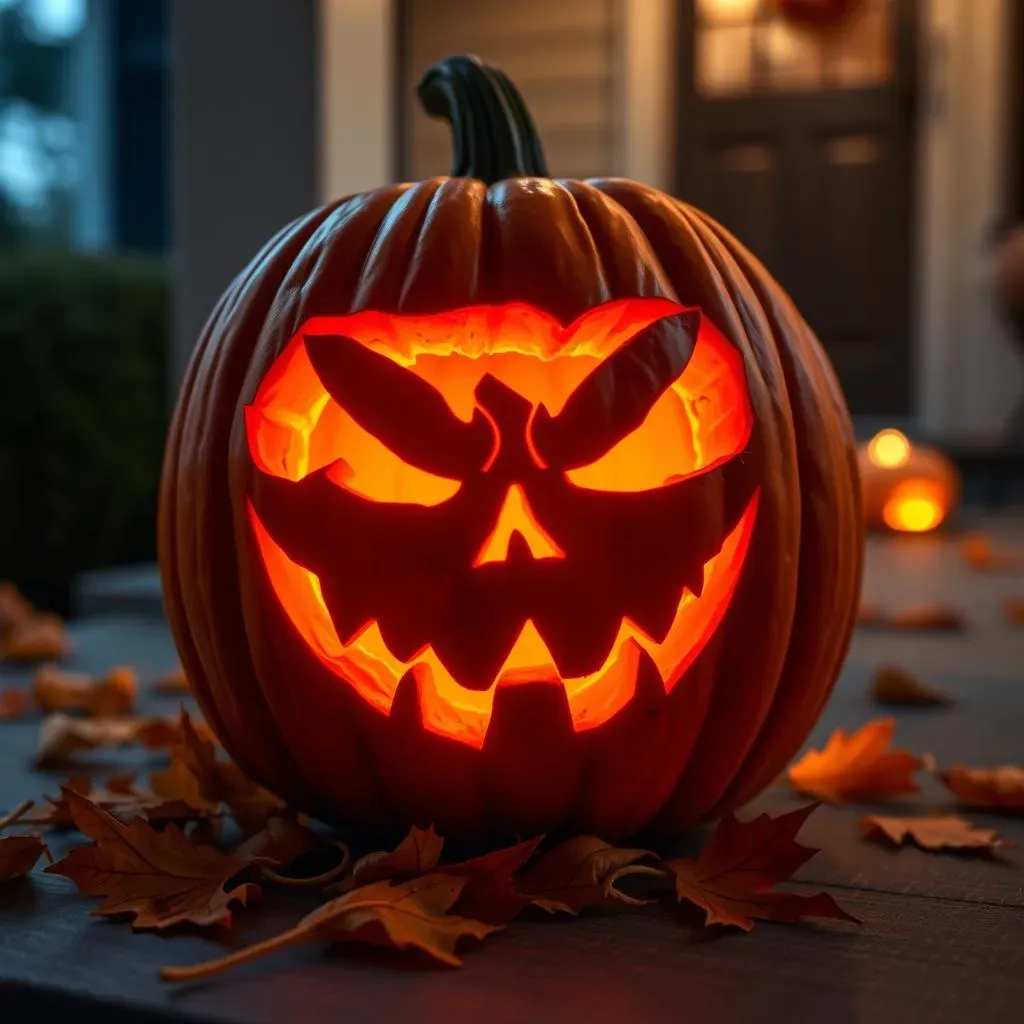
Terrifying Templates: Easy Scary Pumpkin Carving Ideas
Alright, so you want to amp up the scare factor this Halloween, but you're not exactly Michelangelo with a carving knife? No sweat! That's where terrifying templates come in clutch. Think of them as your cheat sheet to creating a seriously spooky pumpkin without needing a degree in pumpkin art. We're talking everything from classic creepy faces to more elaborate designs featuring ghosts, goblins, and maybe even a zombie or two. The beauty of templates is that they take the guesswork out of the equation, giving you a clear roadmap to follow.
Now, where do you find these magical templates? The internet is your best friend here. A quick search for "free scary pumpkin carving templates" will unleash a torrent of options. Websites like Pinterest, Better Homes & Gardens, and even some craft blogs offer a wide variety of downloadable templates. Look for designs that match your skill level. If you're a beginner, stick with simpler patterns that have fewer intricate details. As you get more comfortable, you can move on to more complex designs.
Once you've found your template, print it out and tape it securely to your pumpkin. Then, using a poking tool (an awl, a nail, or even a pushpin will work), poke holes along the lines of the template. The closer the holes, the more accurate your carving will be. Once you've traced the entire design, remove the template and get ready to carve! Remember to take your time and be careful, especially when working with sharp tools. And don't be afraid to get creative! You can always add your own personal touches to the template to make it truly unique.
Template Type | Difficulty | Examples |
|---|---|---|
Classic Faces | Easy | Simple scary faces, jagged teeth, spooky eyes |
Ghosts & Goblins | Medium | Ghost silhouettes, goblin profiles, witch hats |
Zombies & Monsters | Hard | Detailed zombie faces, monster claws, intricate details |
Beyond the Basic JackO'Lantern: Creative Carving Techniques

Beyond the Basic JackO'Lantern: Creative Carving Techniques
so you've mastered the template thing, but you're itching to take your pumpkin carving game to the next level? Let's ditch the cookie-cutter approach and dive into some creative carving techniques that will truly set your Jack-O'-Lantern apart. We're talking about adding depth, texture, and dimension to your designs, transforming a simple pumpkin into a work of art (or, you know, a delightfully disturbing Halloween decoration).
One of the easiest ways to add depth is by experimenting with different carving depths. Instead of cutting all the way through the pumpkin skin, try shaving away layers to create shadows and highlights. This technique is especially effective for creating realistic-looking faces or adding detail to intricate designs. You can use a variety of tools for this, from specialized pumpkin carving gouges to simple linoleum cutters. Just remember to take your time and work in small, controlled strokes.
Another cool technique is to use stencils to create more complex designs. You can find stencils online or even create your own using a craft knife and some acetate sheets. Simply trace the stencil onto your pumpkin and then carve away the areas you want to remove. This is a great way to create intricate patterns or add lettering to your pumpkin.
- Wood Carving Tools: Small gouges and chisels offer precision.
- Linoleum Cutters: Great for shaving away layers of the pumpkin skin.
- Power Carving Tools: For the pros, these can speed up the process and create intricate details.
From Cute to Creepy: Expanding Your Pumpkin Carving Repertoire
From Cute to Creepy: Expanding Your Pumpkin Carving Repertoire
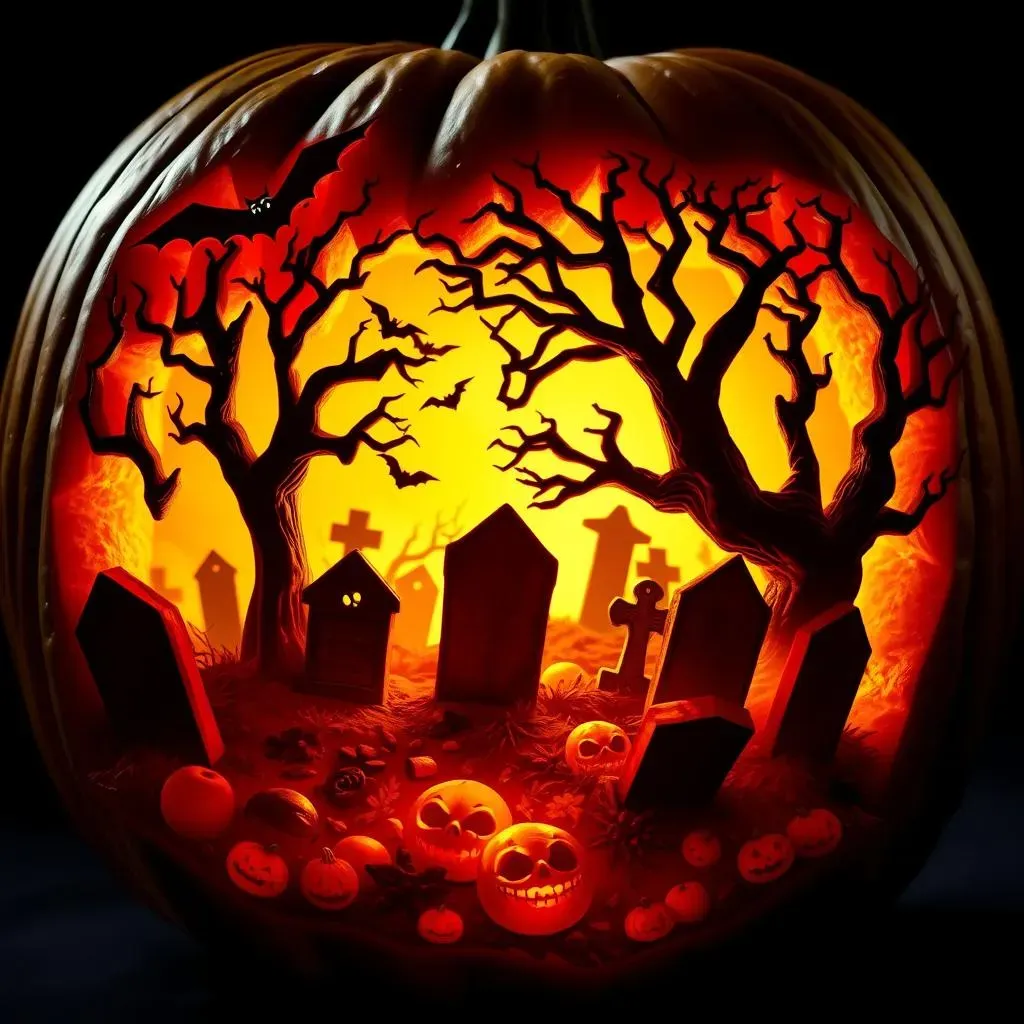
so you've nailed the basics, maybe even dabbled in some intermediate techniques. Now it's time to really push the boundaries! Let's face it, there's a whole universe of pumpkin carving possibilities beyond the standard scary face. This is where you can really let your personality shine (or, you know, your dark side). Think about what truly scares you, what gives you the creeps, and then translate that into your pumpkin design. Are you afraid of spiders? Carve a giant spider crawling out of your pumpkin! Do you have a phobia of clowns? A menacing clown face is sure to send shivers down spines. The key is to tap into your own fears and anxieties and use them as inspiration.
But it's not just about being scary; it's about being creative. Consider incorporating elements of pop culture into your designs. A zombie version of your favorite cartoon character? A pumpkin carved to look like a monster from a video game? The possibilities are endless! You could even create a whole scene on your pumpkin, telling a spooky story with your carving. Imagine a graveyard scene with tombstones, ghosts, and a creepy old tree. Or a haunted house with bats flying out of the windows. The more detail you add, the more impressive your carving will be.
Don't be afraid to experiment with different tools and techniques. Try using a drill to create small, precise holes. Use a melon baller to scoop out chunks of pumpkin flesh for a textured effect. Use paint or markers to add color and detail to your design. The more you experiment, the more you'll discover new and exciting ways to express your creativity through pumpkin carving.
- Incorporate Shadows: Use varying depths to create an eerie play of light.
- Tell a Story: Carve a scene that unfolds as the candle flickers.
- Experiment with Tools: Drills, melon ballers, and sculpting tools can add unique textures.
Light 'Em Up: Displaying Your Scary Pumpkin Carving Masterpieces
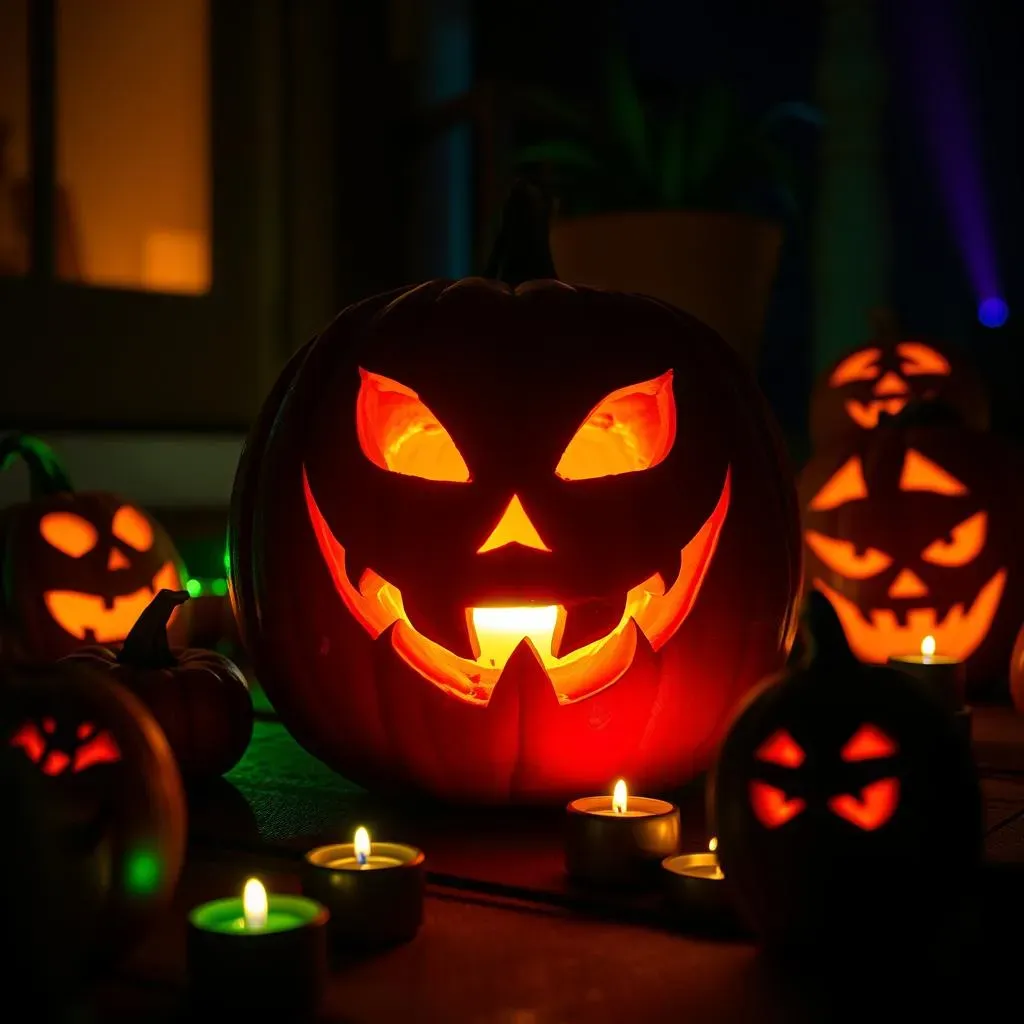
Light 'Em Up: Displaying Your Scary Pumpkin Carving Masterpieces
The Classic Candle Glow
you've poured your heart and soul (and a whole lot of pumpkin guts) into creating a scary masterpiece. Now, how do you make sure it gets the spotlight it deserves? Let's start with the basics: the classic candle. There's something undeniably spooky about the flickering glow of a candle inside a Jack-O'-Lantern. It creates dancing shadows and adds an eerie ambiance that's perfect for Halloween night. But before you just plop a candle inside and call it a day, let's talk safety and maximizing the effect.
First and foremost, safety is key. Never leave a lit candle unattended, and make sure your pumpkin is placed on a stable surface away from flammable materials. Consider using a battery-operated tea light or a small LED candle instead of a real flame. These are much safer, especially if you have kids or pets around. Plus, they last longer and won't scorch the inside of your pumpkin. To enhance the glow, you can line the inside of your pumpkin with aluminum foil. This will reflect the light and make your carving shine even brighter. You can also experiment with different colored candles or lights to create different effects. A red candle can give your pumpkin a menacing glow, while a blue light can create an eerie, otherworldly feel.
Beyond the Flame: Creative Lighting Options
Alright, so maybe you're over the candle thing or you're looking for something a little more…extra. Fear not! There are tons of creative lighting options that can take your pumpkin display to the next level. Think spotlights, colored bulbs, and even spooky strobe lights! The key is to experiment and find what works best for your carving and your overall Halloween aesthetic.
One cool option is to use a small spotlight to highlight your pumpkin from below. This will create dramatic shadows and make your carving really pop. You can also use colored bulbs to create different moods. A green bulb can give your pumpkin a ghoulish glow, while a purple bulb can create a mysterious and spooky atmosphere. If you're feeling really adventurous, you could even add a strobe light to your pumpkin for a truly terrifying effect! Just be careful not to overdo it – you don't want to give your trick-or-treaters a seizure. Another fun idea is to use glow sticks or glow-in-the-dark paint to add some extra flair to your carving. These are especially effective for creating glowing eyes or teeth. You could even create a whole glowing design using glow-in-the-dark paint. The possibilities are endless!
Lighting Option | Pros | Cons |
|---|---|---|
Candles | Classic, spooky ambiance | Fire hazard, short-lasting |
LED Lights | Safe, long-lasting, versatile | Less authentic feel |
Spotlights | Dramatic, highlights details | Requires power source |
Farewell Frights: Reflecting on Your Carving Scary Pumpkins Journey
And there you have it – a comprehensive guide to transforming ordinary pumpkins into terrifying works of art! Hopefully, these carving scary pumpkins ideas have sparked your imagination and equipped you with the knowledge to create truly unforgettable Halloween displays. Remember, the most important ingredient is creativity, so don't be afraid to experiment, make mistakes, and most importantly, have fun. Now go forth, carve bravely, and prepare to unleash some serious scares this Halloween!