Table of Contents
Alright, let's talk pumpkin guts. Every fall, the pressure mounts. You see those elaborate, borderline-professional jack-o'-lanterns online, and suddenly your simple triangle eyes feel… inadequate. Or maybe you just dread the messy cleanup and the general hassle. It's supposed to be fun, right? A classic Halloween tradition, gathering around a big orange gourd, scooping out the slimy insides, and bringing a spooky face to life. But for many, the reality is a sticky mess, frustration with dull tools, and a design that looks less like a terrifying ghoul and more like it had a run-in with a blender.
Picking the Perfect Pumpkin and Essential Tools
Picking the Perfect Pumpkin and Essential Tools
Size and Shape Matter
first things first: the canvas. You can't paint a masterpiece (or even a slightly wonky face) without the right starting point. When you're staring at a pile of pumpkins, don't just grab the biggest one. Think about your design. A taller, more oval pumpkin might be great for a ghost or a spooky tree. A rounder, squatter one is classic for a traditional jack-o'-lantern face. And consider the size – a massive pumpkin is more surface area to carve, which means more work. Forcarving pumpkins ideas easy, a medium-sized one, say the size of a basketball, is usually perfect. It's manageable to handle and big enough to make an impact.
Feel the pumpkin all over. You want a firm one. Soft spots or bruises mean it's already starting to break down, and nobody wants a saggy jack-o'-lantern before Halloween even arrives. Look for a smooth surface if you plan on drawing or transferring a design. Bumpy textures can make that harder. And give it a tap – a hollow sound often means it's ripe and ready.
Checking the Stem and Base
Don't underestimate the importance of the stem and the base. The stem is more than just a handle; it's a sign of health. A dry, brittle stem might indicate the pumpkin was picked too early or is past its prime. You want a firm, securely attached stem. It doesn't have to be green, but it shouldn't feel loose or mushy. Plus, a nice, sturdy stem gives you something to hold onto while you're carving, which is surprisingly helpful.
Now, flip that pumpkin over. The base needs to be flat and stable. You don't want your finished jack-o'-lantern wobbling precariously on your porch or table. A flat bottom ensures it sits upright without tilting. If the base is rounded, you might need to carefully slice a thin layer off the bottom to create a stable surface, but try to pick one that's already pretty flat to save yourself that step.
- Choose a pumpkin size that fits your design and skill level.
- Look for a firm, bruise-free surface.
- Check for a sturdy, well-attached stem.
- Ensure the base is flat for stability.
Tools That Make It Easy (Seriously)
Forget the giant, dull kitchen knives. While you *can* use them, there are much better tools forcarving pumpkins ideas easy. A good pumpkin carving kit, even a cheap one, usually has the basics: a small serrated saw for cutting the lid, and smaller saws or knives for details. These are designed for the job and make cutting through the thick pumpkin wall much less of a struggle and much safer.
Beyond the standard kit, a sturdy scoop is essential for cleaning out the insides. An ice cream scoop works wonders for scraping away the pulp and seeds. Metal cookie cutters are fantastic for simple shapes like stars, circles, or bats – you just press them into the pumpkin and tap with a rubber mallet. A drill with different sized bits can make quick, clean holes for eyes or patterns. And a dry-erase marker is your best friend for drawing designs – mistakes wipe right off! Having the right tools turns a frustrating chore into something genuinely achievable.
Mastering Easy Carving Techniques for Fun Designs
Mastering Easy Carving Techniques for Fun Designs
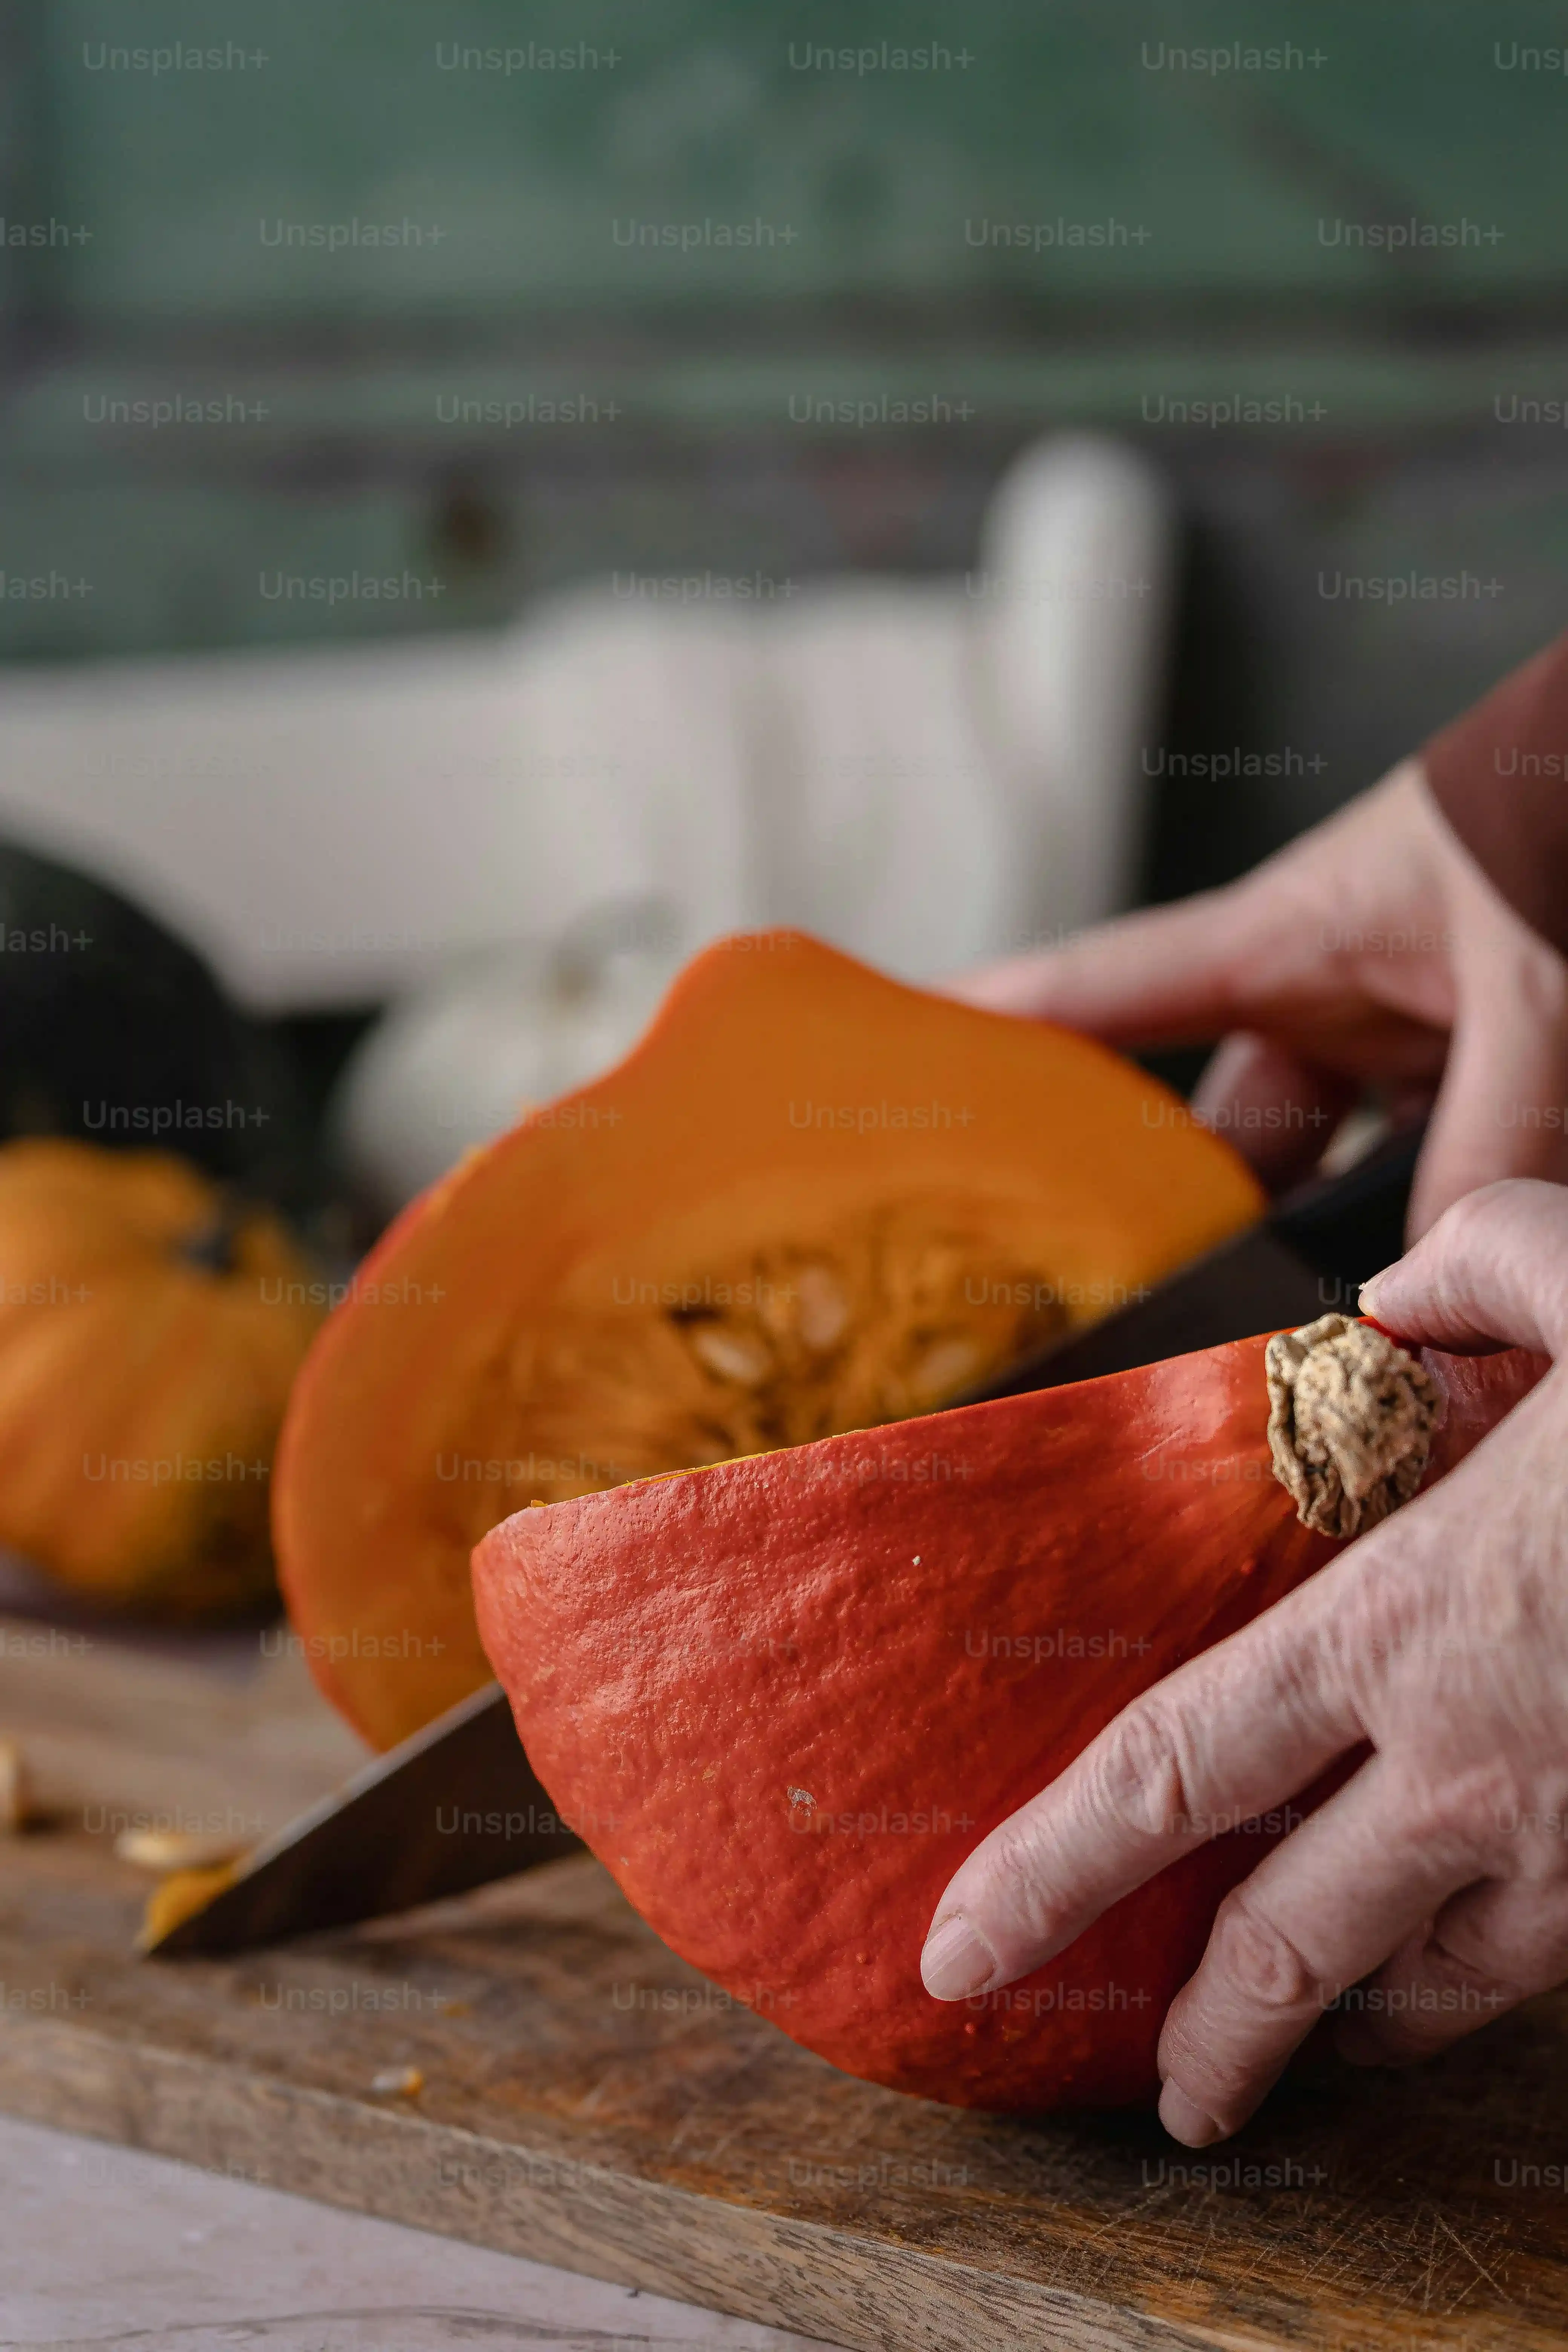
Getting Started: The Lid and the Guts
you've got your perfect pumpkin. Now, where to start? Most people cut the lid off the top, right around the stem. Use that small serrated saw from your kit. Angle the cut slightly inward as you go around. Why inward? Because when you put the lid back on, it won't fall *into* the pumpkin. Simple physics, saves you fishing it out later. Once the lid is off, it's gut-scooping time. This is arguably the least glamorous part, but essential. Use a sturdy scoop, like an ice cream scoop, to scrape down the walls and the bottom. Get it clean. The thinner the walls (within reason, don't make them paper-thin), the easier it is to carve and the more light will shine through. Plus, getting all that stringy pulp out helps prevent mold later.
Transferring Designs and Making Your First Cuts
Now for the fun part: making your mark. Forcarving pumpkins ideas easy, don't freehand unless you're feeling brave (or reckless). Draw your design directly onto the pumpkin with a dry-erase marker. If you mess up, wipe it off. Easy. For simple shapes or patterns, you can print out a template, tape it to the pumpkin, and use a tool (like a poker from a carving kit or even a toothpick) to poke holes along the lines. This creates a dotted outline you can then follow with your saw. When you start cutting, use those small, purpose-built carving saws. They're much more maneuverable than a kitchen knife. Use a gentle sawing motion, following your lines. Don't force it. If you're doing tight turns, you might need to pull the saw out and re-insert it to change direction. Take your time. Nobody's racing.
Ever tried using a drill for eyes? Seriously, it makes perfectly round holes in seconds. Much faster than trying to saw a circle. And cookie cutters? Press them in firmly and give them a tap with a rubber mallet. Pop out a perfect shape. These little tricks cut down on frustration significantly, especially when you're aiming for easy wins.
Quick Carving Troubleshooting
- Saw getting stuck? Pull it out slightly, clear any debris, and try again with a gentle sawing motion.
- Design not transferring well? Try a stronger marker or poke your holes closer together.
- Piece won't pop out after cutting? Carefully push it from the inside or use a thin tool to gently pry it.
- Walls too thick? Go back in with your scoop and thin them down carefully from the inside.
Top Carving Pumpkins Ideas Easy for Beginners and Kids
Top Carving Pumpkins Ideas Easy for Beginners and Kids
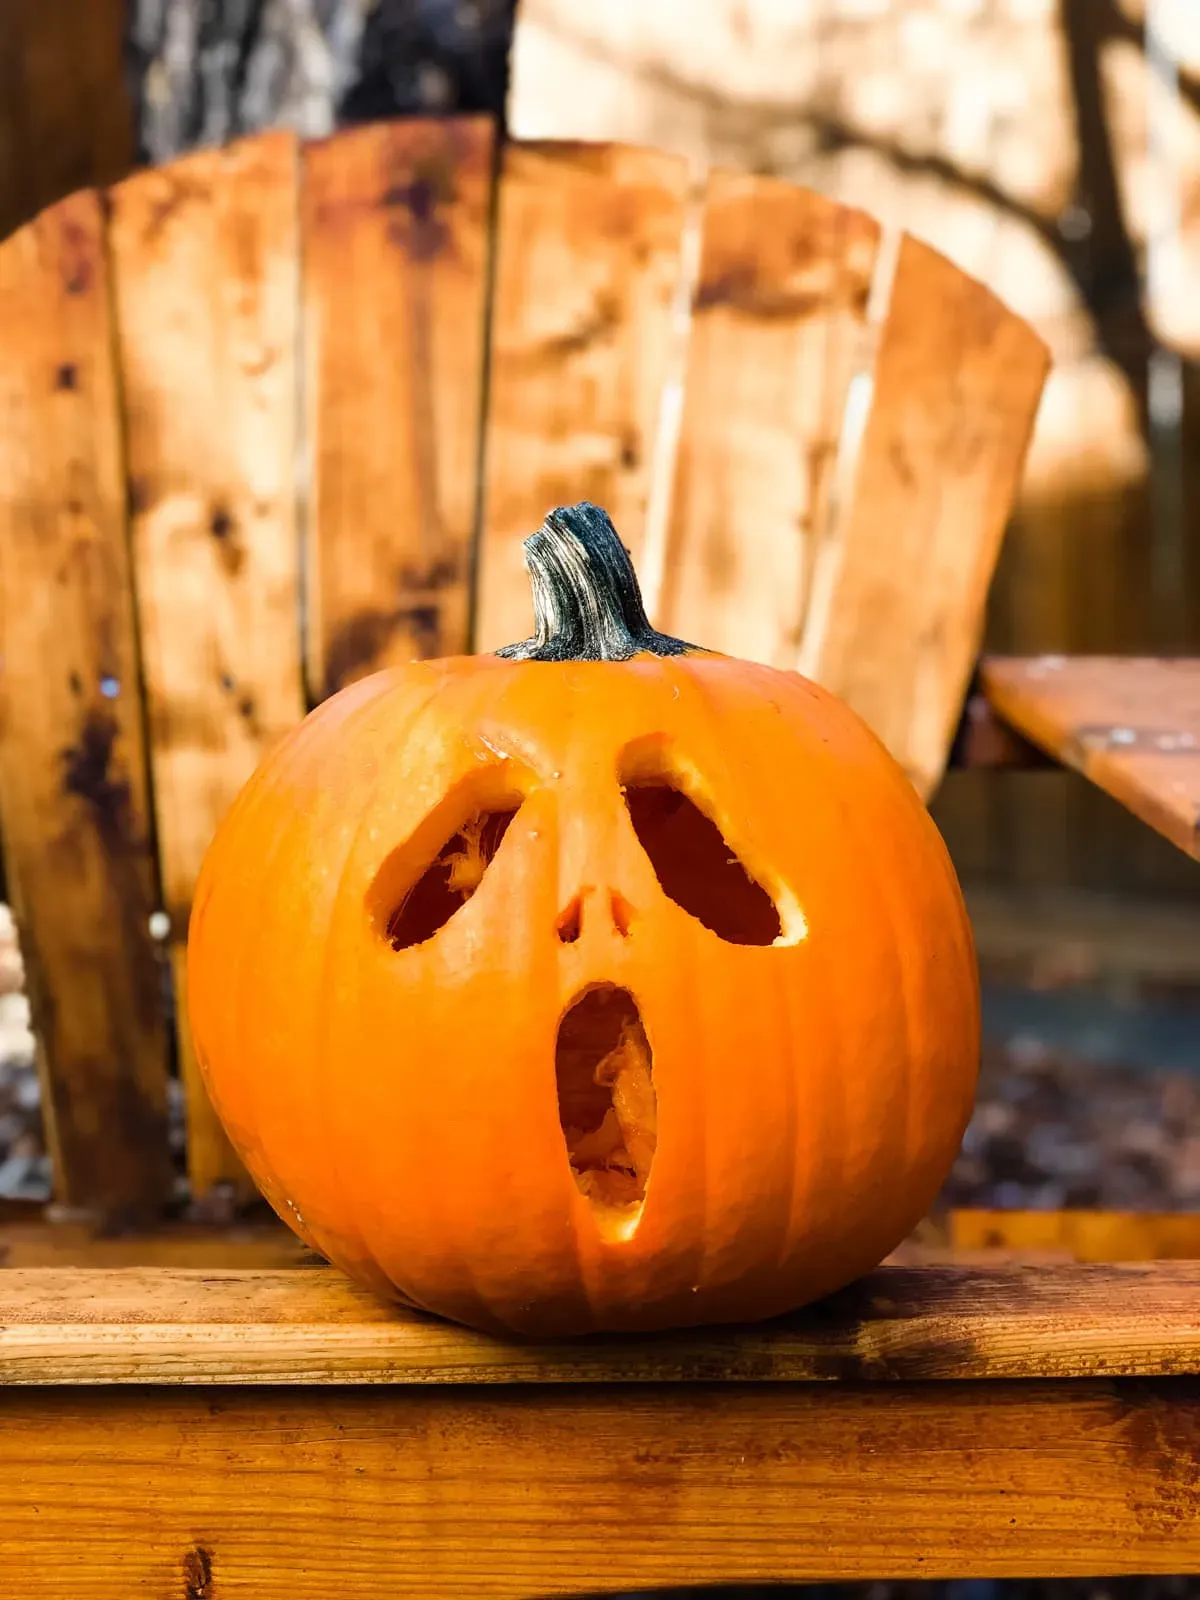
Classic Faces Made Simple
so you've got your pumpkin prepped, guts scooped, and your basic tools ready. Now for the fun part – deciding what creepy or goofy face is going to stare out from your porch. Forcarving pumpkins ideas easy, you cannot go wrong with the classics. Think simple shapes. Triangles for eyes are a timeless winner – fast, effective, and hard to mess up. A jagged, toothy grin is another easy go-to. Just a few zig-zag cuts and you've got instant menace (or silliness, depending on the angle).
Don't feel pressured to make them symmetrical or complex. A slightly off-kilter face can actually look spookier or more unique. My first few pumpkins looked like they'd been through a wrestling match, but they still glowed on Halloween night and got the job done. The key is keeping the shapes large and distinct. Small, intricate cuts are where beginners get frustrated and saws get stuck. Big triangles, simple circles (maybe use a cup to trace!), or straightforward squares are your friends here.
Using Tools for Instant Shapes
Want to skip the freehand struggle entirely? This is where humble tools become your carving superheroes. Cookie cutters are pure genius forcarving pumpkins ideas easy. Stars, moons, bats, ghosts – if you have a metal cookie cutter, you can likely punch it right into the pumpkin wall. Just press it firmly, and if needed, give the back a few taps with a rubber mallet or a block of wood. The shape pops right out, clean and perfect. It's almost like cheating, but who cares? You get a cool design with minimal effort.
Drills are another underutilized gem. Different sized drill bits make quick, clean circular holes. Use them for eyes, or create patterns of dots all over the pumpkin for a starry night effect. It's fast, requires less manual sawing, and the results are neat. Combine different sized holes for varied looks. Plus, it feels vaguely industrial and cool, which is a bonus.
Easy Shape Ideas Using Tools:
- Stars (cookie cutters)
- Circles (drill bits, cookie cutters, traced cup)
- Bats (cookie cutters)
- Moons (cookie cutters)
- Dots/Patterns (drill bits)
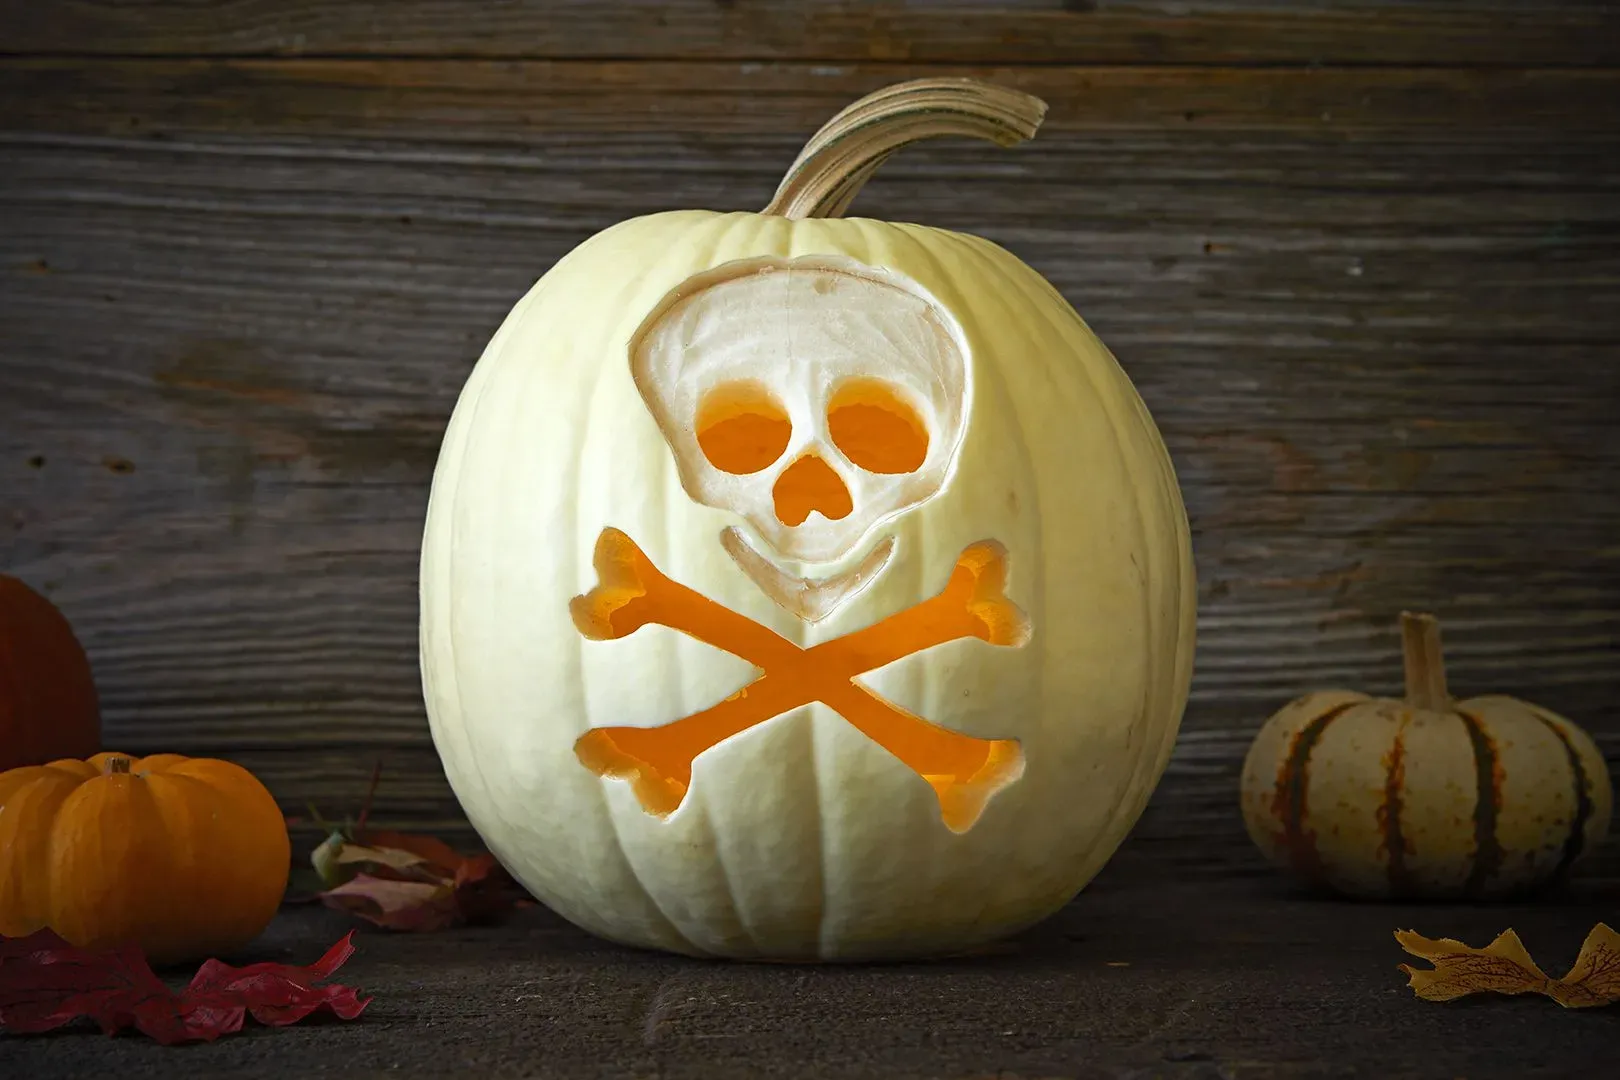
Beyond the Face: Simple Silhouettes and Patterns
Who says a pumpkin needs a face? Some of the most effectivecarving pumpkins ideas easyinvolve silhouettes or simple patterns. Think a single, large shape carved into the side – a haunted house outline, a black cat sitting on a fence, or a spooky tree with gnarled branches. These often only require cutting out a few large areas, which is much simpler than detailed facial features.
Another easy approach is using negative space or patterns. Instead of carving out a shape, maybe you just scrape away the top layer of skin to create a design that glows faintly. Or use those drill bits to make patterns of holes – random, in lines, or even spelling out "BOO". It's less about precise cutting and more about creating an interesting texture and light effect. These methods are forgiving and still look fantastic lit up at night.
Make Your Easy Carved Pumpkins Last Longer
Make Your Easy Carved Pumpkins Last Longer
Keeping Your Creation from Collapsing
Alright, you've done the work. You've picked the pumpkin, scooped the guts, and carved a face (or a bat, or a weird pattern). Now comes the slightly depressing reality: carved pumpkins don't last forever. They're organic matter exposed to the elements, basically a ticking clock of decay. But you can buy yourself a few extra days before the inevitable slump and mold fuzz set in. The main enemies are drying out and bacterial growth. To combat drying, you need to keep the cut surfaces moist. A thin layer of petroleum jelly (Vaseline) rubbed onto all the cut edges helps seal in moisture. Some people swear by spraying the pumpkin daily with a bleach solution (about one tablespoon of bleach per quart of water) to kill bacteria and mold spores. Just spray the inside and the cut surfaces. It sounds harsh, but it can extend its porch life.
- Rub petroleum jelly on all cut edges to prevent drying.
- Spray daily with a diluted bleach solution (1 tbsp bleach per quart water) to fight mold.
- Keep the pumpkin out of direct sunlight and extreme temperatures if possible.
- Bring it inside on freezing nights to prevent it from turning mushy.
Conclusion
So there you have it. Carving a pumpkin doesn't require a sculpture degree or a workshop full of specialized tools. Focusing oncarving pumpkins ideas easymeans less time wrestling with tricky cuts and more time actually enjoying the process, even if that enjoyment involves a fair bit of scraping and seed-flinging. You get a classic Halloween decoration for your porch, the kids (or you) get the satisfaction of making something, and cleanup, while never *truly* mess-free, is less of a nightmare. At the end of the day, it's just a pumpkin. Carve it simply, stick a light in it, and call it a win. It'll still look pretty decent in the dark.