Table of Contents
Ah, pumpkin carving season. The smell of crisp autumn air, maybe a PSL in hand, and the annual dread of wrestling a sharp knife into a giant gourd. If the thought of intricate patterns and potential finger injuries has you reaching for a bag of candy corn instead, you're not alone. Plenty of us want that classic Halloween glow without the drama. That's exactly why we're diving into the world of carving pumpkins easy ideas. Forget the overly complicated stencils and the hours spent scraping out slimy insides. This guide is built for folks who want maximum spooky effect with minimal effort. We'll walk you through the absolute essentials you need to get started without buying a workshop full of tools. Then, we'll explore simple design concepts that look impressive but are surprisingly simple to execute. We’ll even touch on ways to make your creation last longer and how to show it off. Ready to ditch the stress and embrace the simple, satisfying fun of easy pumpkin carving?
Getting Started: Your Toolkit for Carving Pumpkins Easy Ideas
Getting Started: Your Toolkit for Carving Pumpkins Easy Ideas
Forget the Fancy Kits: Basic Kitchen Gear Works Wonders
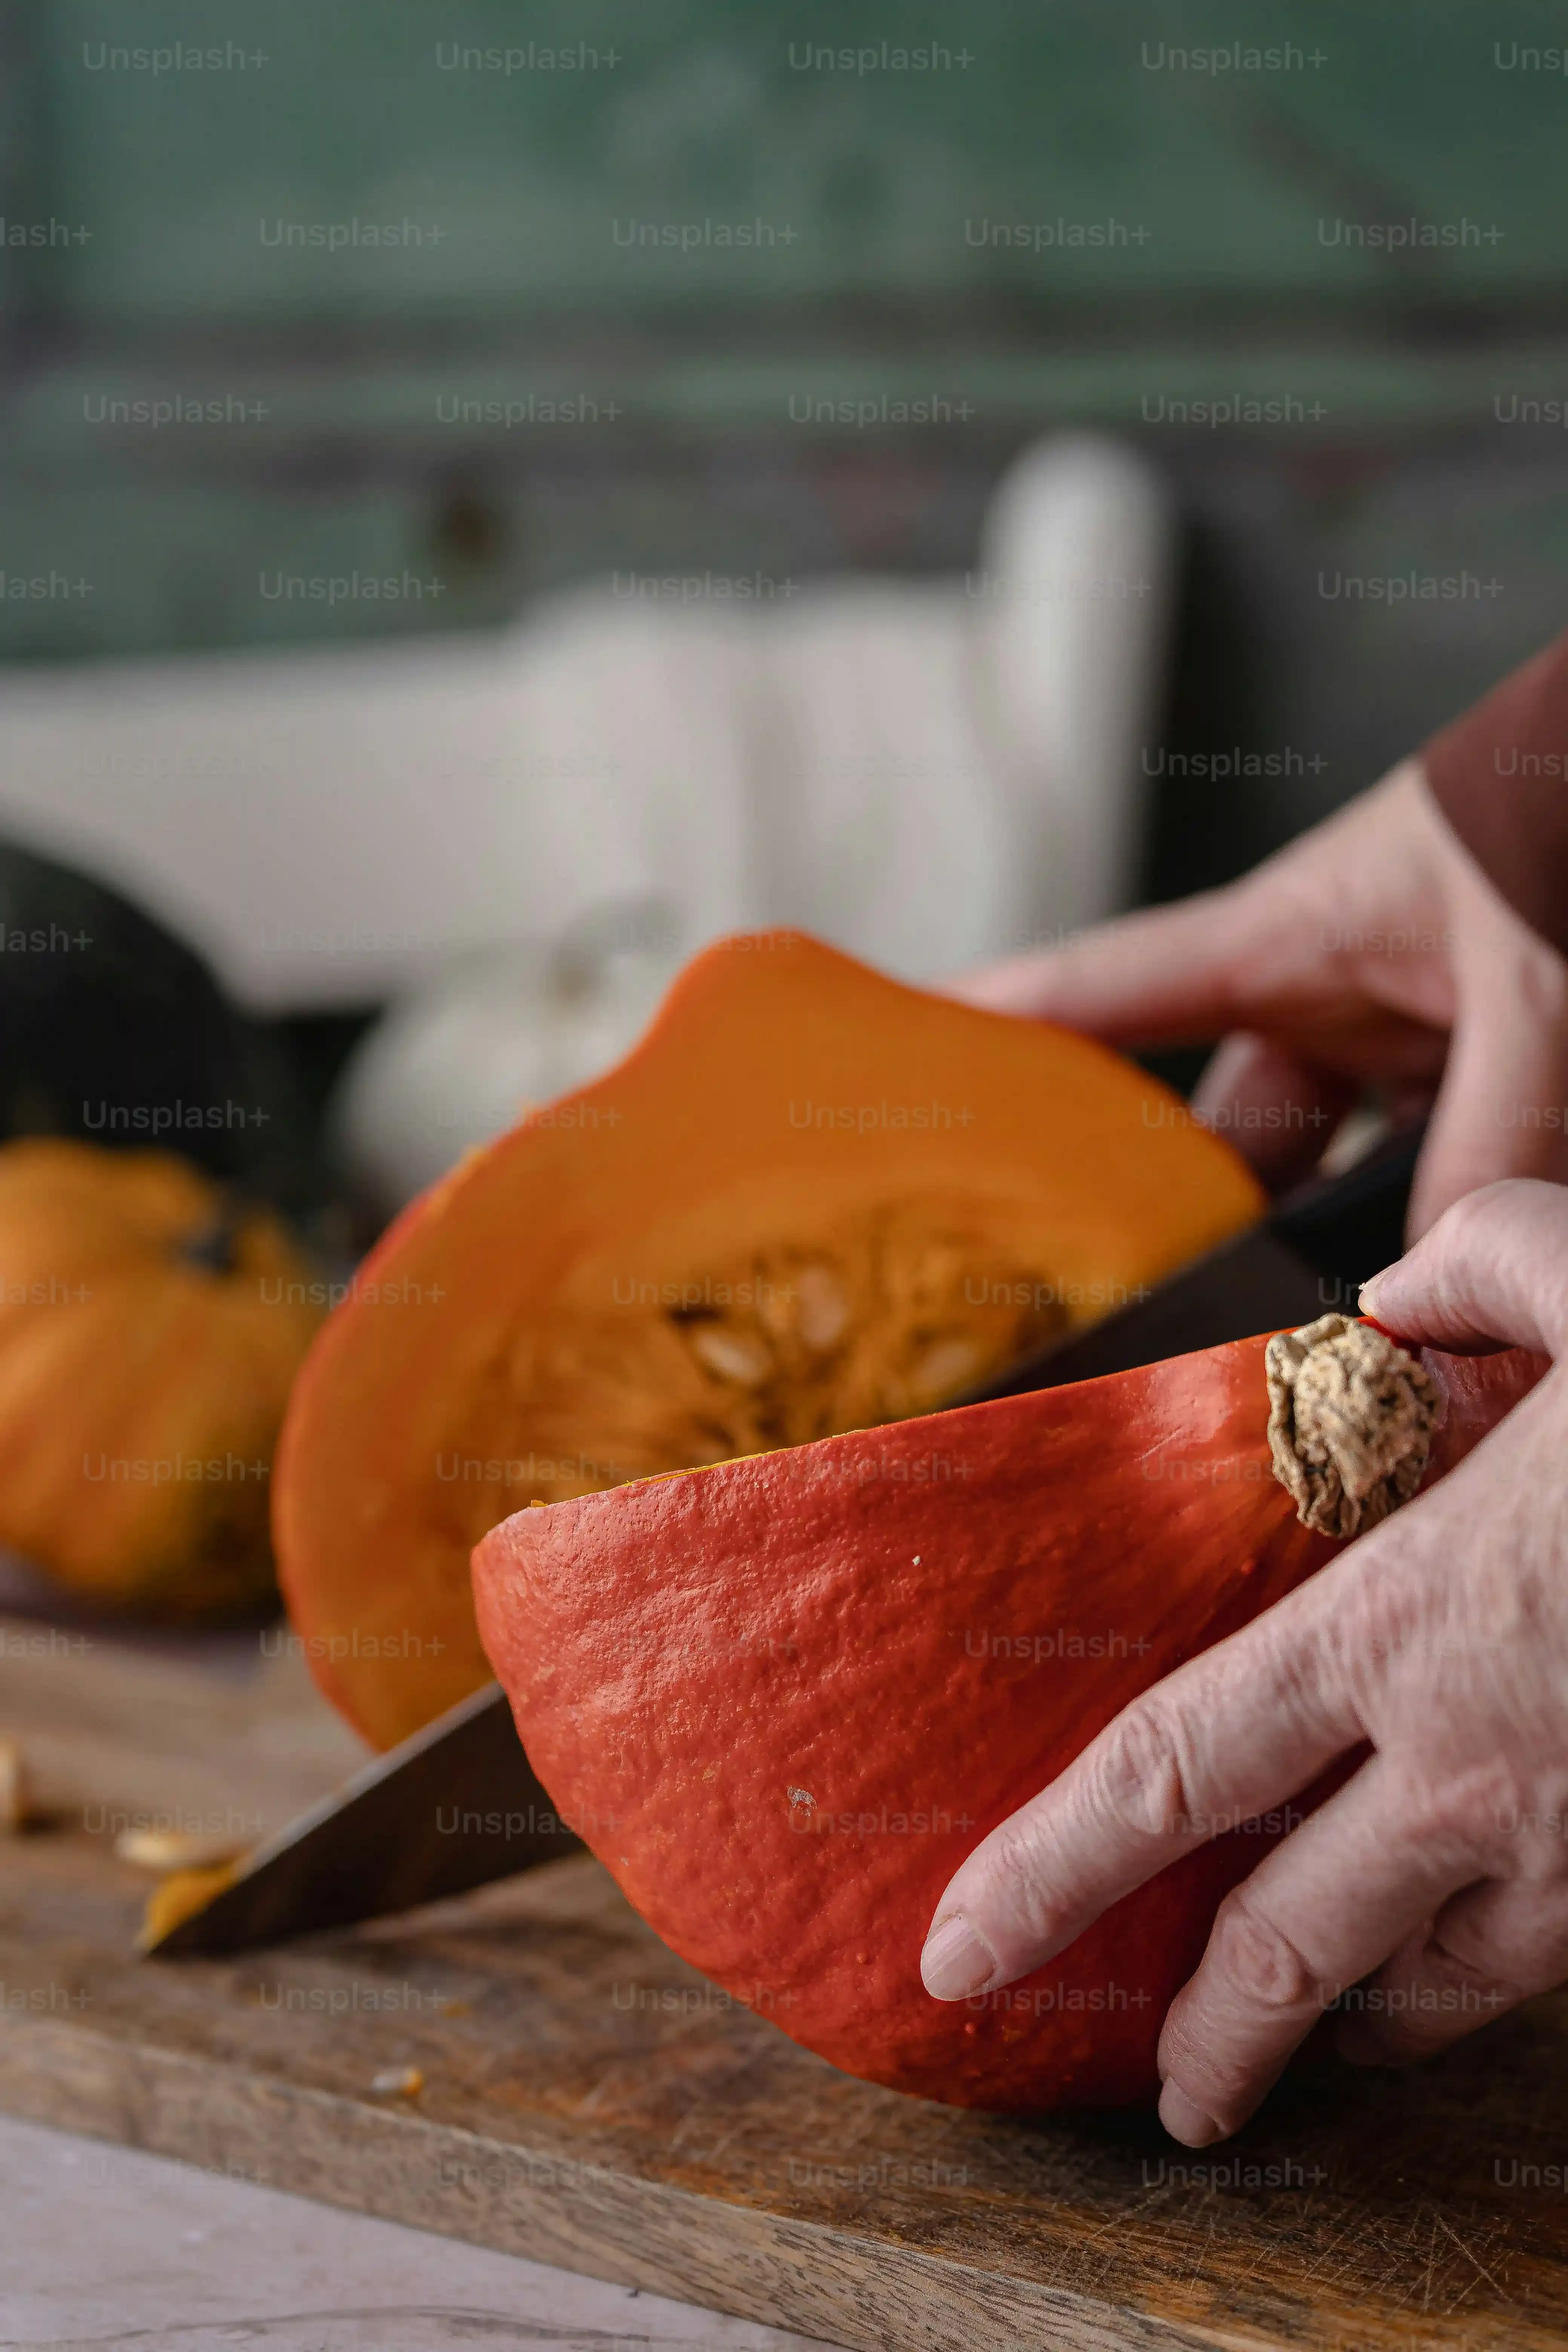
Look, you don't need to drop twenty bucks on a specialized pumpkin carving kit that you'll use maybe once a year. For carving pumpkins easy ideas, your kitchen probably has most of what you need. A sturdy spoon or an ice cream scoop is perfect for gutting that gourd – much better than those flimsy plastic scrapers in the kits. A good chef's knife or a serrated knife is essential for cutting off the top (or bottom, more on that later). And for the actual carving, a small paring knife is often all you require. It gives you control without being intimidatingly large.
Adding a Few Simple Helpers for Clean Lines
While basic knives work, a couple of additions can make those carving pumpkins easy ideas even smoother. A set of linoleum cutters or wood carving tools, even a cheap set, can be fantastic for scraping away the pumpkin's skin without cutting all the way through. This lets you create designs by just etching the surface, which is way less prone to mistakes than cutting. Also, a dry-erase marker is your best friend. Draw your design directly on the pumpkin; if you mess up, just wipe it off and start over. No need for messy paper stencils unless you really want them.
Essential Tools for Easy Carving
- Sturdy spoon or ice cream scoop for gutting
- Sharp chef's knife or serrated knife for opening
- Small paring knife for basic cuts
- Dry-erase marker for drawing designs
- Optional: Linoleum cutters for etching
Safety First: Prep and Precautions
Before you even think about making your first cut for those carving pumpkins easy ideas, let's talk safety. Always cut away from yourself. Seems obvious, but it's worth repeating. A dull knife is more dangerous than a sharp one because you have to use more force, so make sure your knives are reasonably sharp. And when you're scooping out the guts, grip the pumpkin firmly. Nobody wants a trip to the emergency room over a jack-o'-lantern. Prepping means cleaning the outside of the pumpkin and having a stable surface to work on. Don't try to hold it in your lap while you're carving.
Beyond Triangles: Creative Carving Pumpkins Easy Ideas

Beyond Triangles: Creative Carving Pumpkins Easy Ideas
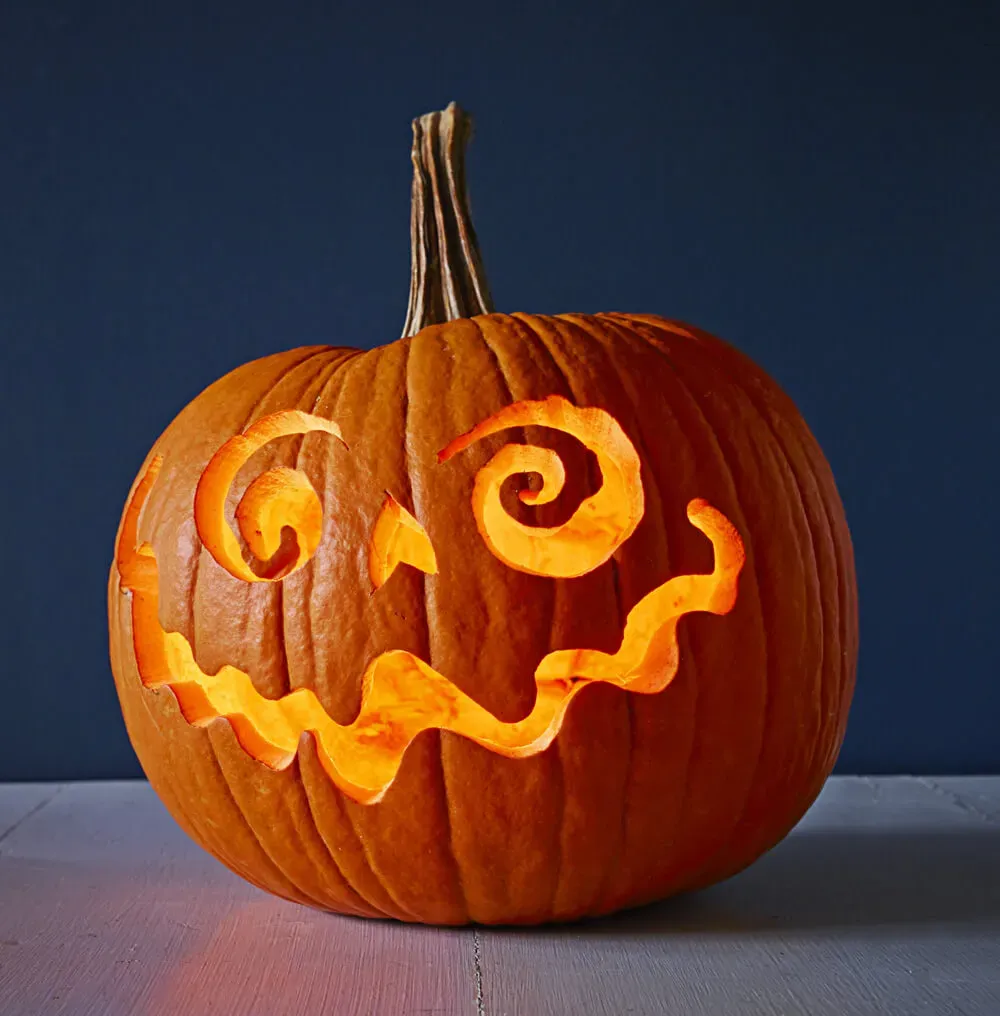
so we've all seen the classic triangle eyes and jagged mouth. It's a staple, sure, but let's be honest, it's also a bit... basic. When we talk about carving pumpkins easy ideas, we don't mean you're stuck with the same old face every year. You can absolutely create something cool and unique without needing the steady hand of a brain surgeon. Think about simple shapes like circles, stars, or even just abstract patterns. Etching, where you only scrape off the skin, opens up a whole world of possibilities – spiderwebs, spooky trees, or even just your house number look great and are far less likely to collapse than a full-cut design. Playing with negative space, cutting out the *area around* a shape instead of the shape itself, can also give a striking effect with minimal intricate work.
Not Just Carving: Even Easier Pumpkin Decoration Ideas
Not Just Carving: Even Easier Pumpkin Decoration Ideas
Grab a Brush: Painting and Drawing Your Way to Spooky
maybe the idea of sticking a sharp object into a pumpkin still gives you the creeps. No sweat. Carving pumpkins easy ideas extend way beyond just cutting holes. Painting is your absolute best friend here. Acrylic paints work great and dry pretty fast. You can paint entire scenes, spooky silhouettes, or just geometric patterns. Got kids? Let them go wild with finger paints or washable markers for a less permanent option. Even a simple coat of black or white paint can look incredibly dramatic. Try painting a pumpkin black and then drawing a spiderweb or spooky eyes with a white paint pen or marker. It’s effective, requires zero knife skills, and the cleanup is usually just paint-related, not pumpkin-guts-related.
Stick 'Em On: Googly Eyes, Yarn, and Other Adornments
Want to get even more low-tech? Think about adding things *to* the pumpkin rather than taking bits away. This is where the craft aisle comes in handy. Googly eyes, for instance, are the universal symbol of "easy and fun." Stick them all over a pumpkin for a goofy monster. Yarn can become messy spiderwebs or crazy hair. Buttons, felt shapes, pipe cleaners – the possibilities are endless. You can create funny faces, creepy creatures, or abstract art just by gluing or pinning things on. Hot glue works best for sticking things to the bumpy surface, but craft glue can work for lighter items, just give it time to dry. My neighbor once made a whole family of pumpkin monsters just using old bottle caps and scraps of fabric; looked surprisingly cool.
- Painting solid colors (black, white, metallic)
- Using paint pens for detailed drawings
- Sticking on googly eyes, buttons, felt shapes
- Wrapping pumpkins in yarn or cheesecloth
- Using temporary tattoos or stickers
Fabric, Props, and More: Creative Cover-Ups
Still feeling hesitant? You don't even have to touch the pumpkin's surface directly. Think about dressing it up! Drape some cheesecloth over a pumpkin and add some plastic spiders for an instant ghost effect. Put a witch's hat on top. Wrap it in caution tape. Place it inside a spooky cage made of twigs or old wire. You can create entire characters or scenes using props and fabric around the pumpkin. This is fantastic for adding texture and dimension without any mess. It also means you can use those pumpkins for other things later, assuming they don't rot before then. It’s decorating the *space* around the pumpkin as much as the pumpkin itself, and it’s ridiculously easy.
Keeping Your Carving Pumpkins Easy Ideas Looking Fresh
Keeping Your Carving Pumpkins Easy Ideas Looking Fresh
Why Your Spooky Friend Starts to Sag
You spent all of ten minutes executing those carving pumpkins easy ideas, and they looked great on day one. Then day three rolls around, and suddenly your proud jack-o'-lantern looks less "spooky" and more "sadly deflated." Pumpkins are basically giant vegetables, and once you cut into them, they start to dry out and break down. The flesh begins to shrink, causing your carefully carved features to warp and collapse. Mold and bacteria also move in, especially in warmer or wetter conditions, turning vibrant orange into something fuzzy and gray. It's a race against time, and frankly, the pumpkin is usually winning.
Give It a Drink: Hydration is Key
One of the simplest ways to extend the life of your carving pumpkins easy ideas is to keep them hydrated. The cut surfaces are where most of the moisture escapes. You can mist your pumpkin daily with water, especially on the inside and around the carved edges. For a real boost, give it a soak. Fill a tub or large container with water and submerge your carved pumpkin face-down for a few hours, or even overnight if it's really looking rough. This allows the pumpkin flesh to reabsorb some much-needed moisture, plumping it back up. Just make sure it dries a bit before you put a light inside.
Hydration Method | How Often | Pros | Cons |
|---|---|---|---|
Misting | Daily | Quick, Easy | Less effective for deep dehydration |
Soaking | Every few days | Very effective rehydration | Requires a tub, can encourage mold if not dried |
Beyond Water: Sprays and Sealants
Water helps, but you can also use barrier methods to slow down decay. A thin layer of petroleum jelly or vegetable oil applied to the cut edges can create a seal that locks in moisture and keeps bacteria out. Just rub a little bit on with your finger or a brush. There are also commercial pumpkin preservation sprays available, which often contain anti-fungal agents. Some people swear by a bleach solution (about one tablespoon of bleach per quart of water) to kill off mold and bacteria – you can spray this on or soak the pumpkin in it briefly. Just be careful with bleach around kids and pets, and make sure the pumpkin is completely dry before adding a candle or light.
Showcase Your Spooky Masterpiece: Displaying Your Easy Pumpkin Carvings

Showcase Your Spooky Masterpiece: Displaying Your Easy Pumpkin Carvings
Prime Real Estate for Your Gourds
you've put in the minimal effort for your carving pumpkins easy ideas, and now you've got these fantastic, low-stress jack-o'-lanterns. Where do they go? The obvious answer is the front porch. It’s classic for a reason. Place them on steps, on a porch swing, or right by the front door to greet trick-or-treaters. But don't stop there. Consider windowsills – facing outwards, obviously, so folks walking by can appreciate your handiwork. A garden path lined with glowing pumpkins looks pretty atmospheric. Even placing one on a sturdy outdoor table or a tree stump can create a focal point. Just make sure the spot is stable and reasonably protected from the elements and enthusiastic squirrels.
Light 'Em Up Without Burning Down the House
A jack-o'-lantern isn't really a jack-o'-lantern until it glows. The traditional method involves a lit candle, which gives a lovely flicker but comes with obvious fire hazards, especially if you're using carving pumpkins easy ideas that might be a bit thin in spots. Plus, wind is a factor. The far safer and frankly, easier, option is battery-operated LED lights. You can get flickering tea lights that mimic candles or brighter mini-lanterns. These last way longer, don't produce heat (so less pumpkin cooking), and are reusable year after year. Just pop one inside, flip the switch, and you're done. No matches, no melted wax, no worries.
- Front porch steps or railing
- Windowsills (facing outward)
- Along a garden path
- On an outdoor table or bench
- Near the mailbox
- On a balcony or patio
Group Effort and Simple Props
One easy pumpkin carving idea looks good, but a group looks even better. Cluster several pumpkins of different sizes together. Mix your carved ones with some uncarved decorative gourds or painted pumpkins for variety. Add some simple props: fake spiderwebs draped around them, a few scattered fake leaves, a friendly (or creepy) scarecrow nearby. Even just placing them on a bale of hay elevates the display instantly. Think of it as creating a small scene rather than just placing a single object. It takes minimal extra effort but makes your collection of easy pumpkin carvings feel much more intentional and festive.
Easier Than You Thought, Right?
So there you have it. Carving pumpkins doesn't require a degree in art or surgical precision. With a few basic tools and some straightforward ideas, you can absolutely create something cool for your porch or window. No need to compete with the neighborhood's professional-grade displays. Just get a pumpkin, pick a simple design, and give it a shot. Worst case, you end up with a slightly lopsided, still-charming jack-o'-lantern. And let's be honest, sometimes those are the best ones anyway. Now go grab a gourd and make some mess.