Table of Contents
October rolls around, and suddenly, everyone's a master sculptor, except you. You see those intricate, glowing masterpieces on porches and feel a familiar dread. The pressure to create a spooky, or at least recognizable, jack-o'-lantern is real, and frankly, who has hours and a steady hand like a brain surgeon? You just want something that doesn't look like a lopsided, toothless mess by trick-or-treat night. If that sounds like your annual struggle, you're in the right place. This isn't about creating museum-worthy art. This is about practical, achievable results.
Getting Started with Carving Pumpkin Ideas Easy

Getting Started with Carving Pumpkin Ideas Easy
Picking the Right Gourd for Easy Carving
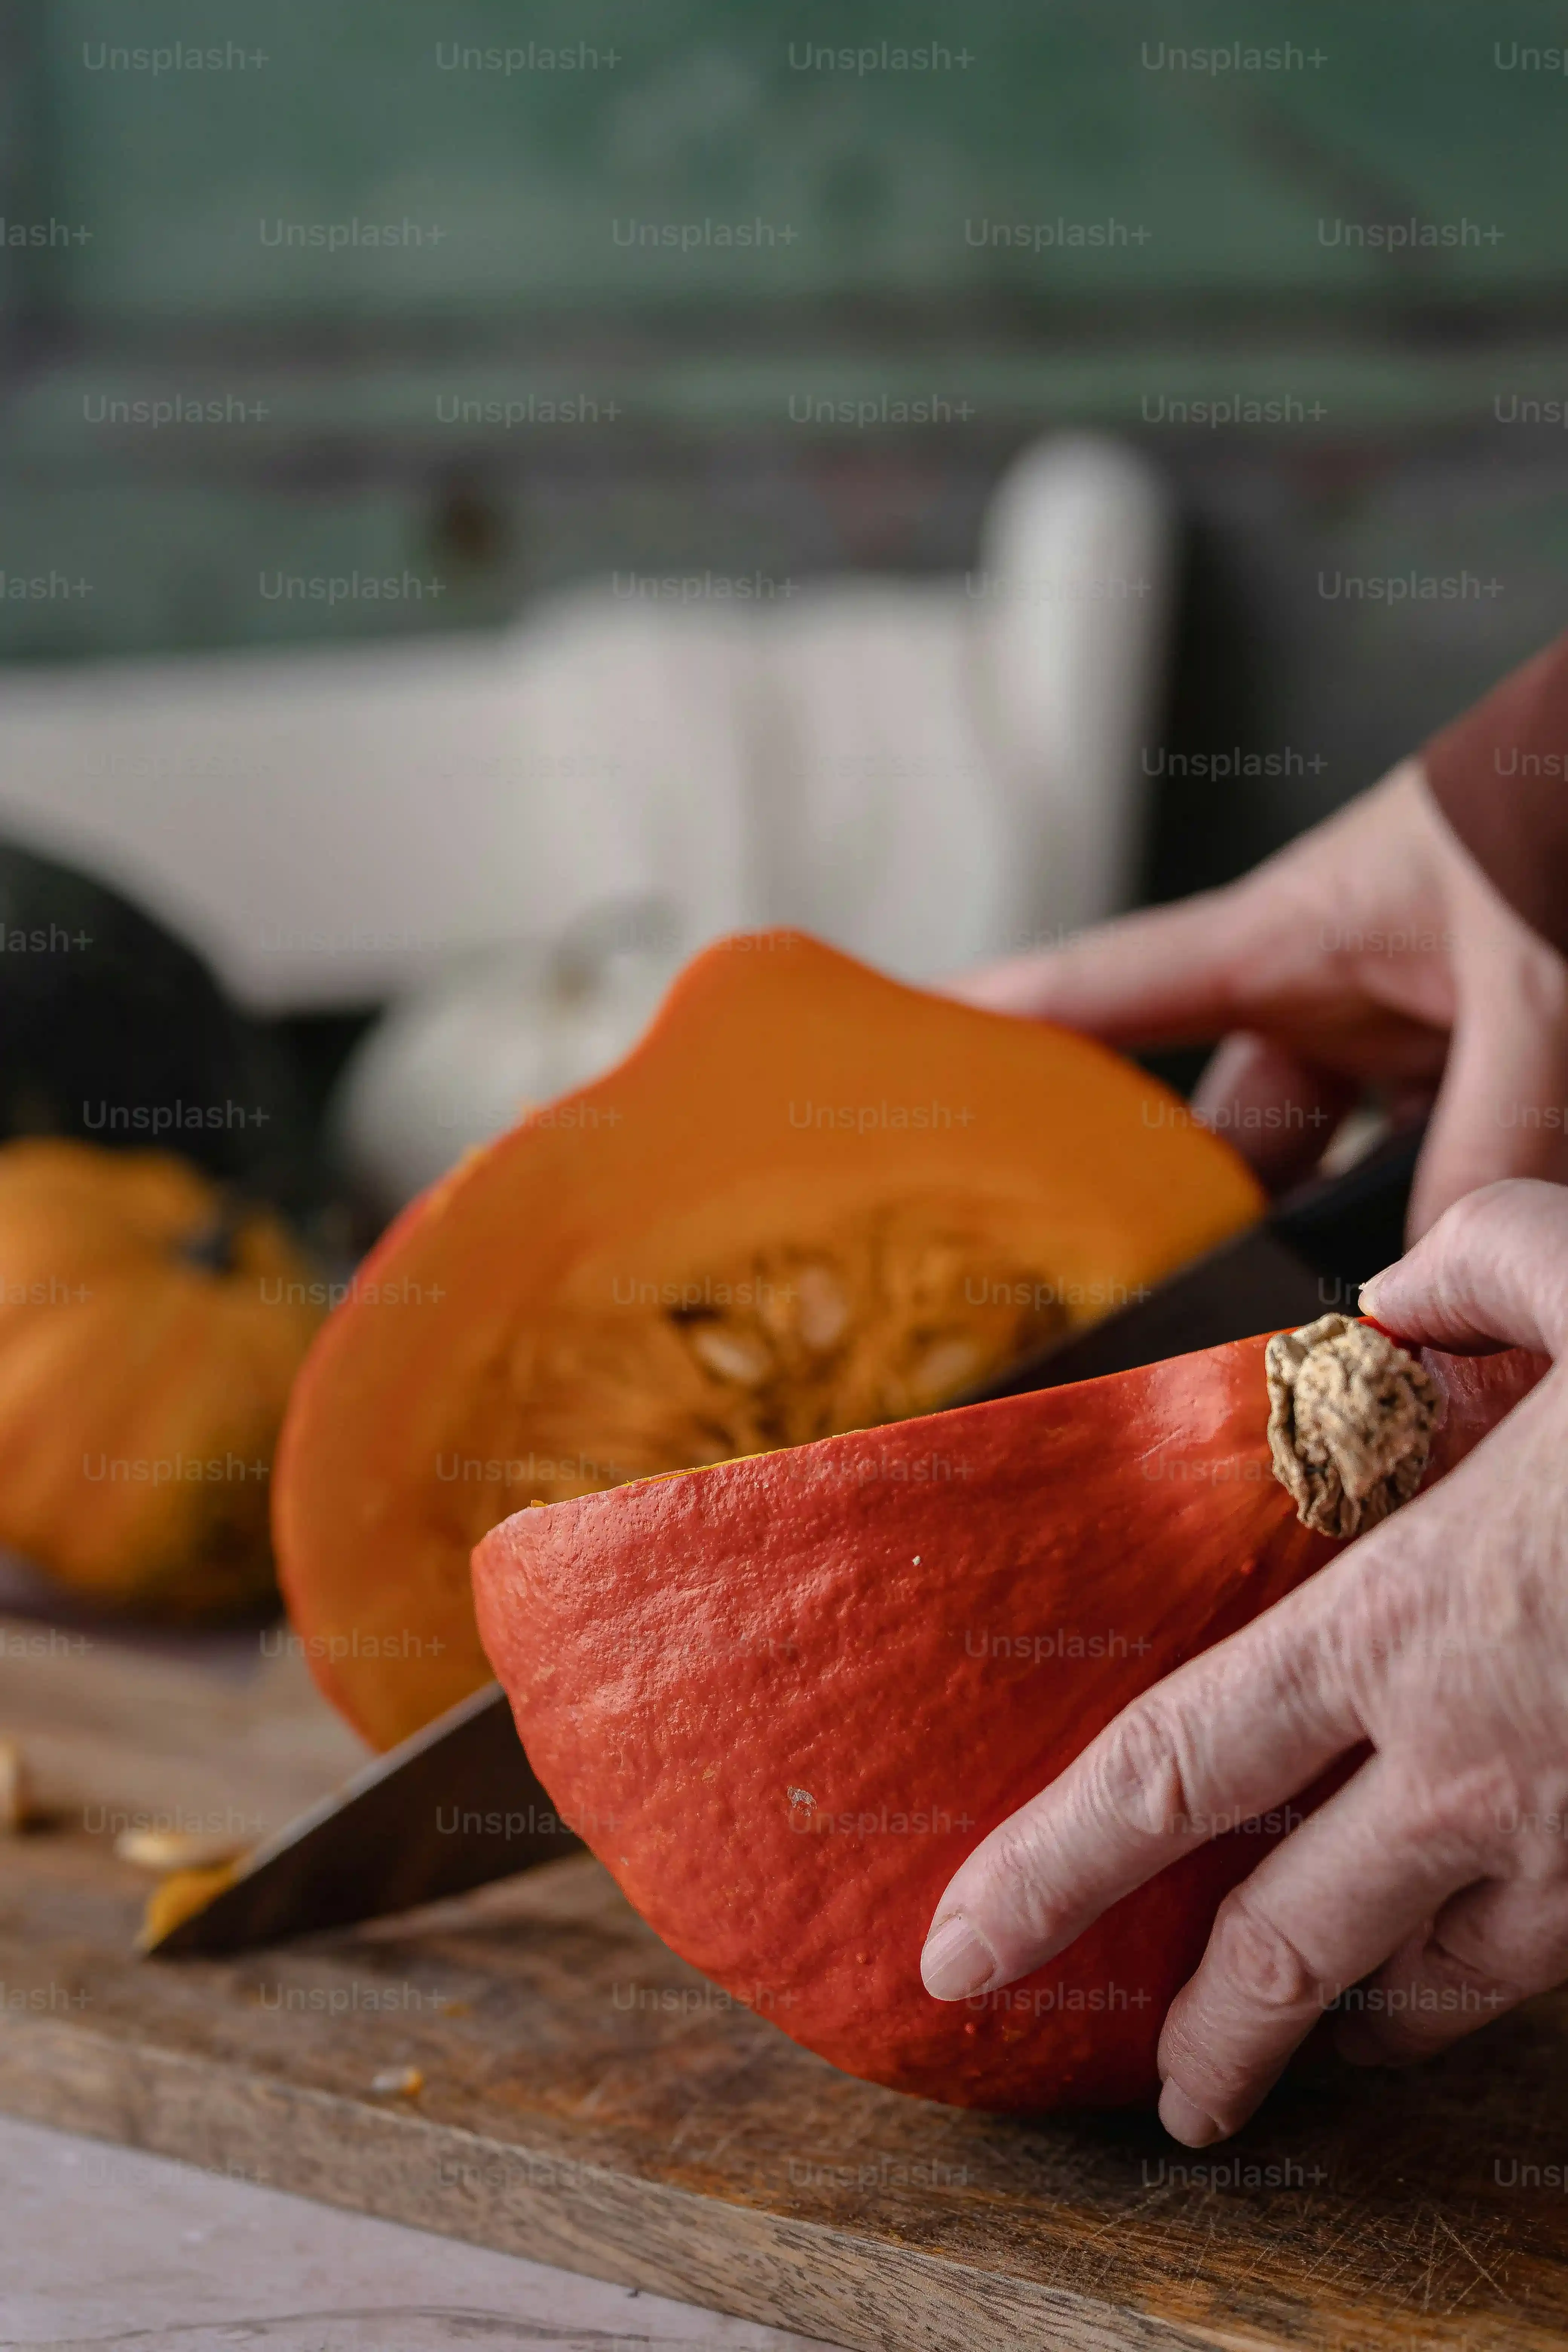
Alright, let's cut to the chase. Your journey into **Getting Started with Carving Pumpkin Ideas Easy** begins not with a fancy knife, but with the pumpkin itself. Seriously, don't grab the biggest, most lumpy monster you can find just because it looks impressive in the patch. A giant, thick-skinned pumpkin is a nightmare for a beginner with a flimsy saw. You want a pumpkin that's relatively smooth, firm, and importantly, has a flat bottom so it doesn't wobble around while you're trying to make a simple cut. Look for one with consistent color, no soft spots (those are already on their way out), and a sturdy stem. A medium-sized pumpkin, maybe the size of a basketball, is usually much easier to handle and carve than a behemoth.
Setting Up Your Workspace: Keeping it Clean and Safe
Before you even think about scooping out guts, set yourself up properly. Carving pumpkins is messy. Accept it. Lay down some old newspapers, a plastic tablecloth, or even a garbage bag on your workspace. This isn't just for easy cleanup; it saves your table from scratches too. Make sure you have good lighting so you can actually see what you're doing. And for the love of all that is spooky, use a sturdy surface. Trying to carve on your lap is a recipe for disaster, stitches, or at least a very sad-looking pumpkin. Gather your basic tools – more on those in a bit – and keep them organized. A small bowl for seeds and a larger one for the stringy pulp are essential. Don't try to multitask this. Focus on the task at hand.
Basic Pumpkin Carving Essentials
- A sturdy, medium-sized pumpkin
- Newspapers or plastic sheeting for cleanup
- A stable workspace
- A scoop or large spoon for cleaning out the inside
- A basic pumpkin carving kit (often includes a small saw and poker)
- A bowl for seeds, a bowl for pulp
- Paper towels
Classic Shapes: Simple Carving Pumpkin Ideas Easy You Can Do Tonight
Classic Shapes: Simple Carving Pumpkin Ideas Easy You Can Do Tonight
The Timeless Grin: Mastering the Basic Jack-o'-Lantern
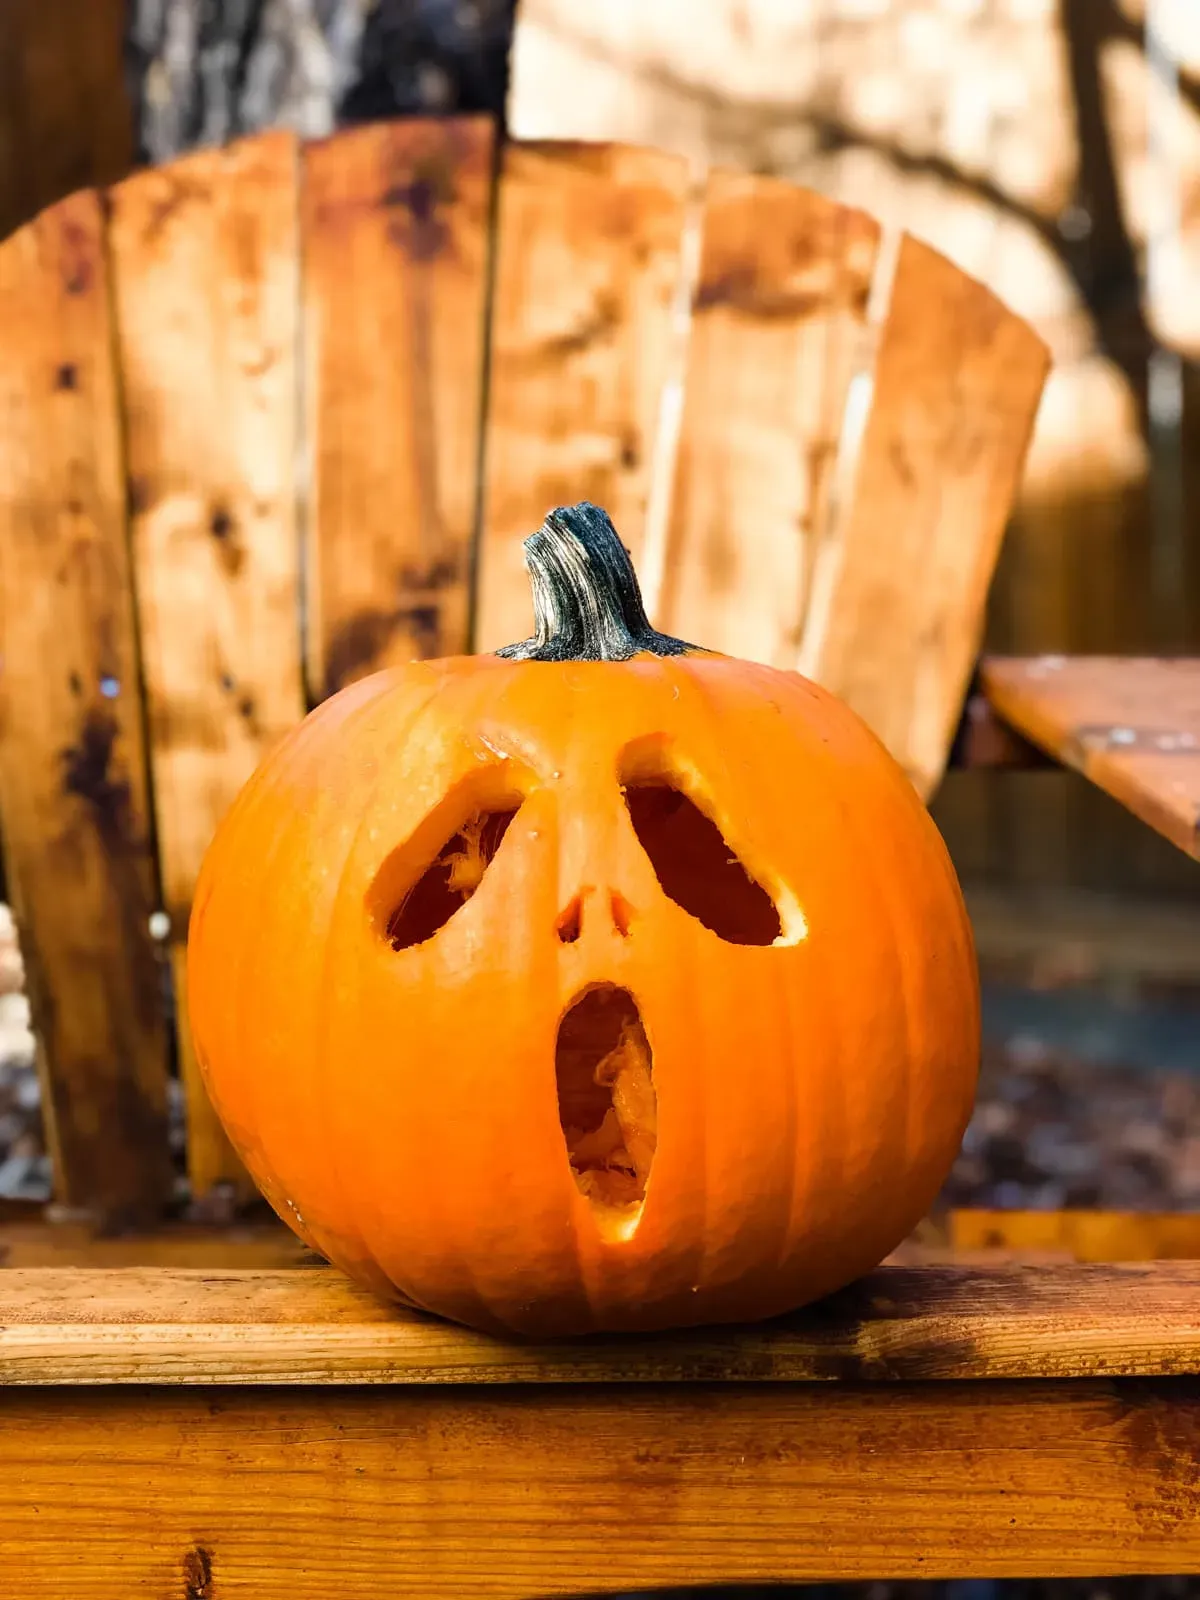
Alright, let's get to the heart of the matter: the classic jack-o'-lantern face. This is ground zero for **carving pumpkin ideas easy**. You're not aiming for photo realism here. Think simple geometric shapes. Two triangles for eyes. A triangle or a small rectangle for the nose. And the mouth – a simple, jagged smile or a wide, toothy grin made of a few squares or rectangles. That's it. Seriously. Don't overcomplicate it with tiny details that will just break off anyway. The key is clean, confident cuts. Use your poker tool to transfer a simple design (you can even draw it on with a marker first) and then use your small saw to follow the lines. Don't rush it. Steady pressure is better than trying to saw through like you're chopping down a tree.
Beyond the Face: Simple Geometric and Silhouette Designs
Maybe the standard face feels a bit *too* basic, but you're still committed to **carving pumpkin ideas easy**. No problem. Think shapes that aren't faces. Stars are surprisingly simple – just five straight cuts meeting in the middle. Circles are a bit trickier to make perfectly round, but perfectly imperfect circles look just fine. You could do a moon and some scattered stars. Or how about simple silhouettes? A ghost shape is basically just a wavy bottom and a rounded top. A simple cat outline? Two triangles for ears on a rounded shape. These designs often look best when you remove the entire shape, letting the light shine through the solid area, rather than trying to cut intricate details.
Simple Shapes to Try:
- Classic Triangle Eyes & Jagged Mouth
- Square Eyes and Rectangular Mouth
- Simple Star Cutouts
- Circle or Moon Shapes
- Basic Ghost Silhouette
- Simple Cat Ears and Head Outline
Beyond the Smile: More Creative Carving Pumpkin Ideas Easy
Beyond the Smile: More Creative Carving Pumpkin Ideas Easy
Simple Shapes and Patterns That Impress Without the Effort
so the classic face is covered. But maybe you want something a *little* different, something that says "I tried harder than a five-year-old" but still falls under **carving pumpkin ideas easy**. Think patterns. Polka dots are ridiculously simple and look great, especially if you vary the size of the holes. You can use a drill with different sized bits (carefully!) or even just different sized apple corers or metal cookie cutters. Just press and twist. Geometric patterns like simple lines, zigzags, or checkerboards are also straightforward. Use masking tape to create straight lines if you're worried about freehanding it. Cut along the tape edge. It's clean, modern, and requires minimal artistic talent.
Etching and Surface Designs for Zero Carving Stress
Who says you have to cut all the way through? Etching is your best friend for **carving pumpkin ideas easy**. This involves just scraping away the top layer of skin, not going through the flesh. It's much less likely to collapse your pumpkin, and it's way more forgiving if you mess up. You can use a linoleum cutter, a sharp knife tip (carefully!), or even a sturdy metal spoon edge. Draw your design first – simple outlines of bats, spiders, or spooky trees work well. Then, just scrape away the orange skin within your lines. The light won't shine through, but the contrast between the scraped area and the untouched skin looks fantastic, especially under a spotlight. Plus, it takes way less muscle.
Easy Etching Ideas:
- Spiderwebs (just lines!)
- Flying Bats Silhouette
- Spooky Tree Branches
- Simple Ghost Outline
- Stars and Dots Pattern
Tools and Tricks to Make Carving Pumpkin Ideas Easy
Tools and Tricks to Make Carving Pumpkin Ideas Easy
Tools That Actually Help (And Aren't Just Gimmicks)
let's talk gear. You see those elaborate carving kits with a dozen different tiny saws and loop tools? For **carving pumpkin ideas easy**, you don't need most of that. Seriously. What you *do* need are a few solid basics. First, a sturdy scoop. The little plastic ones in cheap kits are useless. Get a metal scoop or even a large, strong spoon from your kitchen. Cleaning out the inside is half the battle, and a good scoop makes a world of difference. Next, a basic pumpkin saw. Again, don't need ten sizes. One small, serrated saw designed for pumpkins works fine for most cuts. A poker tool is also essential for transferring your design onto the pumpkin. And finally, a sharp utility knife or a dedicated pumpkin lid cutter for making that initial opening at the top (or bottom, which some folks prefer for stability and draining). Keep it simple. You're not building furniture; you're cutting a gourd.
Essential Easy Carving Tools:
- Sturdy Metal Scoop or Spoon
- Basic Pumpkin Saw
- Design Poker Tool
- Sharp Utility Knife or Lid Cutter
- Marker (washable)
Simple Tricks to Avoid the Carving Meltdown
Beyond the tools, a few simple tricks can save you a lot of frustration when tackling **carving pumpkin ideas easy**. First, when cutting the lid, angle your knife inwards. This creates a ledge for the lid to sit on, preventing it from falling into the pumpkin later. Scoop out *all* the stringy bits and thin the wall where you plan to carve, especially for etching or shallower cuts. A thinner wall is much easier to cut through. If you're using a stencil, tape it firmly in place and use the poker tool to make closely spaced holes along the lines – this creates a dot-to-dot guide. When sawing, use a gentle up-and-down motion, letting the saw do the work. Don't force it. If a piece is stubborn, don't yank it; work the saw back and forth gently until it comes free. And for goodness sake, always carve away from yourself. Seems obvious, but in the heat of the moment, things happen.
Showcasing Your Easy Pumpkin Carving Ideas
Lighting Up Your Creation: Making Simple Designs Pop
You've done the work, wrestled with the gourd, and now you've got your not-so-intimidating jack-o'-lantern ready for prime time. The key to **Showcasing Your Easy Pumpkin Carving Ideas** isn't more complex carving; it's the lighting. A sad, flickering tea light just won't cut it. For a brighter, safer glow, ditch the real flame unless you're keeping a close eye. LED candles are your friend here. They come in various sizes and even colors. Pop a few in there, maybe one larger one, to really illuminate your simple cuts. Place the pumpkin somewhere visible, like your front porch or near a window, but make sure the background isn't too busy. You want the light from your pumpkin to be the star, casting spooky shapes on the wall or pavement. A simple design looks ten times better when it's properly lit and stands out.
Keeping Your Masterpiece Fresh (or at Least Undecayed for a Bit)
Nobody wants a sad, shriveled pumpkin collapsing on their steps before Halloween night. Keeping your **carving pumpkin ideas easy** looking good for more than 48 hours requires a little effort, but not much. After carving, give the entire pumpkin, inside and out, a good wash to remove any lingering pulp or dirt. Then, and this is key, keep it hydrated. You can mist it daily with water mixed with a little bleach (like a tablespoon per quart) to ward off mold. Some folks swear by rubbing petroleum jelly on the cut edges to seal in moisture. Keep it out of direct sunlight during the day, which will just cook it, and bring it inside if freezing temperatures are forecast. It won't last forever, but these steps buy you some extra time before the inevitable decay sets in.
Tips for a Longer-Lasting Pumpkin:
- Wash thoroughly after carving.
- Mist daily with diluted bleach solution.
- Apply petroleum jelly to cut edges.
- Keep out of direct sun.
- Protect from freezing temperatures.
Beyond the Porch: Creative Displays for Your Easy Carvings
Don't feel limited to just plunking your pumpkin on the front step. You can get a little more creative with **carving pumpkin ideas easy** displays without needing to be an interior designer. Grouping pumpkins of different sizes, even with simple faces or patterns, creates more visual impact than just one lonely gourd. Arrange them on hay bales, old crates, or even just staggered along your walkway. You can add some mums, corn stalks, or fake spiderwebs around them for extra flair. Consider using your carved pumpkins as part of a centerpiece for an outdoor table (again, use LED lights!). If you have a really simple design, like just cut-out shapes, consider stacking a couple of different sized pumpkins for a totem-pole effect. The goal is to make your simple efforts look intentional and festive, not just like you forgot about them.
Wrapping Up Your Easy Pumpkin Carving
So there you have it. Carving a pumpkin doesn't require an engineering degree or artistic genius. We’ve looked at straightforward designs and simple methods that actually work. The goal is a festive decoration that doesn't induce a stress headache. You started with a round, orange thing, and now, ideally, you've got something that vaguely resembles a face, a shape, or just a series of strategically placed holes. It'll glow in the dark, kids will probably like it, and you didn't spend hours wrestling with tiny saws. Mission accomplished. Now go grab some candy.