Table of Contents
Carving pumpkins is a classic Halloween tradition, but the thought of freehanding a spooky face can be, well, scary! That's where beginner pumpkin carving stencils come in. This article is your guide to effortlessly creating amazing jack-o'-lanterns, even if you're a complete novice. We'll start by helping you find the perfect beginner pumpkin carving stencils, whether you're looking for cute, spooky, or something in between. Then, we’ll walk you through simple, step-by-step carving techniques ensuring you avoid those pumpkin-carving pitfalls. We'll cover essential tools, tips for transferring your stencil design onto your pumpkin, and the best ways to carve clean, crisp lines. Finally, we'll explore how to take your pumpkin carving skills to the next level, offering ideas for adding extra details and experimenting with different carving styles. Get ready to transform ordinary pumpkins into extraordinary Halloween masterpieces using beginner pumpkin carving stencils!
Finding the Perfect Beginner Pumpkin Carving Stencils
Finding the Perfect Beginner Pumpkin Carving Stencils
Choosing Your Design: Simple vs. Spooky
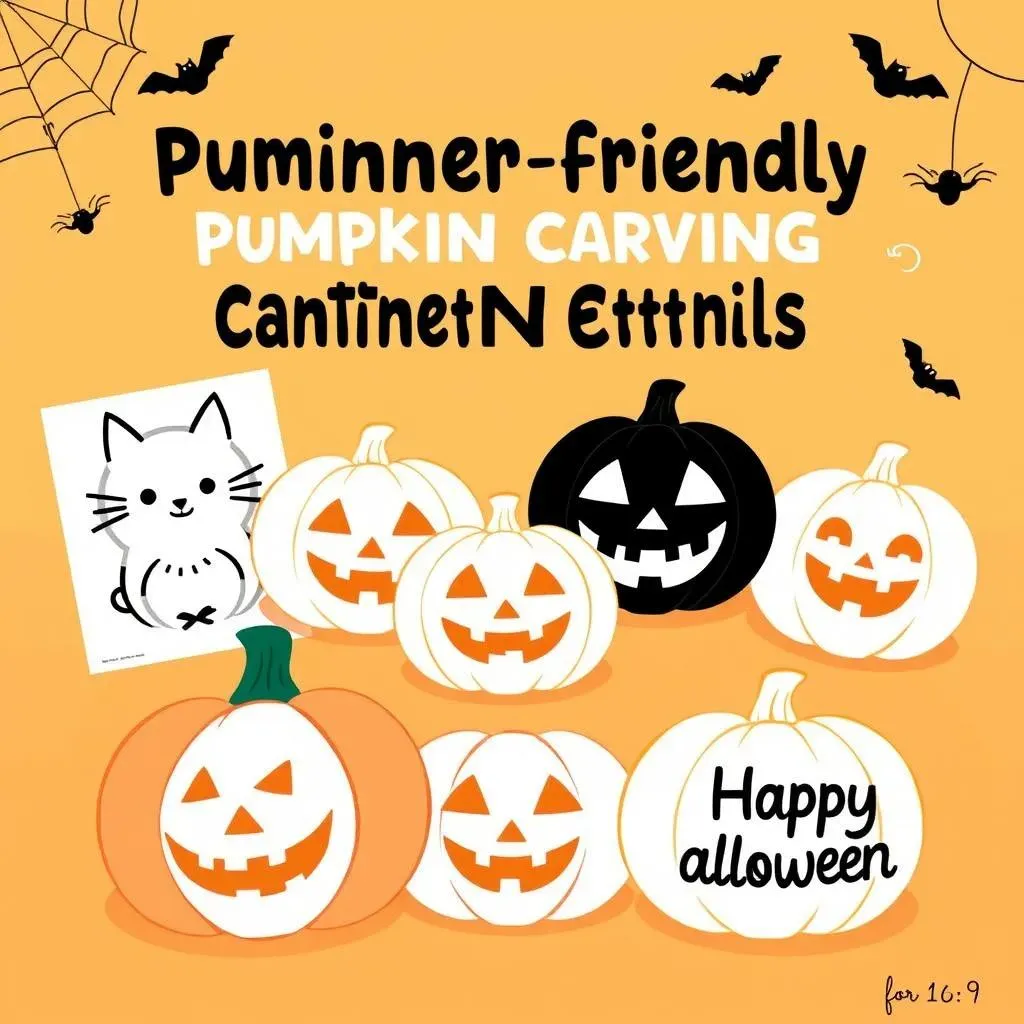
Picking the right stencil is half the battle! For your first pumpkin carving adventure, simpler designs are your best friends. Think cute animals like cats or owls, classic jack-o'-lanterns with simple faces, or fun phrases like "Boo!" or "Happy Halloween." Avoid overly intricate designs with tons of tiny details—those are better left for experienced carvers. Check out our simple pumpkin face ideas for some inspiration!
Websites and craft stores offer tons of free printable stencils, or you can even create your own simple design on paper. Remember, the goal is to have fun and create something you're proud of, not to create a museum-quality masterpiece. If you're feeling adventurous, you can always try a slightly more challenging design. But don't feel pressured to go all out for your first attempt!
Design Type | Difficulty | Best for |
|---|---|---|
Simple Faces | Easy | Beginners, Kids |
Animals | Easy-Medium | All skill levels |
Intricate Designs | Hard | Experienced carvers |
Where to Find Awesome Beginner Pumpkin Carving Stencils
The internet is a treasure trove of pumpkin carving stencils! You can find countless free printable stencils online, ranging from simple to slightly more complex designs. Many websites offer a huge variety, allowing you to browse and choose a design that matches your skill level and interests. Just search "free printable pumpkin carving stencils for beginners" and prepare to be amazed by the options. For even more inspiration, check out our easy pumpkin carving templates page.
Don't forget about local craft stores! They often carry pre-made stencils in a variety of designs, making it easy to find the perfect one. Plus, you can see the quality of the stencil in person before buying it. Some stores even have stencil-making kits, allowing you to create your own custom designs. It's a great way to personalize your pumpkin and add a unique touch to your Halloween decorations. If you're feeling really ambitious, check out some beginner pumpkin carving ideas to inspire you!
- Online Resources (Pinterest, craft blogs)
- Craft Stores (Michael's, Hobby Lobby)
- Printable Stencils (Many free options available)
Easy Pumpkin Carving Techniques for Beginners Using Stencils
Easy Pumpkin Carving Techniques for Beginners Using Stencils
Preparing Your Pumpkin
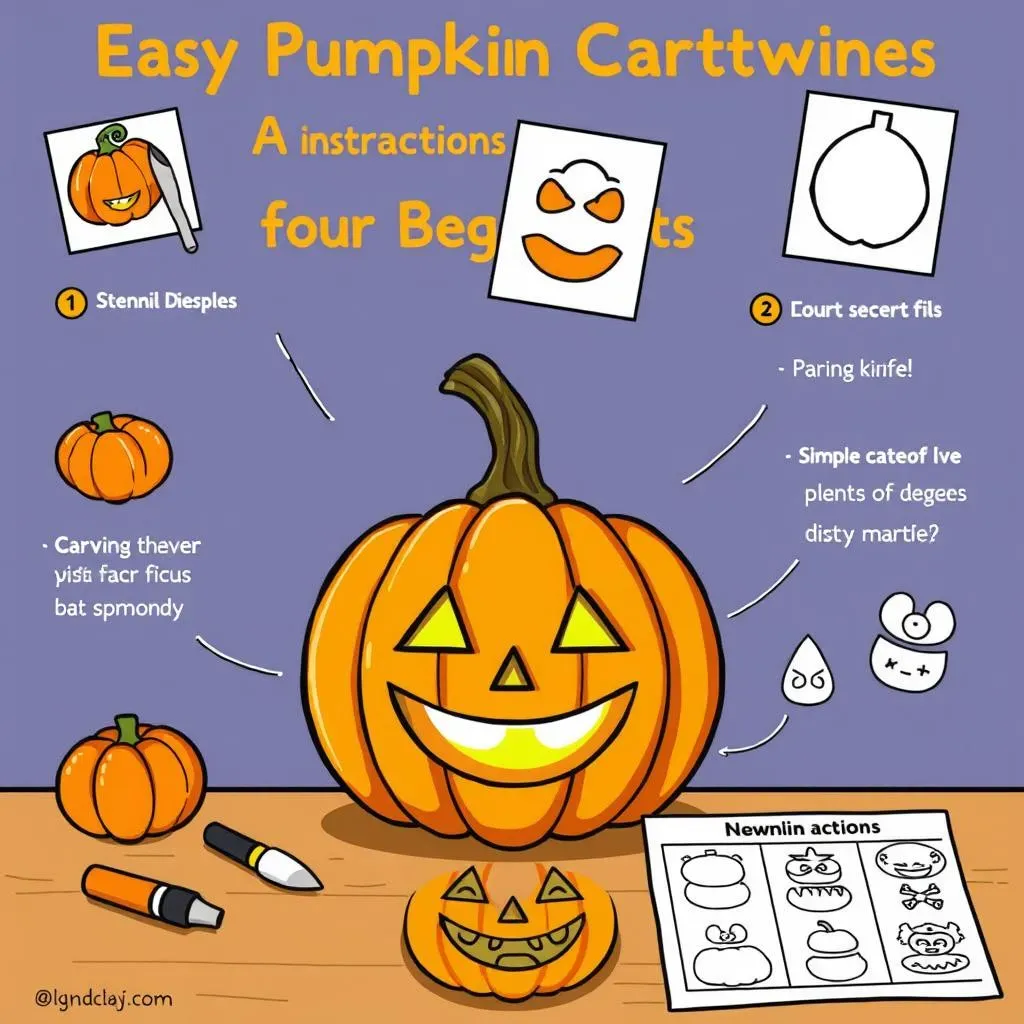
First, grab your pumpkin! Choose a sturdy one; a wobbly pumpkin is a carver's nightmare. Once you've got your pumpkin picked out, it's time to clean house. Cut a hole in the bottom—this is way more stable than cutting the top. Scoop out all the seeds and stringy bits. Think of it as a mini workout for your arm muscles! Trust me, a well-cleaned pumpkin makes carving so much easier. For more tips on preparing your pumpkin, check out our first-time pumpkin carving tips.
Now, let's talk about tools. You don't need a fancy carving kit. A small, sharp paring knife is perfect for beginners. You'll also want a spoon or ice cream scoop for gutting, and maybe some tape to hold your stencil in place. If you're feeling fancy, a few small tools for detail work can be fun, but they're not essential. For a list of helpful tools, visit our page on simple pumpkin carving tools.
- Sharp Paring Knife
- Spoon or Ice Cream Scoop
- Tape
- Optional: Detail Carving Tools
Transferring Your Stencil
Time to get your stencil on! Gently tape your chosen beginner pumpkin carving stencil to your pumpkin. Make sure it's secure but not so tight that it stretches or distorts the design. Now, carefully trace the outline of your stencil onto the pumpkin using a marker. Don't press too hard; you just need a light outline to guide your carving. If you're using a particularly detailed stencil, you might want to consider using a pin to poke small holes along the lines of your design, this can help you get a more accurate carving.
Remember, this is your chance to get creative! If you want to add your own little touches, go for it! A few extra lines or a small detail can personalize your pumpkin design and make it truly unique. Don't be afraid to experiment and have fun. For more ideas on designs, take a look at our easy pumpkin carving designs page. It's full of inspiration!
Step | Action | Tip |
|---|---|---|
1 | Tape stencil to pumpkin | Use painter's tape for easy removal |
2 | Trace outline with marker | Light pressure is key |
3 | Carefully remove stencil | Inspect your tracing before carving |
Carving Your Pumpkin Masterpiece
Now for the fun part—carving! Using your sharp paring knife, carefully cut along the lines you've traced. Go slowly and steadily; rushing can lead to mistakes and even injuries. If your design has several different parts, carve one part at a time. It's way easier to work on smaller sections. Remember, you can always add more, but you can't take away! If you're working with a particularly intricate design, you may want to consider using different carving tools for different parts of the design. This will allow you to create more detailed and refined carvings.
Once you've finished carving, admire your handiwork! If you made a mistake, don’t stress. A little bit of pumpkin-carving glue (or even some strategically placed googly eyes!) can fix most issues. And remember, even a slightly imperfect pumpkin is still a unique and beautiful creation. For some extra ideas, take a look at our easy pumpkin carving for beginners guide. It's full of great advice and inspiration!
Beyond the Basics: Expanding Your Beginner Pumpkin Carving Stencils Skills
Beyond the Basics: Expanding Your Beginner Pumpkin Carving Stencils Skills
Adding Details and Depth
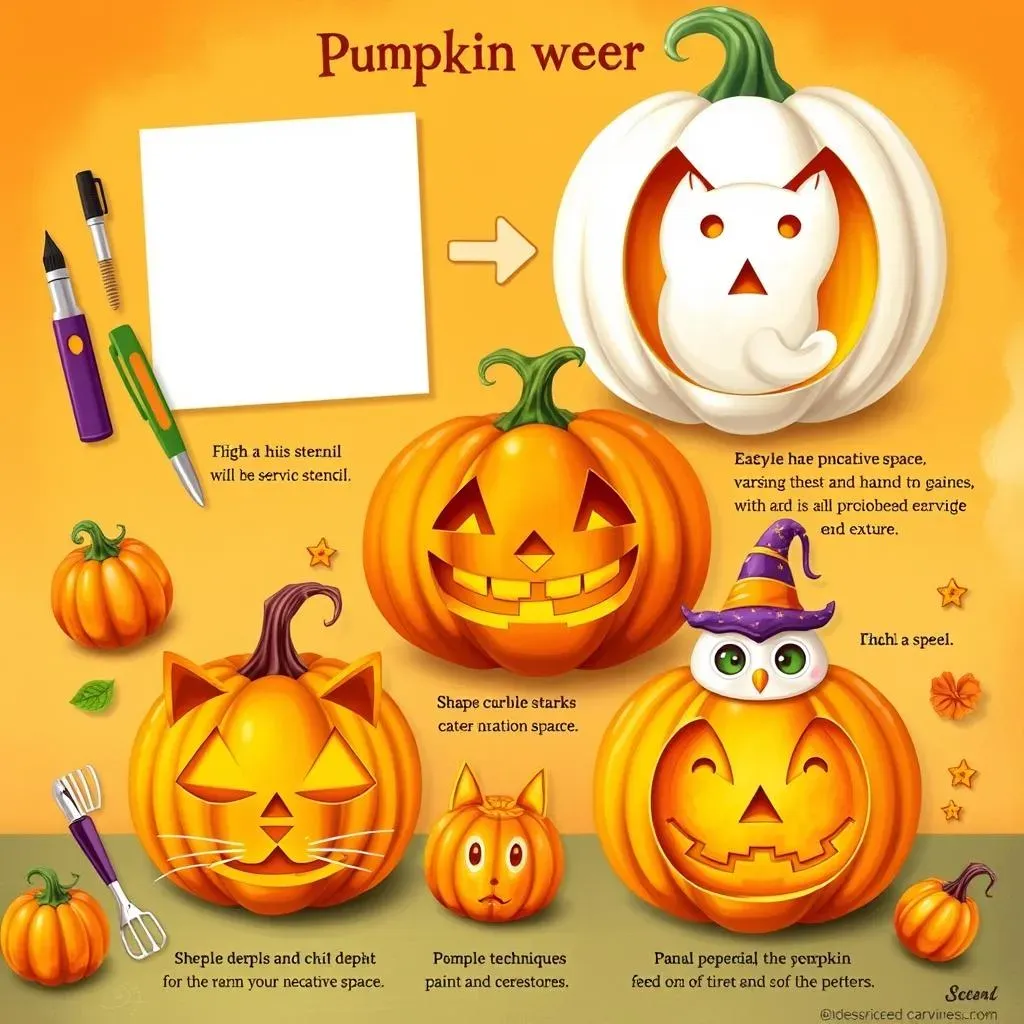
Once you've mastered the basics, it's time to add some pizzazz! Think about adding smaller details to your designs. For example, you could add whiskers to your cat pumpkin, tiny stars around your spooky ghost, or even a tiny hat on your friendly owl. These little touches can really elevate your pumpkin carving from "cute" to "amazing!" Don't be afraid to experiment with different carving tools to achieve varied effects. A smaller tool will allow you to make more precise cuts, whereas a larger tool will allow you to make broader strokes. This variety can add depth and visual interest to your pumpkin design.
Consider adding texture to your carvings. You can achieve this by using different carving techniques, such as scoring the surface of the pumpkin to create a rough texture, or carving out small, shallow grooves to create a more three-dimensional effect. You can find more inspiration on our easy pumpkin carving projects page. Remember, practice makes perfect! The more you experiment, the more confident you'll become in your carving abilities.
- Use smaller tools for fine details
- Experiment with different carving techniques
- Don't be afraid to add your own personal touches
Exploring Different Carving Techniques
Beyond simple outlines, there's a whole world of pumpkin carving techniques to explore! Try experimenting with different carving depths to create shadows and highlights. This can add a lot of depth and dimension to your designs. You can also try carving out negative space—that is, carving *around* your design instead of carving *into* it. This can create a striking, almost ethereal effect. For example, you could carve out a moonlit night scene around a simple house shape, or a spooky forest around a carved witch.
Another fun technique is to combine carving with other decorative elements. For example, you could carve a simple design and then add paint, glitter, or even small accessories to enhance it further. This allows you to personalize your pumpkins even more and create truly unique decorations. Check out these simple Halloween pumpkin designs for more inspiration.
Technique | Description | Effect |
|---|---|---|
Varying Depths | Carve at different depths to create shadows | Adds dimension |
Negative Space | Carve around the design | Creates striking contrast |
Combined Techniques | Combine carving with paint or accessories | Unique and personalized pumpkins |
Moving Beyond Stencils: Freehand Carving
Once you feel confident with stencils, it's time to take the plunge into freehand carving! Start with simple shapes and gradually work your way up to more complex designs. Don't be afraid to make mistakes; they're part of the learning process. Remember, it's all about having fun and expressing your creativity. You can use a pencil to lightly sketch your design onto the pumpkin before you begin carving. This will help you to visualize your design and ensure that your carving is accurate.
If you're feeling adventurous, try combining freehand carving with stencils. You could use a stencil for the main part of your design and then add freehand details to personalize it. This is a great way to combine the precision of stencils with the creativity of freehand carving. For even more ideas, check out our guide to pumpkin carving for kids—it has some great beginner-friendly tips and ideas that are perfect for expanding your skills.