Table of Contents
let's talk pumpkins. Every fall, they appear, round and orange, daring you to turn them into something spooky or fun. Maybe you've scrolled through social media and seen those intricate, mind-bending carvings and thought, "Yeah, right, I could never do that." Or perhaps your past attempts resulted in a sad, lopsided mess that looked less like a jack-o'-lantern and more like it lost a fight with a raccoon. You're not alone. The good news? You don't need to be a sculptor to create something cool. This article is all about basic pumpkin carving ideas – the stuff that's actually achievable without needing an art degree or specialized tools forged by ancient pumpkin masters.
Gather Your Gear: Tools for Basic Pumpkin Carving
Gather Your Gear: Tools for Basic Pumpkin Carving
The Bare Necessities: What You Actually Need
let's cut the marketing fluff. You don't need a 50-piece carving kit that looks like it belongs in a surgeon's office. For basic pumpkin carving ideas, you need just a few key things. Think simple, sharp, and safe-ish. First up, something sturdy to slice off the top (or bottom, if you're smart). A good, sharp kitchen knife works, but be careful – they can be slippery. Then, you need something to scoop out the guts. A big spoon is fine, but a dedicated pumpkin scoop with a serrated edge makes the job way faster and less disgusting. Trust me on this one.
The real workhorse for basic shapes? Small, thin saws. The kits you find everywhere usually have one or two of these. They're designed to make turns and detailed cuts without getting stuck. Avoid thick, jagged blades for your actual design cuts; they just tear the pumpkin flesh and make a mess. We're aiming for clean lines, even if the design itself is simple. These little saws are surprisingly effective once you get the hang of the back-and-forth motion.
Beyond the Spoon: Making Gutting Less Painful
Scooping out pumpkin guts is universally despised. It's slimy, stringy, and smells like... well, wet pumpkin. While a standard metal spoon is the traditional weapon of choice, it's about as efficient as digging a hole with a toothpick. This is where a specialized scoop earns its spot. Look for one with a sturdy handle and a metal edge that's slightly serrated. It scrapes the insides clean much faster, pulling out those stubborn strings and seeds without endless digging.
Some people swear by ice cream scoops, others use their bare hands (not recommended unless you enjoy that particular texture). The goal is to get the inside wall smooth enough for your light source to shine through evenly. Don't leave thick patches, or your design will look dull on those spots. Get it reasonably clean, but don't obsess over getting every single string – nobody sees the inside once it's lit up.
- A sturdy knife (for cutting the lid)
- A dedicated pumpkin scoop (or a very strong spoon)
- Small carving saws (usually found in basic kits)
- A pokey tool (like a skewer or drill bit) for transferring patterns
- A bowl for the guts and seeds
- Newspaper or drop cloth (because this is messy)
Safety First (Mostly) and Pattern Transfer
a brief, non-boring word on safety. Sharp objects and slippery, round things require attention. Always cut away from yourself. Keep your free hand out of the path of the blade or saw. If kids are helping, give them the scooping duty and handle the sharp stuff yourself. A small jab from a pumpkin saw isn't the end of the world, but a trip to urgent care because you sliced your thumb open is a buzzkill for spooky season.
Transferring your design is simple for basic pumpkin carving ideas. Draw your face or shape on a piece of paper. Tape the paper to the pumpkin. Use a pokey tool – a skewer, a nail, or even a drill bit (carefully!) – to poke small holes along the lines of your design. Space the holes fairly close together. When you remove the paper, you'll have a connect-the-dots outline on the pumpkin surface. Then, you just follow the dots with your small saw. Easy peasy, no freehand drawing skills required.
Tried and True Basic Pumpkin Carving Ideas: Classic Faces and Shapes
Tried and True Basic Pumpkin Carving Ideas: Classic Faces and Shapes
The Go-To Grin: Simple Jack-o'-Lantern Faces
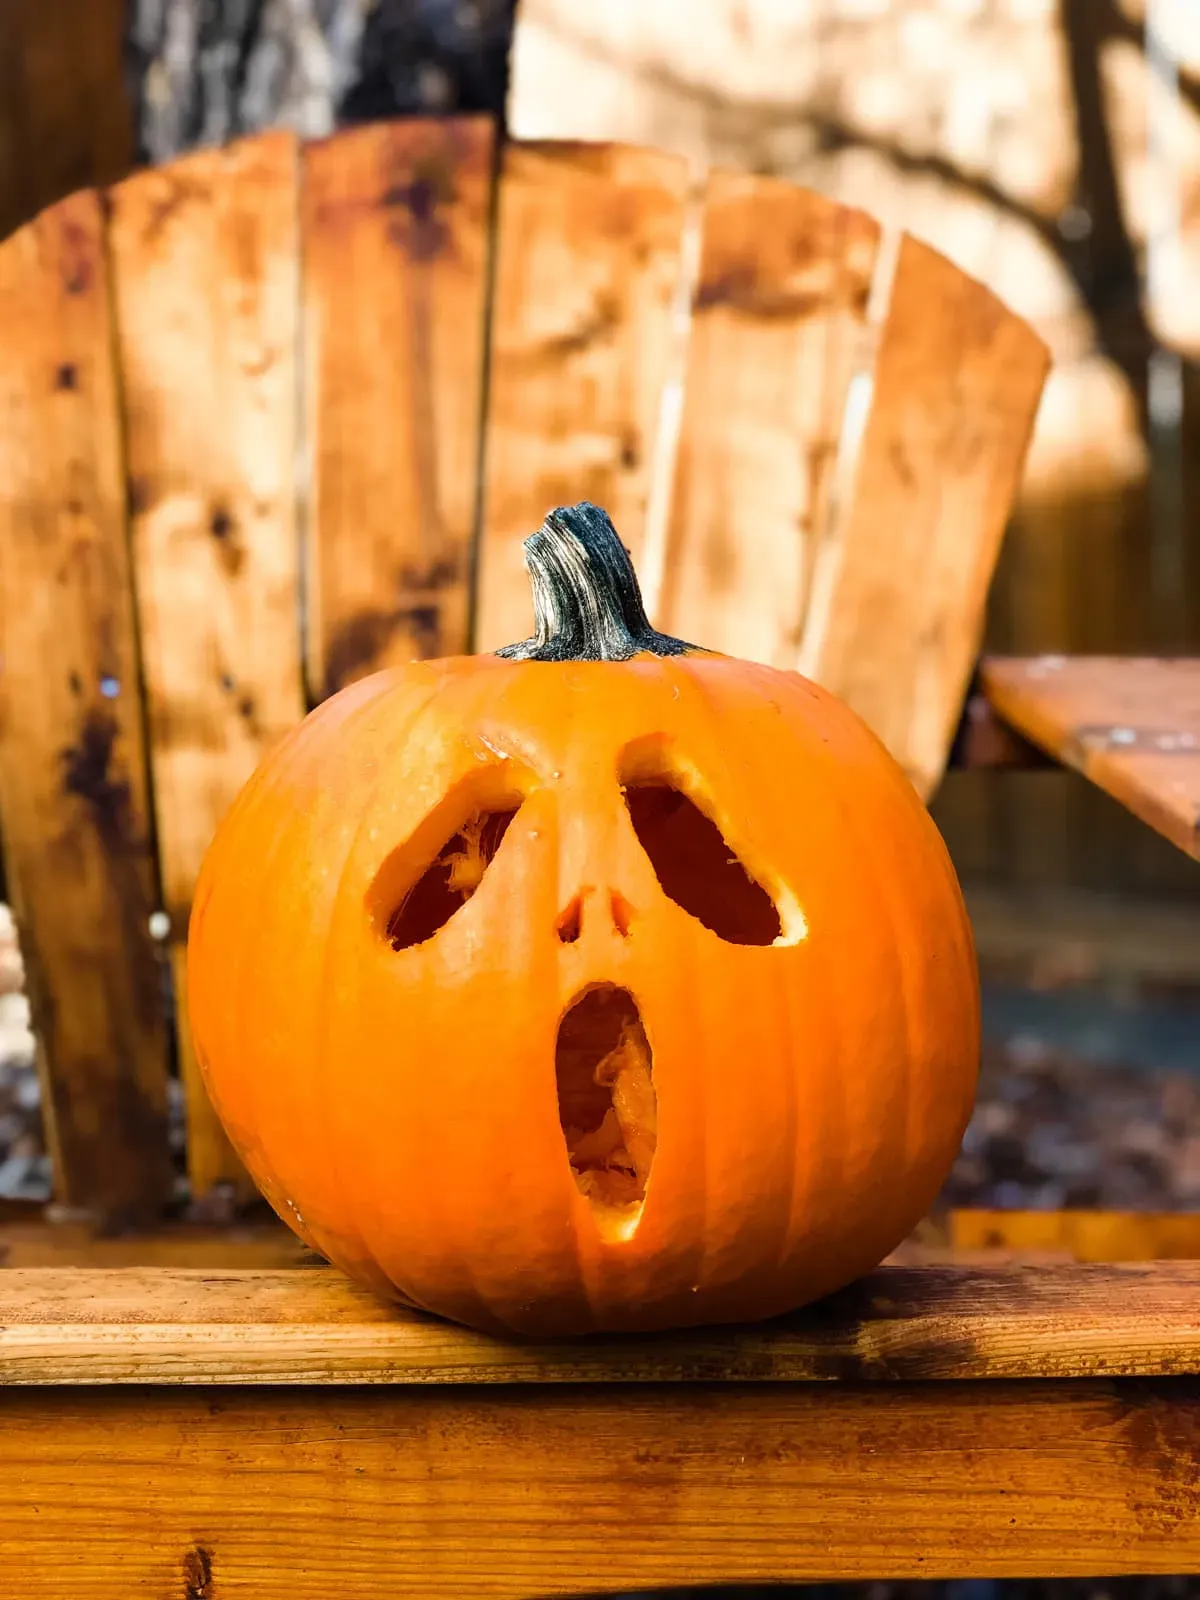
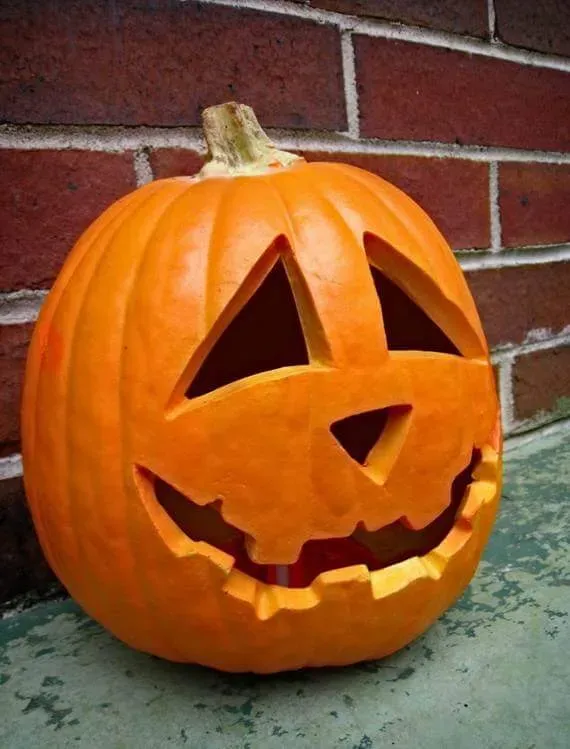
let's get real. When most people think of basic pumpkin carving ideas, they picture the classic jack-o'-lantern face. And for good reason! It's simple, recognizable, and surprisingly effective. You're looking at triangles for eyes, a triangle for a nose, and a jagged, toothy grin. That's the blueprint. It’s the baseline. You can vary the size and angle of the triangles, make the mouth wiggly or straight, add a few extra teeth or leave it open. The beauty is in the simplicity. Don't overthink it. Just make sure your lines are reasonably clean when you're sawing.
Think about the expression you want. Angry? Happy? Surprised? A few tweaks to the eye shape or mouth angle can change the whole vibe. A simple square mouth works too, or even just cutting out two circles for eyes and one for a mouth. The key is using those small saws to follow your poked outline and take your time, especially around corners. It's less about artistic flair and more about steady hands and patience.
Beyond the Face: Easy Shapes and Silhouettes
Maybe faces aren't your thing, or you want to mix it up. Basic pumpkin carving ideas aren't limited to just eyes and mouths. Simple shapes work incredibly well and can look quite sophisticated with minimal effort. Think stars, moons, bats, or even simple geometric patterns like circles and squares repeated across the pumpkin. A single large star cut out of the front can be striking, especially when lit.
Silhouettes are another easy win. Print out a simple shape – like a black cat, a ghost, or a witch on a broomstick – make it large enough to fill a good portion of the pumpkin's side, poke your outline, and carve it out. Since you're just cutting the outline, you don't need to worry about internal details. It's a straightforward cut that creates a strong visual impact. These types of basic pumpkin carving ideas are great for when you're short on time or just want something clean and graphic.
What's the easiest shape you've ever carved into a pumpkin?
Stepping Up Your Game: More Basic Pumpkin Carving Ideas with Simple Techniques
Stepping Up Your Game: More Basic Pumpkin Carving Ideas with Simple Techniques
Going Beyond the Cut-Out: Simple Etching
Alright, you've mastered the basic cut-out shapes. Feeling a little bolder? You don't have to cut all the way through the pumpkin wall to create cool effects. Etching is your next step, and it's still very much in the realm of basic pumpkin carving ideas. Instead of sawing through, you're just scraping away the top layer of the pumpkin skin. This reveals the lighter flesh underneath. It creates a different kind of glow when lit, more subtle and shaded.
How do you do it? You can use various tools. A linoleum cutter (like for block printing) works well, as do some of the loop tools found in slightly more advanced carving kits. Even a sturdy spoon edge or a dull knife can scrape. Draw your design (maybe some swirling lines, stars, or even simple text) directly onto the pumpkin or transfer it with the poke method, then carefully scrape away the skin within your lines. Vary the depth of your scrape for different light effects – deeper scrapes let more light through. It adds texture and detail without the risk of your design collapsing.
Using Stencils and Cookie Cutters for Precision
Let's be honest, not everyone has a steady hand, and that's perfectly fine. Basic pumpkin carving ideas can get a boost from simple aids. Stencils aren't just for spray paint. You can tape a stencil onto your pumpkin and use your pokey tool to transfer the outline, just like with a freehand drawing. This guarantees symmetrical shapes and clean lines for things like letters, numbers, or more complex silhouettes.
Even easier? Metal cookie cutters. Small ones work best. Place the cookie cutter against the pumpkin surface and whack the back of it with a rubber mallet or the heel of your hand. With a bit of force, it will cut right through the pumpkin wall, leaving a perfectly formed shape. This is fantastic for repeating patterns like small stars, circles, or even little ghosts. It's fast, efficient, and gets perfect results every time. Just make sure the pumpkin wall isn't too thick where you're trying to use the cutter.
Technique | Tools Needed | Effect |
|---|---|---|
Basic Cut-Out | Small saw, pokey tool | Bright, defined shapes |
Etching | Scraping tool (linoleum cutter, spoon edge) | Subtle, shaded glow |
Cookie Cutter | Metal cookie cutter, mallet/hand | Perfect, repeated shapes |
Adding Depth with Simple Layering
Want your basic pumpkin carving ideas to look a little more dynamic? Try simple layering. This means cutting away different depths of the pumpkin wall. For instance, you might cut out the main shape of a window, but then etch away the area around it to create a frame effect. Or, carve out the basic shape of a ghost, and then etch some wavy lines inside it to suggest movement without cutting all the way through.
This technique still uses your basic tools – the small saw for the full cut-outs and a scraping tool for the etching. It just requires you to think about your design in layers. What parts do you want to glow brightest (cut all the way through)? What parts do you want to have a softer glow (etch the skin)? What parts stay dark? Planning these simple layers adds visual interest and makes your design pop, moving it beyond just a flat image on the pumpkin surface.
Finishing Strong: Lighting and Preserving Your Carved Pumpkin
Finishing Strong: Lighting and Preserving Your Carved Pumpkin
Bringing Your Creation to Life: Lighting Options
So, you've put in the work, tackled those basic pumpkin carving ideas, and now you have this amazing (or at least, not terrible) carved gourd sitting on your table. It looks okay in daylight, sure, but a carved pumpkin isn't finished until it glows. This is where the magic happens. The classic choice is, of course, a candle. A simple tea light works just fine. Just make sure it's placed safely in the center and that the lid has a vent hole so the heat doesn't build up and cook your pumpkin from the inside out (yes, that happens).
However, candles are a fire hazard, especially if your pumpkin is on a wooden porch or near dry leaves. And they can be a pain to keep lit in the wind. This is why LED lights are a game-changer for basic pumpkin carving ideas. You can get battery-operated tea lights that flicker like a real flame, or brighter LED puck lights. They're safe, they stay lit, and some even change color if you're feeling fancy. Pop one inside, put the lid back on, and step back. All those simple shapes and cuts you made suddenly come alive, casting spooky or cheerful shadows.
Fighting the inevitable: Keeping Your Pumpkin Fresh(ish)
Here's the hard truth: carved pumpkins are on a one-way trip to moldy, collapsed sadness. You can't stop it completely, but you can definitely slow down the process. The enemy is drying out and bacteria. Once the protective skin is broken, the clock starts ticking.
A simple trick is to coat all the cut edges with petroleum jelly (Vaseline). It seals in moisture and creates a barrier against some of the airborne nasties. Reapply it every day or two. Some people swear by spraying the inside and cut edges with a bleach solution (about one teaspoon of bleach per quart of water), but be careful not to get it on surfaces you care about. Keeping the pumpkin in a cooler spot, like a porch or garage, rather than directly in warm sunlight, also helps extend its life. Think of it as hospice care for your gourd – making its final days a little more pleasant before it becomes compost.
- Coat cut edges with petroleum jelly daily.
- Consider a light bleach/water spray (use caution).
- Keep the pumpkin out of direct sunlight and heat.
- Bring it inside during freezing temperatures.
- Accept that it won't last forever (usually 3-7 days carved).
Wrapping Up Your Pumpkin Carving Adventure
So there you have it. You've tackled the guts, made some simple cuts, and hopefully avoided losing a finger in the process. We covered the basic kit you need, ran through some foolproof basic pumpkin carving ideas like the classic toothy grin or simple geometric shapes, and talked about making those cuts clean. Remember, the goal here wasn't to create a museum piece, but something fun for your doorstep that doesn't require a professional toolkit or a week off work. Lighting it right makes a huge difference, and a little protection helps it last a bit longer. Don't sweat the imperfections; that's part of the charm. Now go admire your work and maybe think about what simple design you'll try next year.