Table of Contents
Halloween is creeping closer, and that means it's time to think about pumpkins! Forget the same old triangle eyes and toothy grin – this year, let's unleash some serious creativity. Are you ready to transform those orange gourds into stunning works of art? Get ready to dive headfirst into a world of awesome pumpkin decorating ideas! Whether you're a seasoned carving pro or prefer to keep things mess-free with no-carve designs, we've got something for everyone. In this guide, we're dishing out a cauldron full of inspiration, from elegant painted pumpkins to downright spooky carved masterpieces. We'll explore easy-to-follow techniques, share tips for making your pumpkins last longer, and even suggest themed ideas to match your Halloween vibe. So, grab your pumpkins, gather your supplies, and prepare to be amazed by the possibilities. Let's get this gourd-geous party started and discover some truly awesome pumpkin decorating ideas that will make your doorstep the envy of the neighborhood!
NoCarve Awesome Pumpkin Decorating Ideas: Unleash Your Creativity
NoCarve Awesome Pumpkin Decorating Ideas: Unleash Your Creativity
Paint, Pens, and Patterns: Easy No-Carve Magic
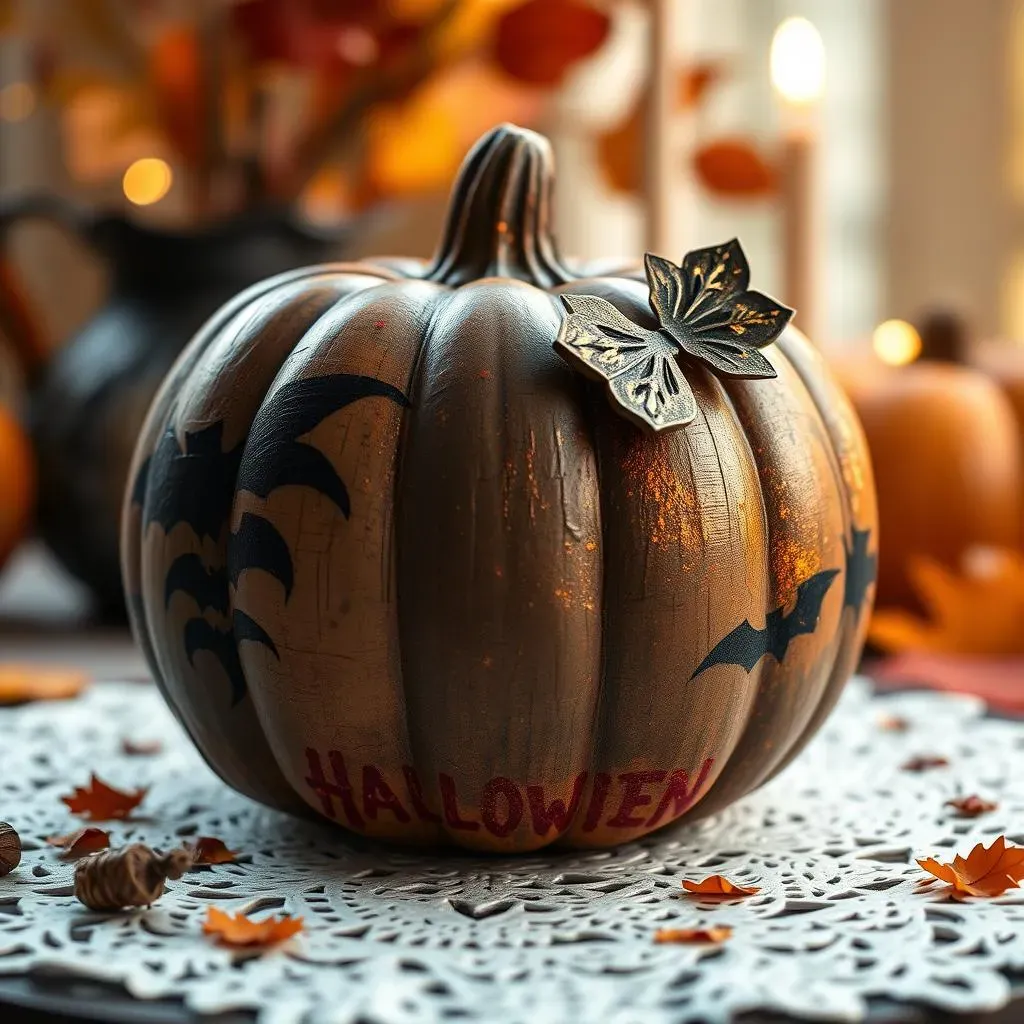
Alright, listen up! Forget the knives and the mess. We're diving into the world of no-carve pumpkins, and trust me, it's where the real magic happens. Think paint, glitter, googly eyes, and all sorts of crafty goodness. You can create some seriously stunning pumpkins without risking a trip to the emergency room. So, if you are looking for no carve awesome pumpkin decorating ideas, this is it!
Grab some acrylic paints in your favorite Halloween colors – black, orange, purple, green – and let your imagination run wild. Polka dots? Stripes? Spooky silhouettes? The possibilities are endless. Or, if you're feeling extra fancy, try using paint pens for intricate designs. Mandalas, spiderwebs, even your favorite Halloween quotes – nothing's off-limits!
- Acrylic Paints: Versatile and easy to use.
- Paint Pens: Perfect for detailed designs.
- Glitter: Because everything's better with glitter!
- Googly Eyes: Instant personality for your pumpkin.
Decoupage and Dimension: Taking No-Carve to the Next Level
Want to add some texture and dimension to your no-carve creations? Decoupage is your new best friend. All you need is some Mod Podge, some cool paper (think vintage book pages, maps, or even fabric scraps), and a little bit of patience. Simply cut out your desired shapes, glue them onto your pumpkin, and seal it all with another layer of Mod Podge. Boom! Instant sophistication.
And if you're really feeling ambitious, why not add some 3D elements? Hot glue is your ally here. Think buttons, beads, sequins, faux leaves, or even small plastic spiders. The goal is to create a pumpkin that's not just visually appealing, but also tactile and engaging. Let's face it, everyone will want to touch your masterpiece!
Technique | Materials | Effect |
|---|---|---|
Decoupage | Mod Podge, paper, scissors | Vintage, textured look |
3D Embellishments | Hot glue, buttons, beads, etc. | Adds depth and interest |
Creative Carving: Taking Your Awesome Pumpkin Decorating to the Next Level
Creative Carving: Taking Your Awesome Pumpkin Decorating to the Next Level
Beyond the Basic Triangle: Elevating Your Carving Game
so you're ready to ditch the cookie-cutter pumpkin faces and dive into some seriously impressive carving? Awesome! This is where things get really interesting. Forget the basic triangle eyes and the jagged smile. We're talking intricate designs, 3D effects, and pumpkins that are practically works of art. This section is all about unlocking your inner sculptor and taking your awesome pumpkin decorating to the next level.
First things first: you'll need the right tools. That cheap plastic carving kit from the drugstore? Toss it. Invest in a good set of carving tools, including a variety of saws, gouges, and scrapers. Trust me, it'll make a world of difference. Also, grab some stencils or templates to help guide your designs. You can find tons of free ones online, or even create your own!
Shading and Sculpting: Adding Depth and Dimension
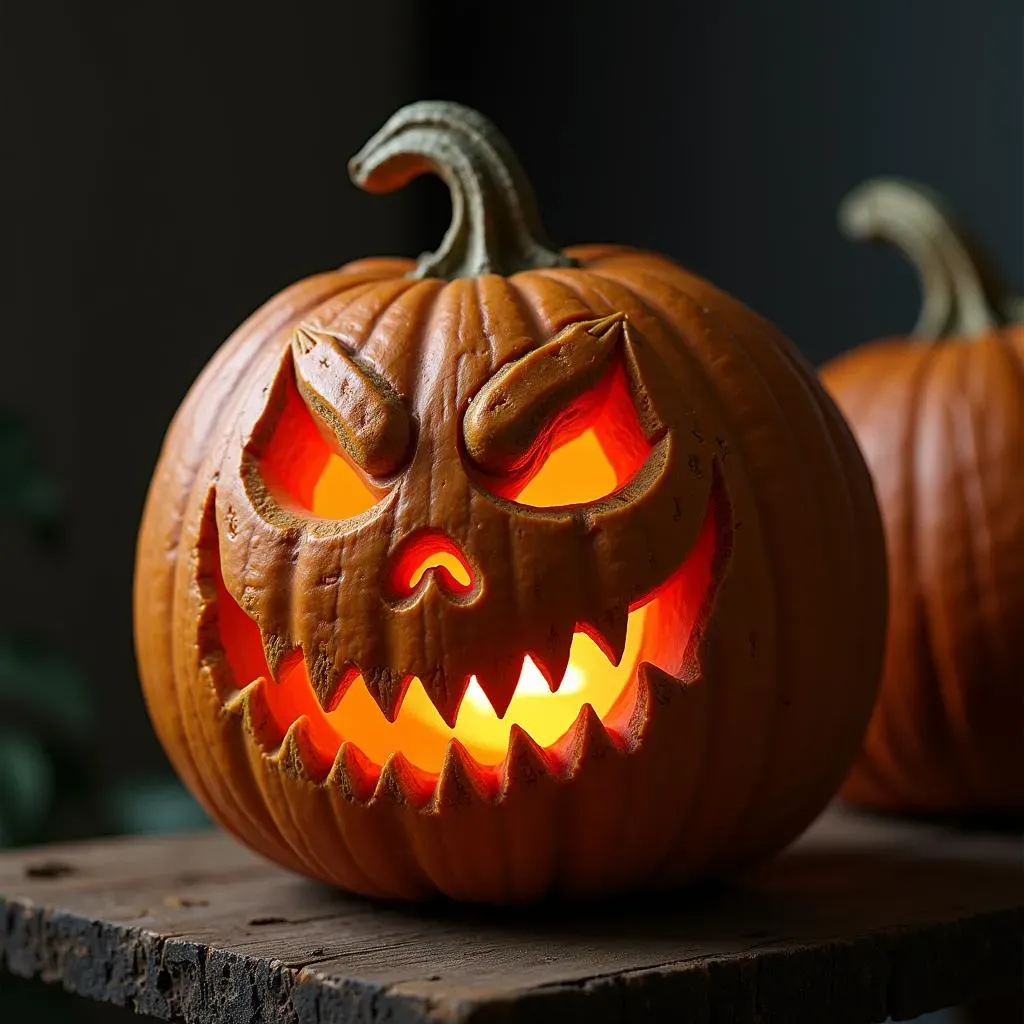
The key to truly stunning carved pumpkins is to think in terms of light and shadow. Instead of just cutting all the way through the pumpkin, try varying the depth of your cuts to create different levels of illumination. This is called shading, and it's what will give your pumpkin that 3D effect. Use a small gouge or scraper to thin the pumpkin's flesh in certain areas, allowing more light to shine through.
Sculpting is another way to add dimension to your carvings. Use your tools to shape and mold the pumpkin's surface, creating raised areas and recessed details. For example, you could carve a realistic-looking face with defined cheekbones and a furrowed brow. Or, you could create a spooky scene with gnarled trees and creepy creatures. The possibilities are endless!
Technique | Description | Effect |
|---|---|---|
Shading | Varying the depth of cuts to control light | Creates a 3D effect |
Sculpting | Shaping and molding the pumpkin's surface | Adds dimension and detail |
Painted Pumpkins: Artistic Awesome Pumpkin Decorating Ideas
Painted Pumpkins: Artistic Awesome Pumpkin Decorating Ideas
Unleash Your Inner Artist: Painted Pumpkin Masterpieces
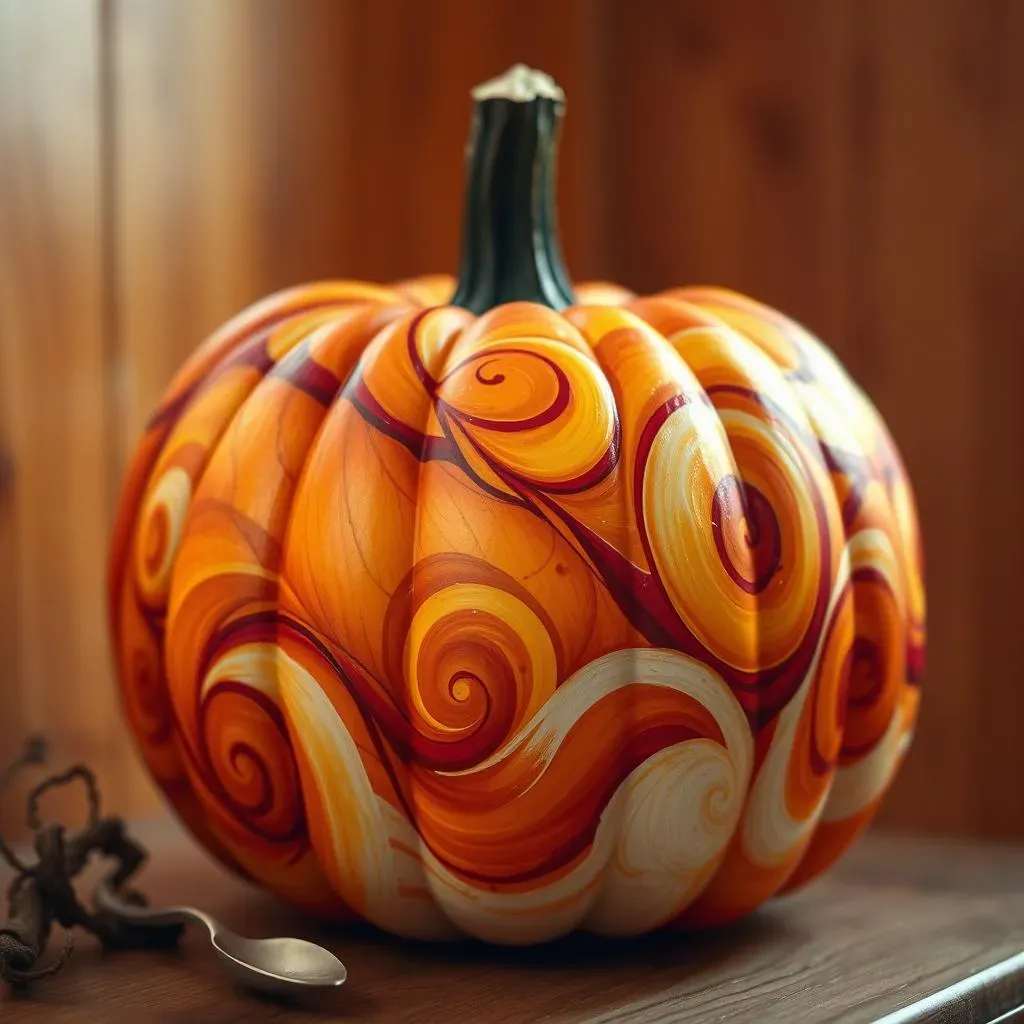
Alright, so you're not into carving? No problem! Painting pumpkins is where it's at for artistic expression. Think of your pumpkin as a blank canvas just waiting for your creative touch. With the right paints, brushes, and a little imagination, you can transform a plain old pumpkin into a stunning work of art. This is your chance to really let your personality shine and create some truly awesome pumpkin decorating ideas. Are you ready to get painting?
First things first, gather your supplies. Acrylic paints are your best bet – they're durable, vibrant, and easy to work with. You'll also want a variety of brushes, from large ones for covering broad areas to small, fine-tipped ones for intricate details. Don't forget a palette for mixing your colors, a cup of water for cleaning your brushes, and some paper towels for blotting up spills. And if you're feeling extra fancy, grab some stencils, stamps, or even some painter's tape for creating clean lines and geometric designs.
- Acrylic Paints: Vibrant and durable.
- Variety of Brushes: For different effects.
- Stencils & Stamps: For precise designs.
- Painter's Tape: For clean lines.
Techniques and Textures: Taking Your Painted Pumpkins to the Next Level
Once you've got your supplies, it's time to start experimenting with different techniques and textures. One popular technique is ombre painting, where you gradually blend one color into another. This creates a beautiful, gradient effect that's perfect for pumpkins. Another fun technique is splattering, where you flick paint onto the pumpkin for a more abstract and textured look. Just be sure to protect your work surface first!
You can also use sponges, rags, or even crumpled paper to create different textures on your painted pumpkins. Try dabbing paint onto the pumpkin with a sponge for a stippled effect, or dragging a rag across the surface for a distressed look. The possibilities are endless! And if you're feeling really adventurous, why not try adding some mixed media elements, like glitter, sequins, or even small pieces of fabric? The goal is to create a pumpkin that's not just visually appealing, but also tactile and engaging.
Technique | Description | Effect |
|---|---|---|
Ombre Painting | Blending colors gradually | Gradient effect |
Splattering | Flicking paint onto the pumpkin | Abstract texture |
Sponge Painting | Dabbing paint with a sponge | Stippled texture |
Themed Pumpkins: Awesome Pumpkin Decorating Ideas for Every Style
Themed Pumpkins: Awesome Pumpkin Decorating Ideas for Every Style
Movie Magic: Pumpkins Inspired by Your Favorite Films
movie buffs, this one's for you! Why settle for a generic jack-o'-lantern when you can pay homage to your favorite films? Think "Nightmare Before Christmas" pumpkins with intricate Jack Skellington carvings, or "Harry Potter" pumpkins adorned with the Hogwarts crest. You could even create a whole scene from "Jurassic Park" with a T-Rex pumpkin chasing a tiny Jeep! The key is to choose a movie that you're passionate about and let your creativity run wild. Don't be afraid to use stencils, paint, and other embellishments to bring your cinematic vision to life. This is your chance to show off your fandom and create some truly awesome pumpkin decorating ideas that will impress all your friends.
For a more subtle approach, consider using color palettes and design elements inspired by your chosen film. For example, a pumpkin decorated with shades of blue and silver could evoke the icy landscapes of "Frozen," while a pumpkin adorned with earthy tones and tribal patterns could pay tribute to "Avatar." Get creative with your materials too! Use twigs and leaves to create a "Lord of the Rings"-inspired Ent pumpkin, or use metallic paint and gears to build a steampunk "Mad Max" pumpkin. The possibilities are as endless as your movie collection!
- Nightmare Before Christmas: Jack Skellington carvings.
- Harry Potter: Hogwarts crest, golden snitches.
- Jurassic Park: T-Rex chasing a Jeep.
- Frozen: Shades of blue and silver.
- Avatar: Earthy tones and tribal patterns.
Spooky and Spectacular: Classic Halloween Themes with a Twist
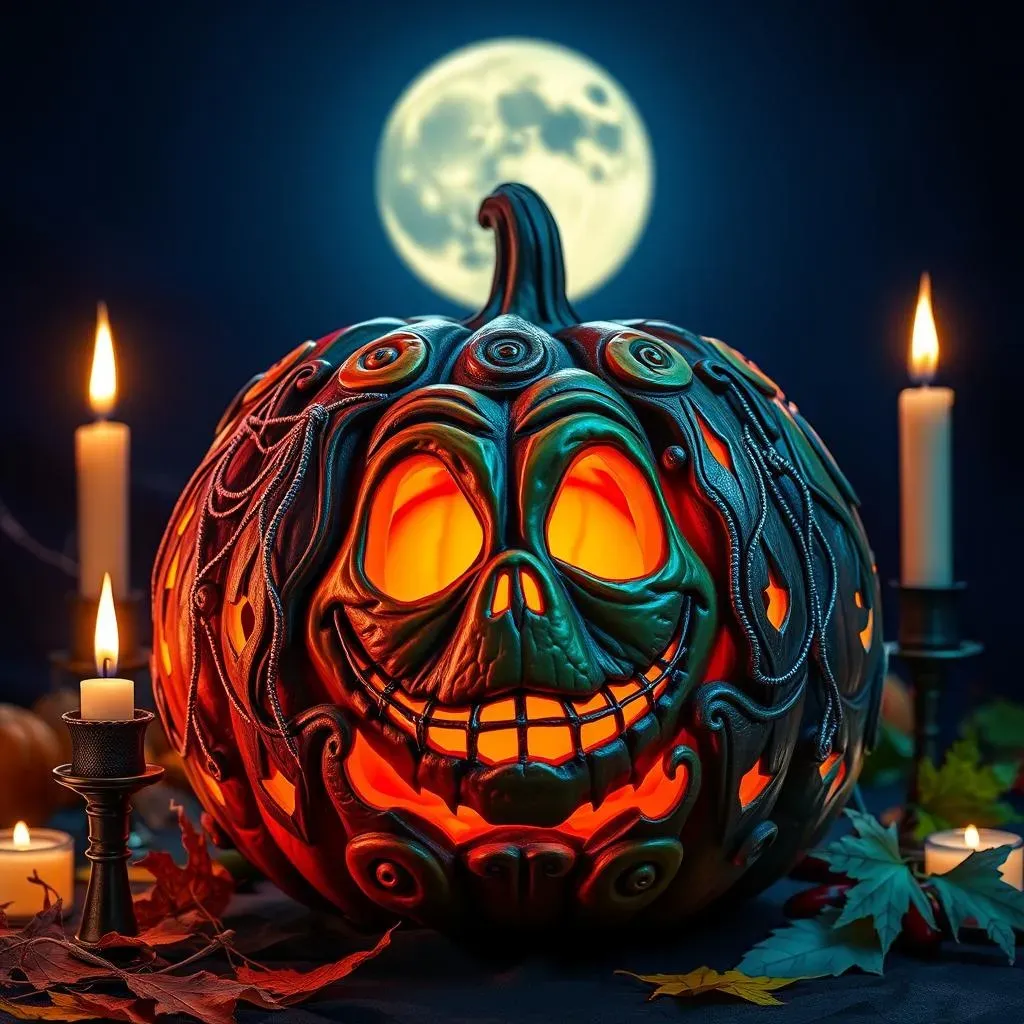
Sometimes, you just can't beat the classics. But that doesn't mean you can't put your own spin on traditional Halloween themes. Instead of a basic ghost pumpkin, try creating a ghostly silhouette using glow-in-the-dark paint. Or, instead of a simple spiderweb carving, create a 3D spiderweb using yarn and hot glue. You could even create a whole graveyard scene on your pumpkin, complete with tombstones, skeletons, and spooky trees. The goal is to take familiar Halloween motifs and elevate them with creative techniques and materials. Let's face it, even the spookiest themes can benefit from a little bit of innovation! These are awesome pumpkin decorating ideas that will sure to be appreciated by everyone.
Another way to add a twist to classic themes is to play with color. Instead of the traditional orange and black, try using a more unexpected color palette, like purple and green, or silver and gold. You could even create a rainbow-colored monster pumpkin! And don't forget about texture. Use different materials, like burlap, lace, or even feathers, to add depth and interest to your spooky creations. The key is to have fun and experiment until you find a style that's uniquely yours.
Theme | Classic Approach | Twisted Approach |
|---|---|---|
Ghosts | Simple white sheet ghost | Glow-in-the-dark silhouette |
Spiderwebs | Basic carved web | 3D yarn web |
Graveyard | Tombstones and skeletons | Miniature graveyard scene |
Conclusion: Your Awesome Pumpkin Decorating Masterpiece Awaits!
So there you have it – a treasure trove of awesome pumpkin decorating ideas to inspire your Halloween creativity! From the intricate artistry of carving to the simple elegance of painted designs and the endless possibilities of no-carve techniques, you're now armed with the knowledge to transform ordinary pumpkins into extraordinary seasonal statements. Remember, the most important ingredient is your imagination. Don't be afraid to experiment, try new things, and most of all, have fun! This Halloween, let your pumpkins shine as a reflection of your unique style and spirit. Happy decorating!