Table of Contents
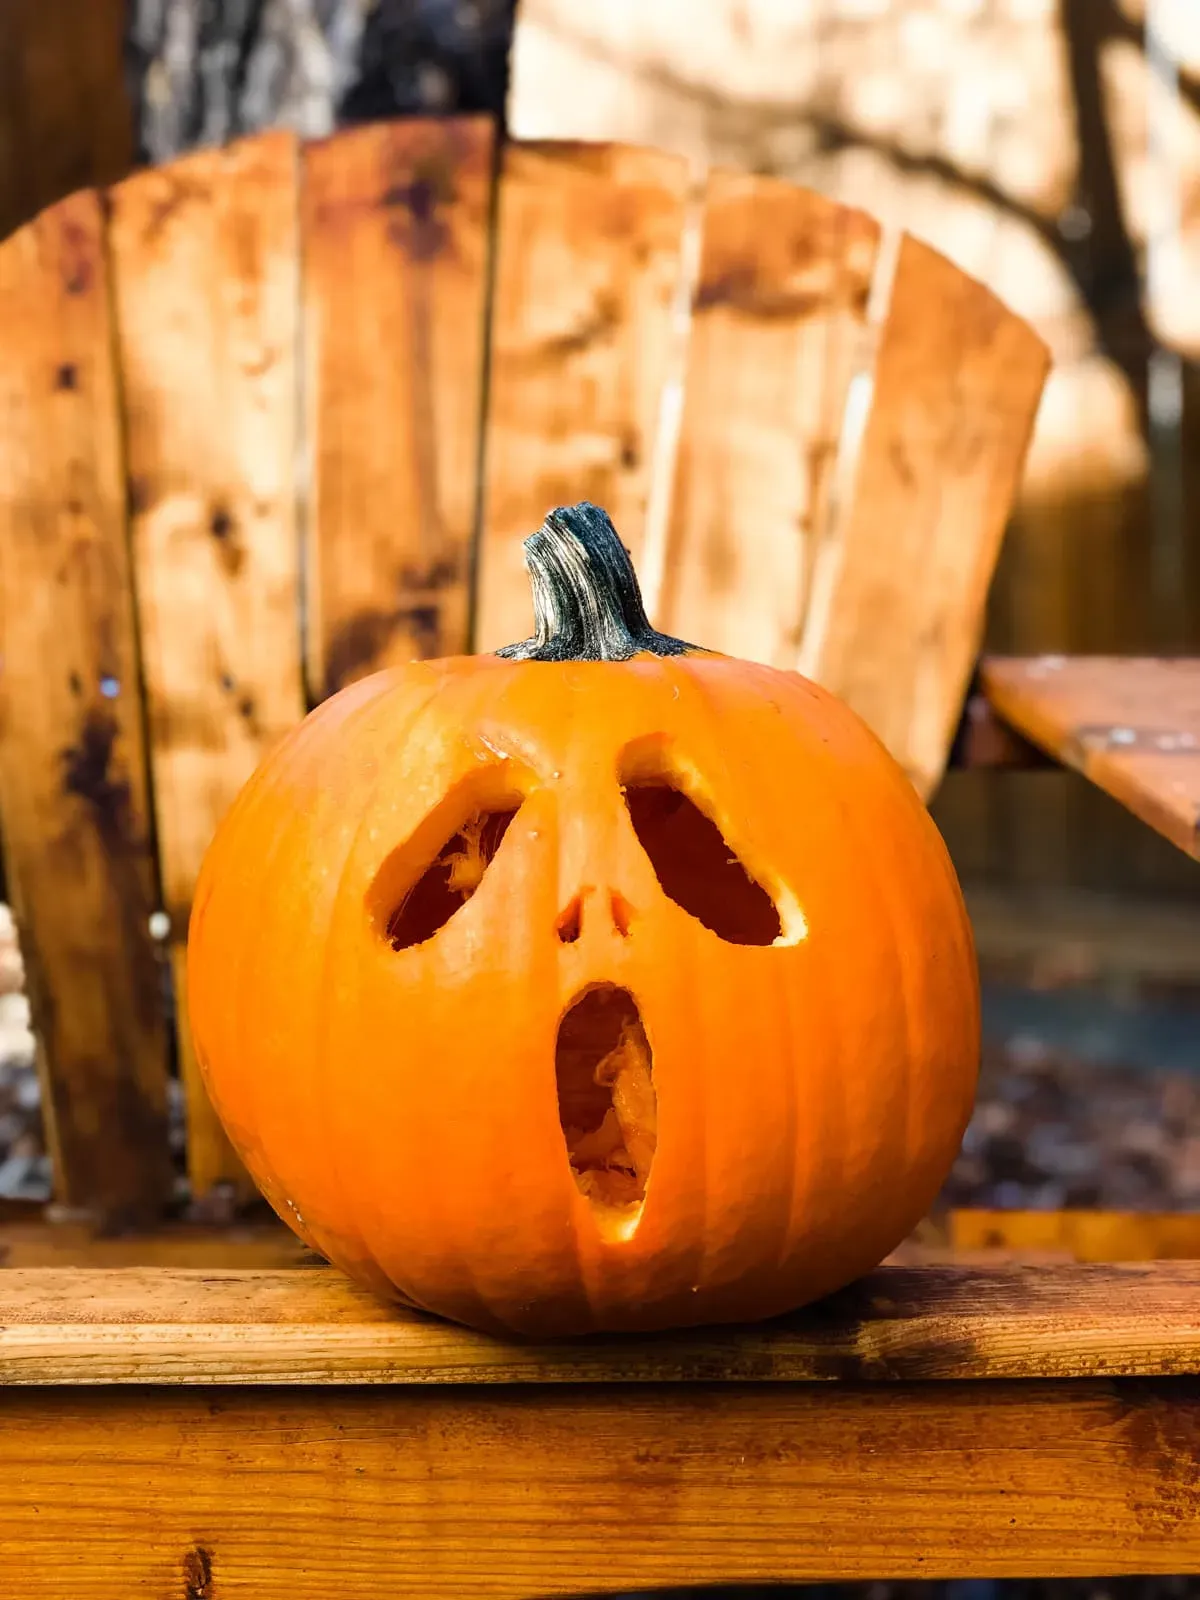
Alright, let's talk pumpkins. Every fall, the pressure's on to create some kind of gourd-based masterpiece. You see those intricate carvings online, all shadowed depth and terrifying detail, and think, "Yeah, I can do that." Then you buy the cheap carving kit, stab the pumpkin a few times, realize it's way harder than it looks, and end up with a lopsided, slightly pathetic jack-o'-lantern that looks less spooky and more... sad. We've all been there. The kitchen counter looks like a pumpkin guts crime scene, and your artistic dreams are in tatters.
Why Go Easy? The Appeal of Awesome Easy Pumpkin Carving Ideas

Why Go Easy? The Appeal of Awesome Easy Pumpkin Carving Ideas
Look, let's be honest. Not everyone has the steady hand of a surgeon or the patience of a saint when it comes to hacking into a gourd. You see the pros on TV making it look effortless, creating these elaborate scenes, and think, " I'll just whip up a detailed haunted mansion." Then you're twenty minutes in, your fingers are cramped, the saw blade snapped, and you've got a hole where an intricate window was supposed to be. That's where the appeal of focusing on Why Go Easy? The Appeal of Awesome Easy Pumpkin Carving Ideas really hits home. It's about getting a result that looks fantastic, gets compliments, and doesn't require a trip to the emergency room or an advanced degree in squash sculpting. Easy doesn't mean lame; it means achievable, less stressful, and frankly, more fun when you're not battling a stubborn rind or mourning a broken design.
KnifeFree Zone: Seriously Awesome Easy Pumpkin Carving Ideas
KnifeFree Zone: Seriously Awesome Easy Pumpkin Carving Ideas
Beyond the Blade: Why Knife-Free is Your New Best Friend
let's get radical. Who says you even need a knife to make an awesome pumpkin? Seriously, stepping away from the sharp objects opens up a whole world of possibilities, and honestly, it's a lot safer, especially if you've got little hands involved or just prefer keeping all your fingers intact. This is where the "easy" in awesome easy pumpkin carving ideas really shines. Think about it: no wrestling with tough rinds, no accidental slips, just pure, unadulterated decorating fun. You can achieve incredible effects using things you probably already have lying around the house.
Stick, Paint, & Poke: Simple Techniques for Big Impact
So, what can you do without carving? A lot, actually. Painting is the obvious one, but forget the messy brushes if you want truly awesome easy pumpkin carving ideas results. Grab some spray paint for a quick, even base coat – matte black, glossy white, or even metallics look fantastic. Then, use stencils (store-bought or homemade) and contrasting colors. Markers, especially paint pens, are your friend for detail work or drawing faces. Hot glue is surprisingly versatile; you can glue on yarn for hair, buttons for eyes, bottle caps for teeth. Push pins, nails, or even drill bits (carefully!) can create patterns of small holes that look amazing when lit from within, giving a starry night or textured effect without removing any material.
My neighbor, Brenda, last year just covered a small pumpkin entirely in googly eyes. Sounds silly, right? But under the porch light, it was genuinely creepy and hilarious. Took her ten minutes, maximum. Meanwhile, I was still trying to saw out a wonky tooth on mine.
Here are some go-to knife-free materials:
- Spray Paint (quick base)
- Acrylic Paints & Paint Pens (details, fine lines)
- Hot Glue Gun & Glue Sticks (attaching anything)
- Googly Eyes (instant personality)
- Yarn, String, Ribbon (hair, webs, decorative wraps)
- Buttons, Bottle Caps, Screws (features, texture)
- Push Pins, Nails, Drill Bits (creating hole patterns)
- Stencils (shapes, letters)
- Glitter (because why not?)
Layering and Lighting: Making Your Knife-Free Creation Pop
Don't stop at just one technique. The real magic happens when you layer things up. Paint a base color, then stencil on a design, add some googly eyes with hot glue, and maybe push some pins in a pattern around the stem. The combination makes it look much more complex than it was. And for lighting, ditch the candles if you used flammable materials like cotton balls for cobwebs. LED tea lights are cheap, safe, and last a long time. Pop one inside, and those pinprick holes or painted features really come alive. Knife-free doesn't mean light-free, and the right illumination takes your awesome easy pumpkin carving ideas from craft project to spooky display.
Classic Cuts Made Simple: Awesome Easy Pumpkin Carving Ideas with a Blade
Classic Cuts Made Simple: Awesome Easy Pumpkin Carving Ideas with a Blade
Rethinking the Traditional Jack-o'-Lantern
so maybe going entirely knife-free feels like cheating, or you just really want that classic carved look. Fair enough. The problem isn't the knife itself; it's usually the overly ambitious design you try to tackle with inadequate tools and zero practice. We're talking about those intricate spiderwebs or hyper-realistic portraits that belong in a professional studio, not on your wobbly porch railing. To get genuinely awesome easy pumpkin carving ideas going with a blade, you have to scale back and think smart, not complex. It's about mastering a few simple cuts and shapes that look effective when lit, rather than trying to replicate the Sistine Chapel on a gourd.
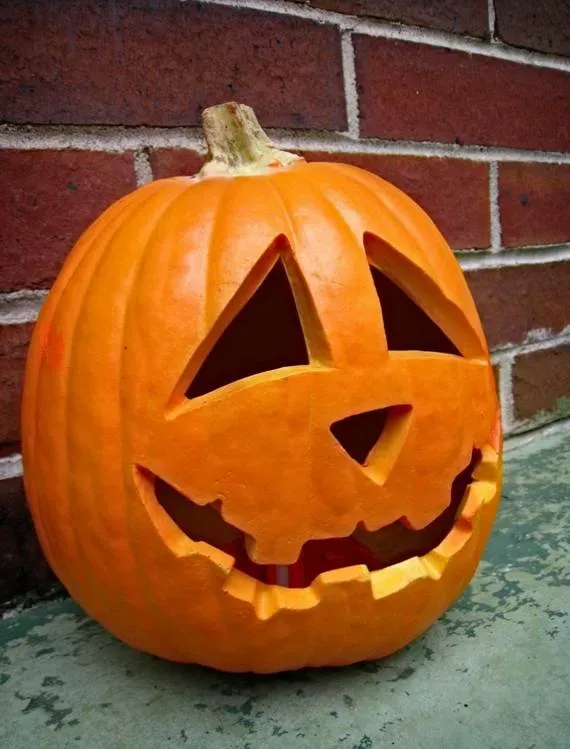
Simple Shapes, Maximum Spook
Forget tiny details and delicate lines. Big, bold shapes are your friend. Think classic triangles for eyes and a jagged grin. These are easy to cut and read well from a distance, especially at night. Circles are slightly harder but still manageable with a good tool. Stars, simple crescent moons, or even just punching out patterns of different sized holes can look incredibly effective and require minimal precision. You can also use cookie cutters – just hammer them through the pumpkin rind (carefully!) for perfectly uniform shapes. This bypasses the freehand struggle entirely and is a total game-changer for awesome easy pumpkin carving ideas.
Here are some simple shapes that work wonders:
- Large Triangles (Eyes, Noses)
- Jagged Lines (Mouths, Hair)
- Circles (Eyes, Polka Dots, O's)
- Stars (Use a cookie cutter!)
- Crescent Moons
- Different Sized Drilled Holes (Patterns)
Tips for a Cleaner Cut and Less Frustration
Even with simple shapes, the actual cutting can be a mess. First, always cut from the inside out if possible, especially for smaller details (though we're aiming for simple, remember?). Keep your saw blade clean; pumpkin gunk gums it up fast. Wiping it down with a damp cloth helps. Don't force the blade; let the saw do the work with a back-and-forth motion. If you hit a tough spot, try wiggling the blade slightly or approaching from a different angle. And for Pete's sake, use a dedicated pumpkin carving kit, not your mom's best kitchen knife. Those little saws are designed for this specific misery. Cutting off the bottom instead of the top makes placing the light easier and keeps the stem intact for a better look, plus the sides are usually less sloped, making designs simpler to execute. These small tweaks make the difference between a triumphant reveal and a sad, cracked mess.
Tools Beyond the Kit: Elevating Your Easy Pumpkin Designs
Tools Beyond the Kit: Elevating Your Easy Pumpkin Designs
Why Relying Solely on the Boxed Set is a Mistake
you bought the little orange box with the tiny saws and scoop. That's a start, sure. But thinking that's all you need for genuinely awesome easy pumpkin carving ideas is like bringing a plastic spork to a steak dinner. Those tools are flimsy, they break easily, and they limit you to basic, often frustrating cuts. If you want to move beyond the kindergarten-level jack-o'-lantern without adding complexity, you need to look outside the kit. Real tools, even simple ones you might already own, make the process smoother, safer, and open up possibilities for cleaner lines and more interesting textures.
Everyday Objects That Become Carving Superstars
Look around your house. There's probably a treasure trove of potential pumpkin tools. A basic drill with different sized bits? Perfect for creating patterns of holes that look like stars or abstract designs when lit. Apple corers or melon ballers can punch out perfect circles. Wood carving tools or linoleum cutters offer different blade shapes for scraping away just the skin (etching) instead of cutting all the way through, adding depth without intricate detail. Even a sturdy Philips head screwdriver can be twisted to create interesting indentations. These aren't specialized, expensive gadgets, but they offer control and capability far beyond those little plastic saws, making your awesome easy pumpkin carving ideas look way more polished.
Consider these non-kit heroes:
- Electric Drill & Various Bits (for hole patterns)
- Apple Corer or Melon Baller (for perfect circles)
- Wood Carving Chisels or Linoleum Cutters (for etching/skin removal)
- Sturdy Screwdrivers (for indentations and texture)
- Cookie Cutters (metal ones you can tap with a mallet)
- Clay Sculpting Tools (for scraping and shaping)
Adding Texture and Detail Without the Hassle
Using tools like etching blades or even just scraping with a sturdy spoon allows you to remove just the outer layer of the pumpkin skin. This technique, called etching or scraping, is fantastic for adding detail like hair texture, scars, or simple outlines without the risk of your saw blade breaking through where you don't want it to. When the pumpkin is lit, these scraped areas glow with a different intensity than the fully carved sections, creating subtle but effective contrast. It's a low-effort way to add a professional touch to your awesome easy pumpkin carving ideas. As my uncle, who used to carve competition pumpkins (the truly insane kind), once told me, "Sometimes the best cut isn't a cut at all."
Keeping It Fresh: Making Your Awesome Easy Pumpkin Carving Ideas Last

Keeping It Fresh: Making Your Awesome Easy Pumpkin Carving Ideas Last
you’ve put in the minimal effort for maximum impact with your awesome easy pumpkin carving ideas, whether you went knife-free or stuck to simple shapes. Now, the cruel reality: pumpkins are organic, and they don't last forever sitting on your porch, especially once you've breached their rind. Mold, rot, and general sad deflation are the enemies. Nobody wants their fantastic, low-effort creation to turn into a science experiment after just a couple of days. Keeping It Fresh: Making Your Awesome Easy Pumpkin Carving Ideas Last isn't about applying some magic spray that makes them immortal, but there are simple steps you can take to significantly extend their lifespan and keep them looking respectable through Halloween night and maybe even a bit beyond.
So You Didn't Botch It: Wrapping Up Your Easy Pumpkin Success
Look, carving a pumpkin shouldn't require a degree in sculpture or a trip to the emergency room. We set out to prove that awesome easy pumpkin carving ideas are not some mythical creature. Whether you went no-knife, simplified a classic face, or got creative with household junk, the goal was a cool-looking pumpkin without the typical Halloween crafting meltdowns. Hopefully, you've now got a porch decoration that doesn't look like it lost a fight with a garden gnome. Go forth, display your slightly-less-messy masterpiece, and maybe even brag a little. You earned it.