Table of Contents
Halloween is creeping closer, and what better way to celebrate than with a spectacularly scary pumpkin? Forget the friendly jack-o'-lantern grins; we're diving into the world of ghoulish gourds that will send shivers down spines. This isn't your grandma's pumpkin carving tutorial. We're talking menacing monsters, creepy creatures, and designs so unsettling, they might just keep the neighborhood squirrels away. Whether you're a seasoned carving pro or a first-time pumpkin sculptor, this guide will arm you with the inspiration and knowledge you need to create a truly terrifying masterpiece. Ready to transform an ordinary squash into a symbol of Halloween horror? We'll explore creative carving techniques, offer a gallery of scary pumpkin ideas for every skill level, and, most importantly, provide essential safety tips to ensure your spooky season stays safe and fun. So, grab your carving tools, unleash your inner artist, and let's conjure up some scary pumpkin magic!
Crafting Your Own Scary Pumpkin Masterpiece
Crafting Your Own Scary Pumpkin Masterpiece
Choosing Your Canvas: The Perfect Pumpkin
First things first, you need the right pumpkin. Don't just grab the first orange orb you see. Look for a pumpkin that's relatively smooth, with a sturdy stem and a flat bottom, so it won't wobble. The size depends on your design, but bigger isn't always better. A medium-sized pumpkin is often easier to handle, especially if you're a beginner. Give it a good tap; a hollow sound indicates it's ripe and ready for carving. Avoid pumpkins with soft spots or bruises. These can lead to early rotting and a less-than-scary display.
Once you've selected your pumpkin, give it a good wash to remove any dirt or debris. Dry it thoroughly before you start carving. This will help your design adhere better and prevent mold growth. Consider the shape of your pumpkin too. A tall, narrow pumpkin might be perfect for a spooky, elongated face, while a rounder pumpkin could be ideal for a more traditional design. Let the pumpkin's natural form inspire your creation.
Pumpkin Characteristic | Why It Matters |
|---|---|
Smooth Surface | Easier to carve intricate details |
Sturdy Stem | Provides a handle and adds to the aesthetic |
Flat Bottom | Ensures stability on display |
Hollow Sound | Indicates ripeness and good carving texture |
Tools of Terror: Gearing Up for the Carve
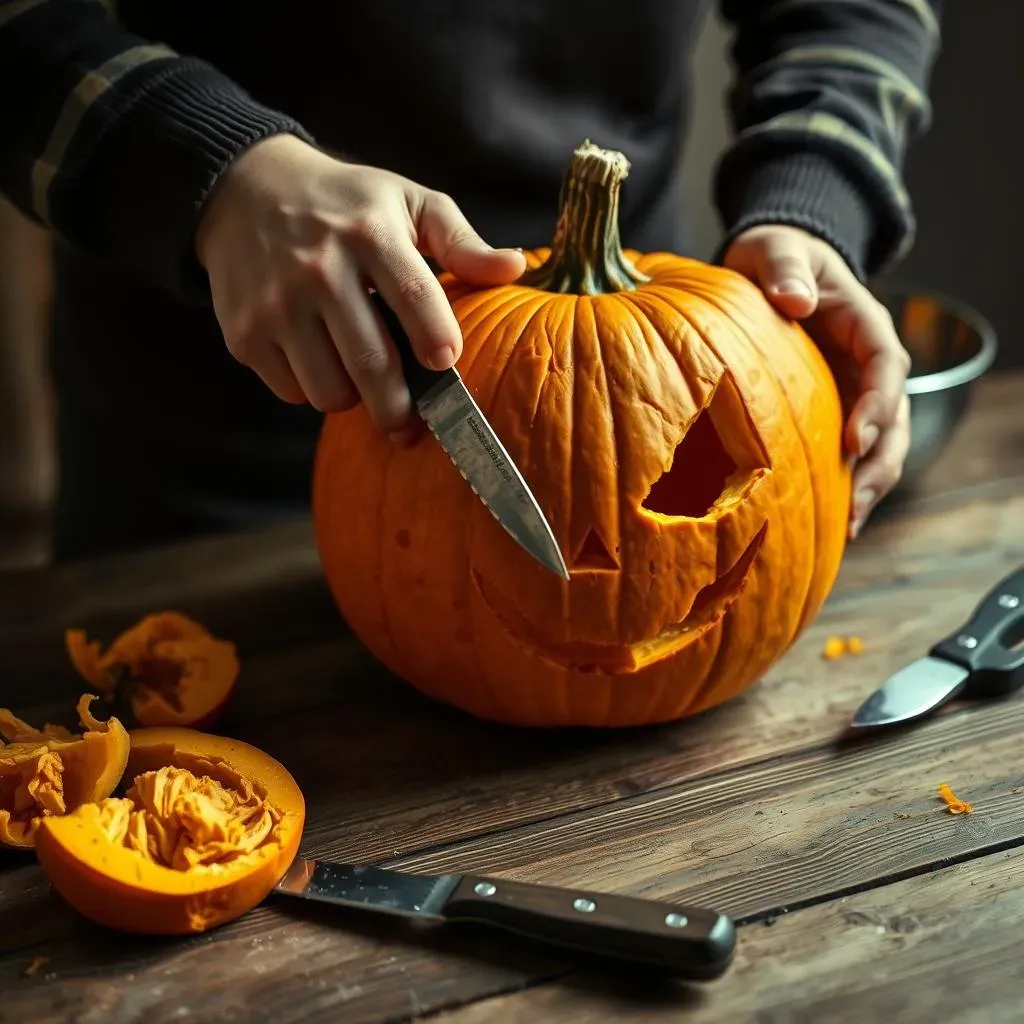
Now that you have your perfect pumpkin, it's time to gather your tools. A basic carving kit is a great place to start, but don't be afraid to get creative. You'll need a sturdy serrated knife for cutting open the pumpkin and carving larger features. Smaller carving tools, like gouges and saws, are ideal for intricate details. A scoop or scraper will help you remove the pumpkin guts. Consider using a drill for creating small, precise holes.
Beyond the basic tools, think about adding some extra flair. Cookie cutters can be used to create fun shapes, and stencils can help you achieve more complex designs. A poking tool is helpful for transferring stencil patterns onto the pumpkin. LED candles or battery-operated lights are a safer alternative to traditional candles. Don't forget a bowl for the pumpkin guts and a trash bag for easy cleanup. With the right tools, you'll be well-equipped to bring your scary pumpkin vision to life.
- Serrated Knife: For initial cuts and large shapes.
- Gouges/Saws: For detailed carving.
- Scoop/Scraper: Removing pumpkin insides.
- Drill: Creating precise holes.
- Stencils: Guiding complex designs.
Scary Pumpkin Ideas: Inspiration for All Skill Levels
Scary Pumpkin Ideas: Inspiration for All Skill Levels
Beginner-Friendly Frights: Simple Shapes and Silhouettes
New to pumpkin carving? Don't sweat it! You can create a scary pumpkin masterpiece with just a few simple shapes. Think classic triangle eyes, a jagged mouth, and maybe a crooked nose. Silhouettes are another great option. Try carving out a spooky tree, a bat, or a creepy cat against the pumpkin's glow. These designs are easy to trace and carve, but still pack a spooky punch. Remember, the key is to keep it simple and focus on clean lines. A little asymmetry can add to the creepy factor, making your pumpkin look even more menacing.
Stencils are your best friend when starting. Print out a design you like, tape it to your pumpkin, and use a poking tool to transfer the pattern. Then, just follow the dots with your carving tools. Don't be afraid to experiment with different shapes and sizes. A variety of triangles can create a more interesting and dynamic face. And remember, mistakes can be easily disguised! A strategically placed jagged edge or a crooked line can add to the overall scary effect. Embrace the imperfections and have fun with it!
Intermediate Terrors: Adding Depth and Dimension
Ready to take your pumpkin carving to the next level? Try adding depth and dimension to your designs. Instead of just cutting all the way through the pumpkin, experiment with different carving depths to create shadows and highlights. A shallow cut will let some light through, creating a subtle glow, while a deeper cut will create a brighter, more dramatic effect. Consider using shading techniques to add texture and realism to your designs. This could involve using a rasp or sandpaper to smooth out certain areas or create a rougher texture in others.
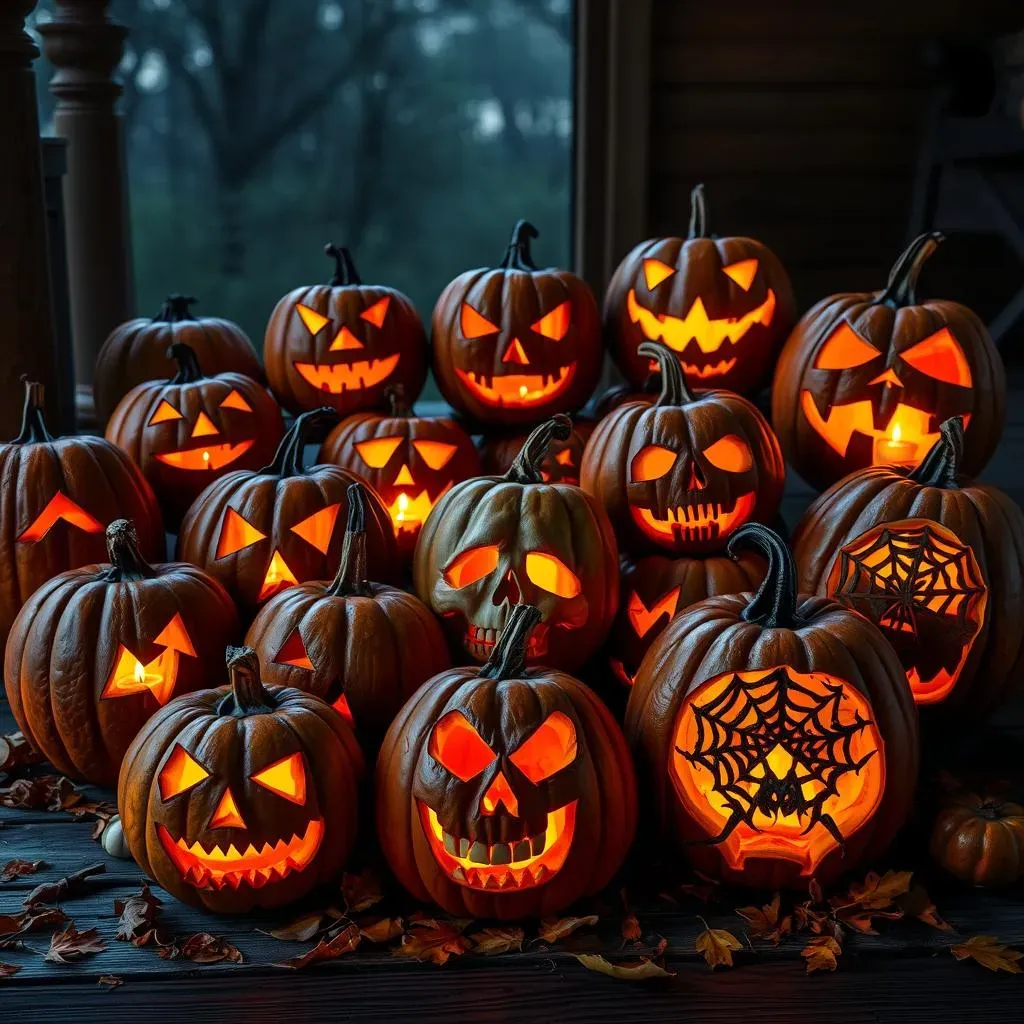
Intricate patterns can also elevate your scary pumpkin game. Think spiderwebs, skulls, or creepy crawlies. These designs require a bit more patience and precision, but the results are well worth the effort. Use stencils or freehand draw your design onto the pumpkin, and then carefully carve out the details. Don't be afraid to get creative with your tools. A small gouge or a rotary tool can be used to create fine lines and intricate details. Remember to take your time and work in small sections to avoid mistakes. With a little practice, you'll be creating stunning, three-dimensional scary pumpkin masterpieces in no time!
Skill Level | Design Ideas | Techniques |
|---|---|---|
Beginner | Simple faces, silhouettes | Stencils, basic cuts |
Intermediate | Spiderwebs, skulls, patterns | Depth carving, shading |
Safety Tips for Carving and Displaying Your Scary Pumpkin
Safety Tips for Carving and Displaying Your Scary Pumpkin
Carving Cautions: Avoiding Accidental Scares
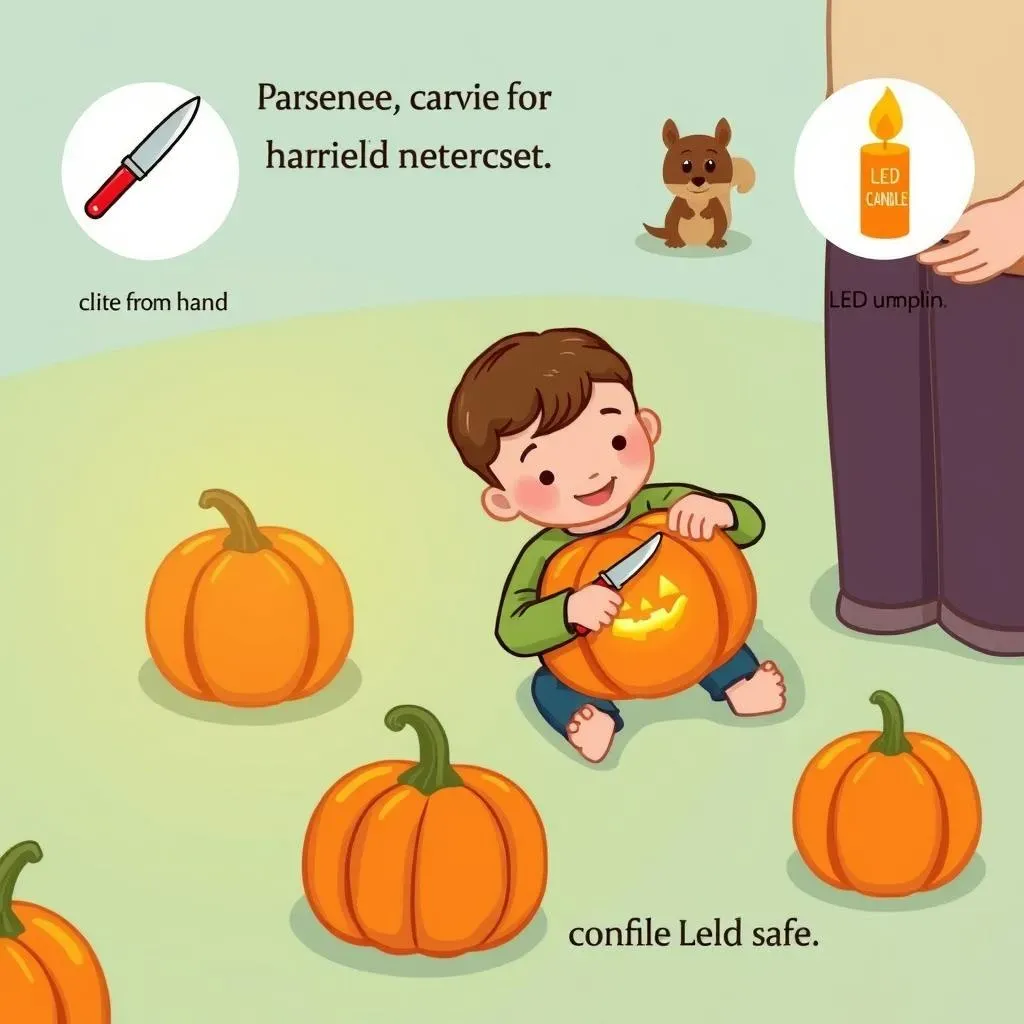
Alright, let's talk safety because nobody wants a trip to the ER on Halloween! Carving a scary pumpkin can be a blast, but it's crucial to take precautions. First and foremost, kids should always be supervised by an adult when handling sharp tools. Consider using pumpkin carving kits designed for children; these often include safer, less-sharp tools that are easier for small hands to manage. Never let kids carve unattended, no matter how "careful" they promise to be. Trust me, a little supervision goes a long way in preventing accidents.
Beyond supervision, think about your carving environment. Make sure you're working in a well-lit area with a stable surface. A wobbly table and dim lighting are a recipe for disaster. Use proper carving tools designed for pumpkins, and always cut away from yourself. It sounds obvious, but it's easy to get caught up in the excitement and forget basic safety principles. If you're using a particularly large or unwieldy pumpkin, consider stabilizing it with a towel or non-slip mat. And remember, if you're feeling tired or distracted, take a break! A little rest can help you stay focused and avoid mistakes.
Displaying Your Delight: Fire Hazards and Critter Control
So, you've carved a scary pumpkin masterpiece – awesome! Now, let's make sure it's displayed safely. Traditional candles are classic, but they pose a significant fire hazard. Consider switching to LED candles or battery-operated lights. They're just as effective at illuminating your pumpkin, but without the risk of accidental fires. If you do choose to use a real candle, make sure it's placed in a stable holder and kept away from flammable materials like curtains or dried leaves. Never leave a lit candle unattended, and always extinguish it before going to bed or leaving the house.
Beyond fire safety, think about protecting your pumpkin from critters. Squirrels and other animals love to snack on pumpkins, so consider placing your masterpiece in a location that's less accessible to them. You can also try spraying your pumpkin with a diluted vinegar solution; it's harmless to the pumpkin but deters most animals. If you're displaying your pumpkin outdoors, be prepared for it to decompose more quickly. Weather conditions can accelerate the rotting process, so check your pumpkin regularly and replace it if it starts to look too worse for wear. With a little care, you can keep your scary pumpkin looking its best throughout the Halloween season!
Safety Aspect | Recommendation |
|---|---|
Carving Supervision | Always supervise children when carving. |
Lighting | Use LED candles instead of real flames. |
Critter Control | Protect your pumpkin from animals with vinegar solution. |
Tool Safety | Use proper carving tools and cut away from yourself. |
Conclusion: A Scary Pumpkin to Remember
So, you've journeyed from pumpkin patch to porch, armed with inspiration and safety tips. You've faced the challenge of transforming a simple gourd into a terrifying testament to Halloween spirit. Whether you opted for a classic monster, a creepy crawly, or your own original design, remember that the most important ingredient is creativity. A scary pumpkin isn't just decoration; it's a statement. It's a beacon of spooky fun, a conversation starter, and a testament to your artistic flair. As the trick-or-treaters approach, let your scary pumpkin shine, casting its eerie glow and adding a touch of thrilling terror to the night. Happy haunting!